
Shooting in natural light might be something you do out of financial necessity, or because you want the challenge, or because you want to make a film that looks and feels natural. These are all sound reasons for shooting in natural or available light. But it definitely helps if you’re well prepared, so here are our tips for shooting videos in natural light.
Preparation is key
Whether you plan an indoor or an outdoor shoot using natural light, being fully prepared is vital. You will need to know your venue thoroughly. For example, you will need to know the precise direction from which the sun will be shining on your scene, how it moves across it, and how long the light will last. Check out if anything, such as a building or tree, will cast shadows over your scene, too. This applies just as much inside as it does outside. What time does light start to fall through your room’s window? When does it disappear? What do the shadows look like?
Remember: your chosen venue could look very different at 15:00 than it does at 18:00. It’s also going to look very different in June than it will in October. It might seem a bit excessive to spend a whole day there watching the light and making notes and doing it as close to when you intend to shoot as you can manage, but it’s probably worth it. The location has to be right.
Next, you will need to ensure that your cast and crew are very well-rehearsed. When you’re working with available light, your time is limited. There aren’t many opportunities for second chances. If everyone knows exactly where they are meant to be, when and what they should be doing, you are more likely to get it right the first time.
Working with natural light is challenging, and you are at nature’s mercy. The better prepared you are, and if you have a Plan B (and maybe even a Plan C) as well as Plan A, you have a better chance of pulling it off.
Pick the right time of day
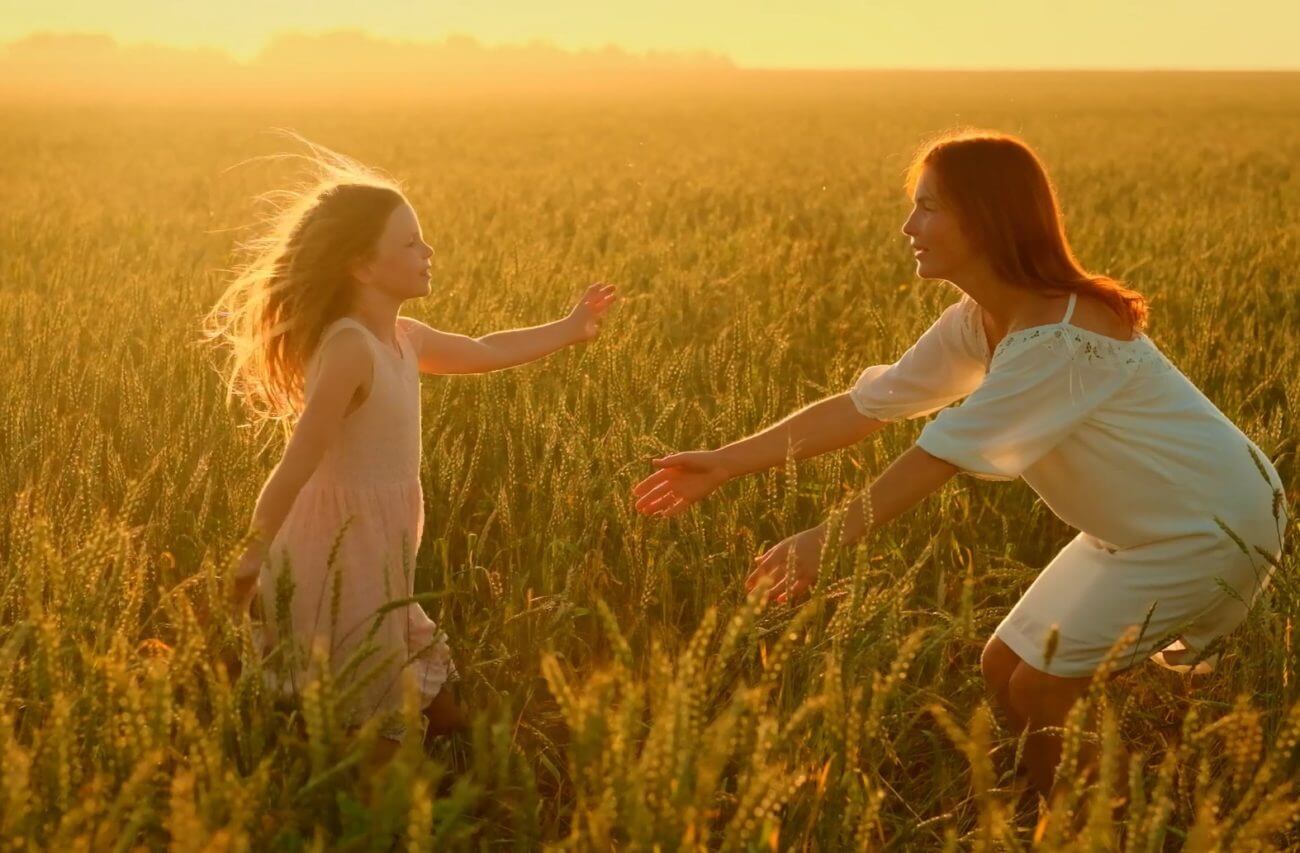
There are four hours of daylight each day that you really don’t want to miss using. The first ones are the golden hours, or the hour just after sunrise and the one before sunset every day. Golden hour light is warm and soft and makes everything glow. It’s very easy to work with and not just for sun up and sun down scenes. You might hear golden hour referred to as ‘magic hour’ because the light is, well, magic.
The blue hour comes on a morning just before sunrise when it begins to get light, but you can’t yet see the sun. Likewise, the blue hour happens each evening when the sun has dipped below the horizon, but it’s still light out. This is a great time to shoot night scenes. There will be enough light so that you can see things, but it will have the feeling of being dark.
Pick the right kit
If you’re shooting with available light for financial reasons, you will be using the kit you have and making the best of it. If you’re shooting with natural light because of the challenge or achieve a specific effect in your footage, think about the gear you can use. For daylight scenes, you’ll want a camera with a high dynamic range. For night scenes, a camera with lots of sensitivity will help you. For shooting interiors, make sure that you have fast camera lenses to help you get the exposure you need.
Camera settings
Your camera aperture will determine the depth of field in your scene, and your ISO should be as low as you can manage to achieve a good exposure. Your shutter speed should be set according to the ‘rule of 180º’. You can read about the rule of 180º in our shutter angle article, but to explain quickly, if you have a frame rate of 24 frames per second, then your shutter speed should be 1/48 second (or round it up to 1/50 second). That’s a shutter speed of 1/(2 × frame rate). Don’t forget to set your white balance to manual, either.
Use lighting modifiers
If you’re shooting with natural light, you cannot have enough lighting modifiers. Have a look at our article devoted to light modifiers explaining things in more detail. But in short, we think that you shouldn’t leave home without any of these.
Reflectors – use reflectors to make the most of the light the sun gives you. You can bounce it around your scene and use reflected light to lift shadows.
Diffusers – if the sun is casting harsh shadows on your scene, try erecting a diffuser to broaden the light and soften the shadows.
Flags – you might need to block light from falling across a particular area of your scene. To do that, use a flag, which is a piece of black foam core or thick card.
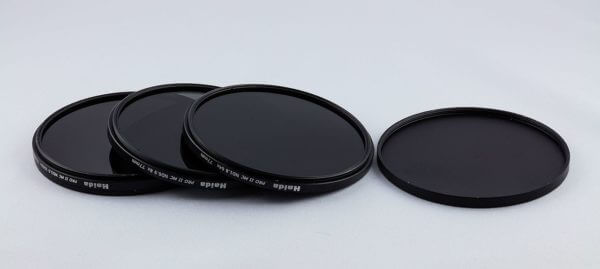
Neutral density filters and gels – help reduce the intensity of the light falling on your scene. When you don’t want to use a smaller aperture and your ISO is at its lowest. However, your scene is still over-exposed, a neutral density filter over your lens or a neutral density gel over a window can help you control your exposure.
Use ‘practicals’
‘Practicals’ are lights that are incidental to your scene but are still useful. These might include table or desk lamps that throw some extra light onto your subjects sitting close by, or it could be the backlight from a television set or computer screen that helps to illuminate your scene. Don’t think of practicals as cheating with artificial lighting: if you would normally find it in your scene, make use of it!
Choose shooting direction carefully
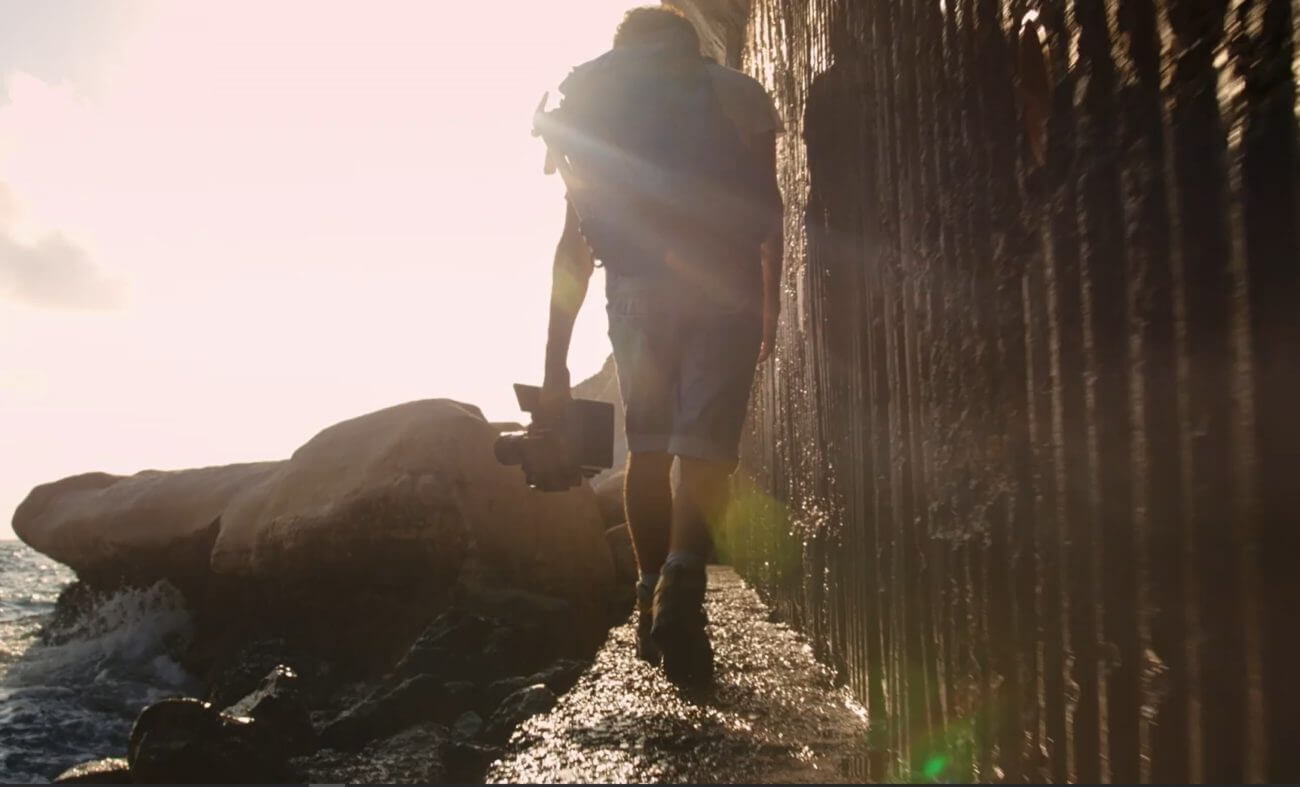
The sun makes a terrific backlight. This is exactly how you want to use the sun for lighting your scenes, too. If not, it can blow them out and cast harsh shadows. To make the most of the sun lighting as a backlight, position your subject between the sun and the camera so that the sun forms a beautiful halo-like glow around your subject. Backlight will help to bring some separation between your subject and the background, and your subjects don’t be looking into the sun and squinting, either! For more on this subject, read our post on backlighting.
If you have light coming through a window, it is best not to shoot toward the window. Instead, angle your subjects and camera so that the light falls across your scene. Light coming from the side does a great job of highlighting textures, which is always worth remembering.
Think on your feet
You’ve selected the perfect location. You know exactly where the light falls and when. Your cast and crew are the best rehearsed they can be. You’ve got all the right kit. But the shoot doesn’t go right. Or it doesn’t look right. It happens. It really does. If this is the case, you will need to think on your feet. You will need to improvise and be flexible. Embrace it. It’s an experience.
Finally: never forget why you’ve chosen to shoot in natural light and what it brings to your filmmaking. Now – go for it!