When it comes to YouTube videos, there are tons of quantity available out there. If you want your videos to get views, they must consistently look professional. One way to ensure professional-looking content is by getting your lighting right. If you feel a little overwhelmed by softboxes, umbrellas, LED and ring lights, as well as reflectors and diffusers, we’re here to help with some tips for lighting youtube videos.
Why not natural light?
I can hear you asking, ‘Why can’t I just use natural light?’ Well, you can, and many do. Natural light, is, by far, the cheapest method of lighting, and it can give you good results. However, using natural light has many drawbacks, which could outweigh its benefits. You can’t control it by switching the sun on and off or using a dimmer to adjust its intensity and you can’t direct it precisely. Filming in midday when the sunlight is at its most powerful is not recommended, so if you depend on natural light, it will limit you as to when you can go out filming.
If you are filming indoors, you need to have a window, and it needs to be the right size and location so that it captures enough sunlight.
To sum up, using available light depends on too many unknown and uncontrollable variables, and that’s where artificial light comes to the rescue.
By using artificial lighting, you can illuminate exactly what you want to light, bringing focus to your subject and making sure that messy backgrounds stay in the shadows. You can turn up or down the brightness just as much as you want and make sure that your subject is properly visible to the audience without being suspiciously shady or overwhelmed by shiny glare. And you can work on your terms.
Now that we (hope) we’ve convinced you of the benefits of investing in some artificial lighting, what are your choices? The good news is that there are options for every type of video and every budget.
LED lights
Battery-powered LED lights are great if you’re on the go. They are small, powerful, and lightweight. They can deliver plenty of light wherever you need it without taking up too much room or weighing you down. You can adjust their power output and their color, too, making them incredibly versatile.
If you like the sound of LED lights, you can buy mains-powered ones, too. In the case of the Spekular system, you can change their shape and their brightness to create exactly the kind of light you want. If your YouTube content takes on different forms, you might find that LED lights could be your best option for their versatility.
Ring lights
Ring lights are a staple of the beauty industry. They produce even light with attractive halo-shaped catchlights that bring life to your subjects’ eyes. What’s more, they do it without any difficulty: all you need to do is position the light around your camera with your subject looking straight into the lens, and your job is done!
RGB’s
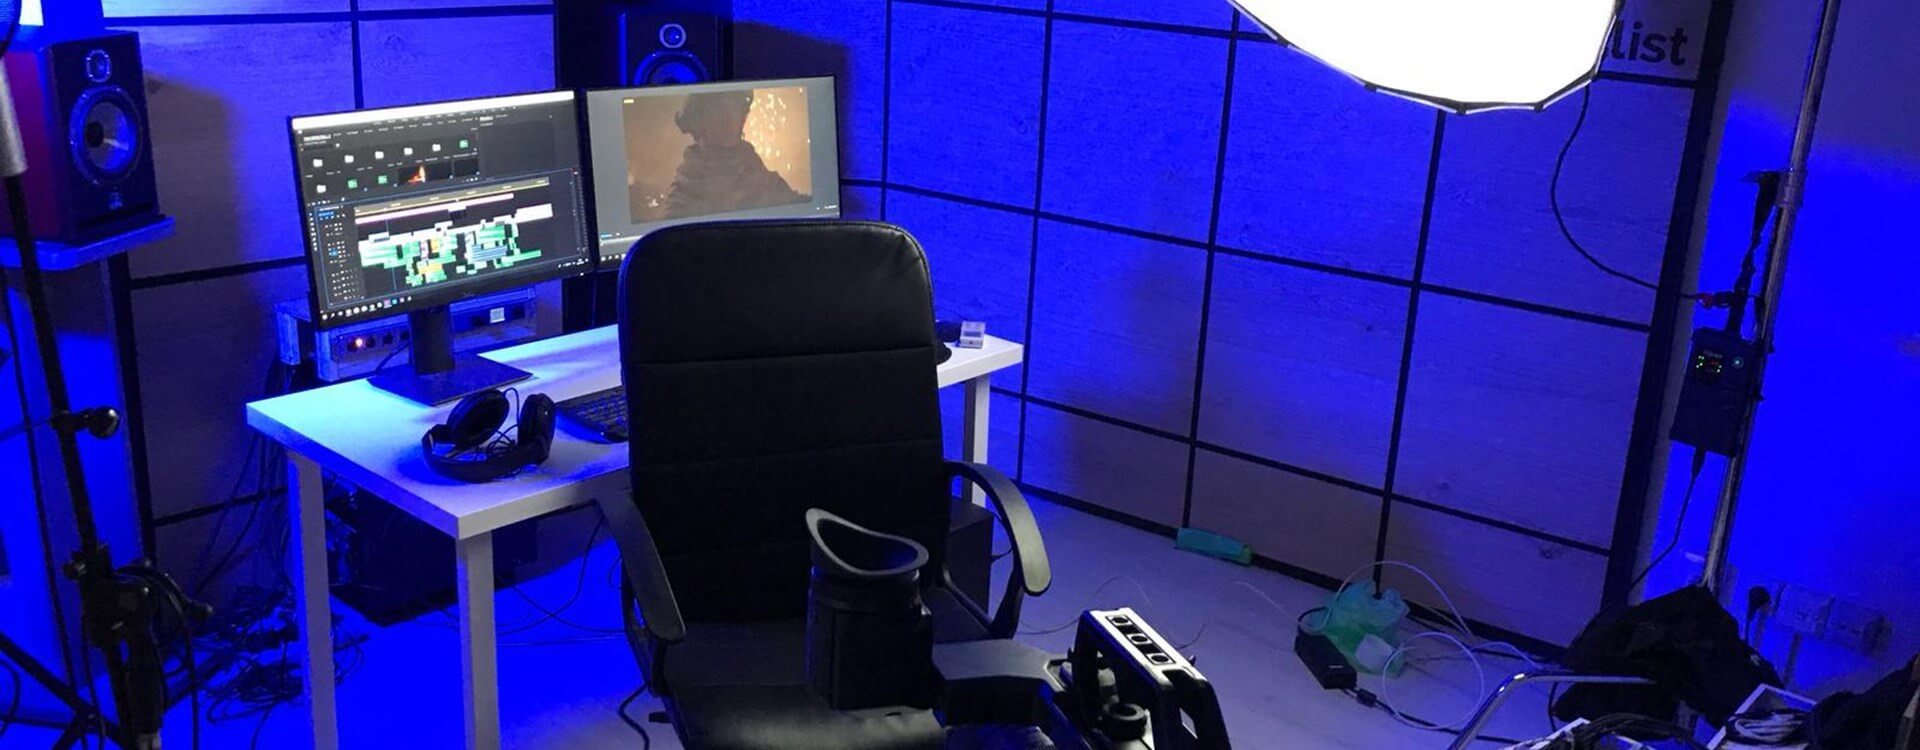
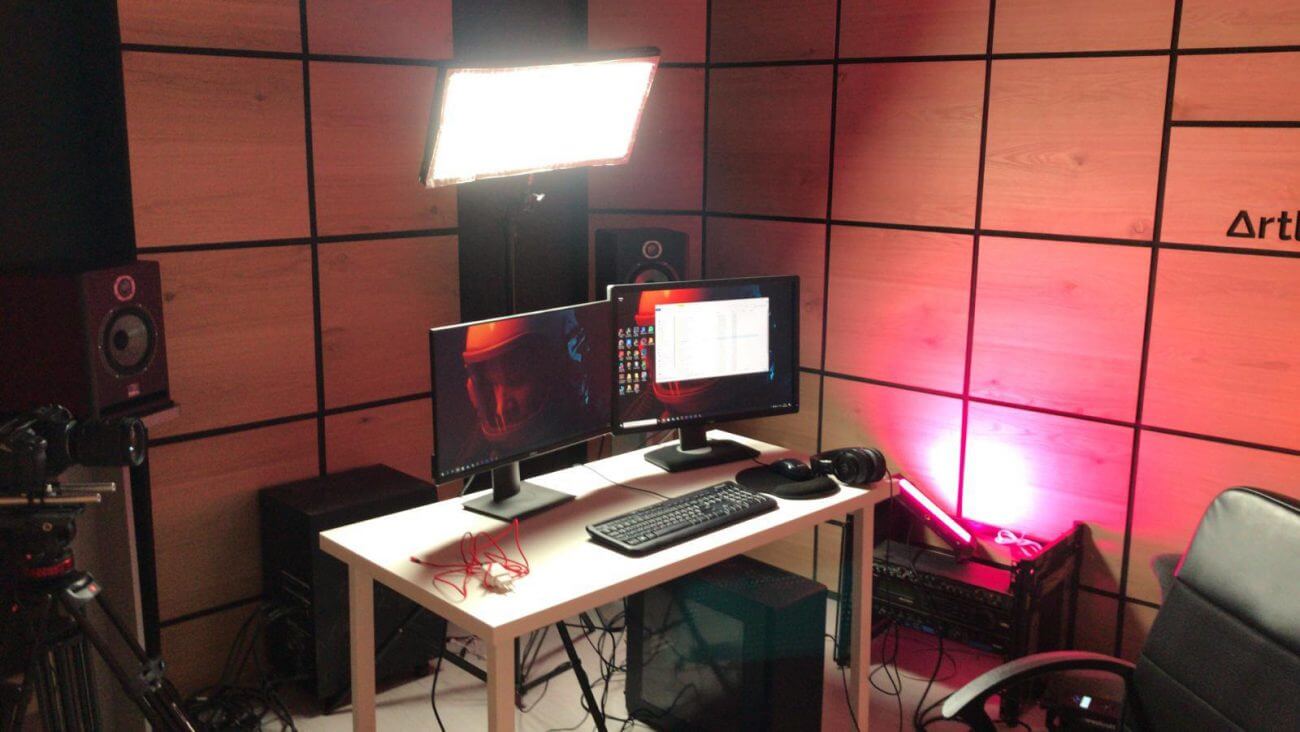
While RGB lights are not considered essential gear for YouTubers, they could give you flexibility when it comes to lighting YouTube videos. RGB stands for Red, Green and Blue. They are LED lights that you can set to specific colors and create a particular mood. For example, you can set your RGBs to blue if you want to create a techy vibe or go for a red or pink hue if you’re a fashion YouTuber. Many Twitch streamers use RGB strips in their lighting setup to make their videos more interesting. While RGB’s are considered a bit more pricy, you can find affordable RGB lights whose functionalities will be more than enough for lighting YouTube videos. You can also check out our short tutorial about how to use RGB lights in your videos.
Softboxes
Softboxes are used to diffuse the light, and you can use them with different kinds of light sources to make your lighting softer. They are usually square or rectangular-shaped boxes–although they come in plenty of other shapes from octagonal to parabolic–that are lined with a reflective surface. The side of the box that emits the light is covered with a diffusion panel. You can even buy a cheap LED light bulb on eBay and put it inside your softbox.

The light you get from a softbox resembles window light: it is wide and flat. It’s also quite easy to direct, and you don’t get too much light-spill with a softbox, so you can control what you want to stay in the shadow. By changing the position of your softbox, you can alter the look and feel of the light hitting your subject, and so the look and feel of your video, too.
Softboxes are excellent for food videos, or anything like a product demonstration or review.
Umbrellas
Umbrellas are also diffusers and for light sources, and they come in two versions: reflective or shoot-through. Reflective umbrellas have the light shine into them and then reflect it back onto the subject. They are often gold or silver-toned, which will give a different feeling to your light. A shoot-through umbrella is opaque, and the light is directed through it onto the subject. Both of them produce soft, broad light that is often described as resembling outdoor light.
Umbrella light will spread further than softbox light but is great for portrait-type lighting and is perfect for vlogging and videos that are interview-based.
Umbrellas are easy to use as well as being portable and cheap. They are a good choice if you are just dipping your toes into making YouTube videos and starting off with lights.
Things to consider
Apart from cost being a consideration for your set-up for lighting YouTube videos, you also need to think about a few other factors. If you’re planning on moving from location to location, your setup will need to be portable. If you have limited space, something that is compact and easy to store is a must.
You will also need to be able to adjust your lights, both in terms of their height and position, and their output and beam spread. Height and position are self-explanatory. But when it comes to output, sometimes you’ll want less power for a dimmer look. Other times, you’ll need something higher powered and brighter.
Beam spread means how far or wide your lighting falls. By controlling the beam spread, you can adapt your lighting to the scene and keep lit what you want to be lit and keep in shadow anything that should be in shadow.
Accessories
It’s always recommended keeping a reflector and a diffuser on hand. A reflector is a cheap and easy way to bounce light from a source to where you need it. They can help to relieve shadows from your subject’s face, or just bring a bit of light to the background. A diffuser will instantly soften a too-harsh light and keep things looking even. If you ever do any outdoor filming, don’t go anywhere without either a reflector or a diffuser to help you manipulate the sun’s rays!
Basic 3-point lighting setup
Entire books are dedicated to lights and lighting, but knowing the basic three-point lighting setup is a solid start.
A three-point lighting setup has, unsurprisingly, three lights:
- Key, or main, light – your principal light source
- Fill light – balances out the shadow from the key light
- Background light – helps to create depth in the scene by adding light behind your subject
Your key light will be positioned to one side of the camera, at an angle of about 45º. This will be your brightest light. The fill light will be on the opposite side of the camera to the key light, also at about 45º. This one will not be as bright as the key light; it is there to help relieve, but not entirely eliminate, the shadows from the key light. It will help bring definition to your subject.
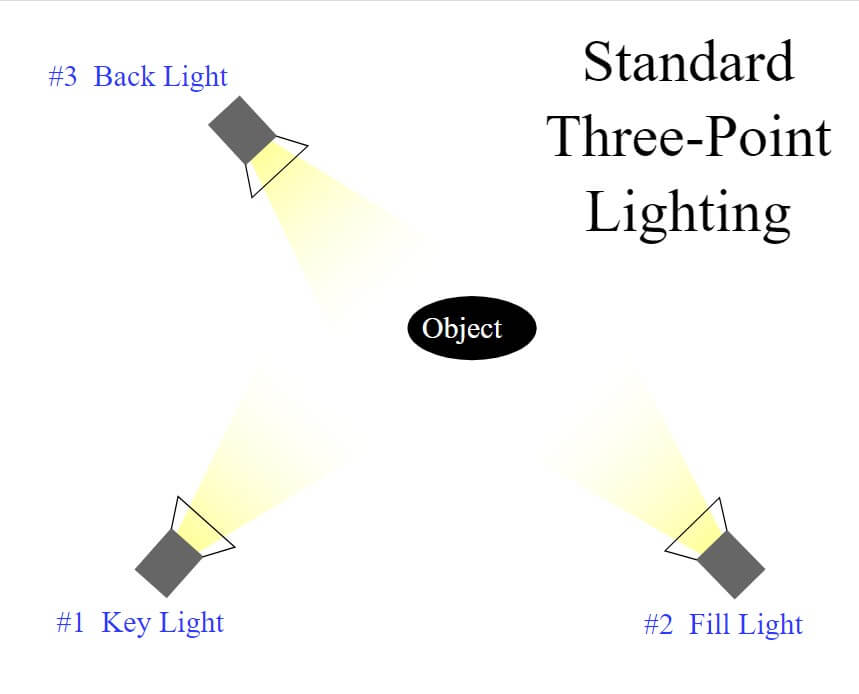
The background light is there to add depth to your scene. You want it behind your subject and as close to them as possible, without the light source being visible. It probably will not need to be as bright as your fill light but it will ensure that your scene has a rounded feel.
There you go, one easy-to-accomplish setup for lighting your YouTube videos!