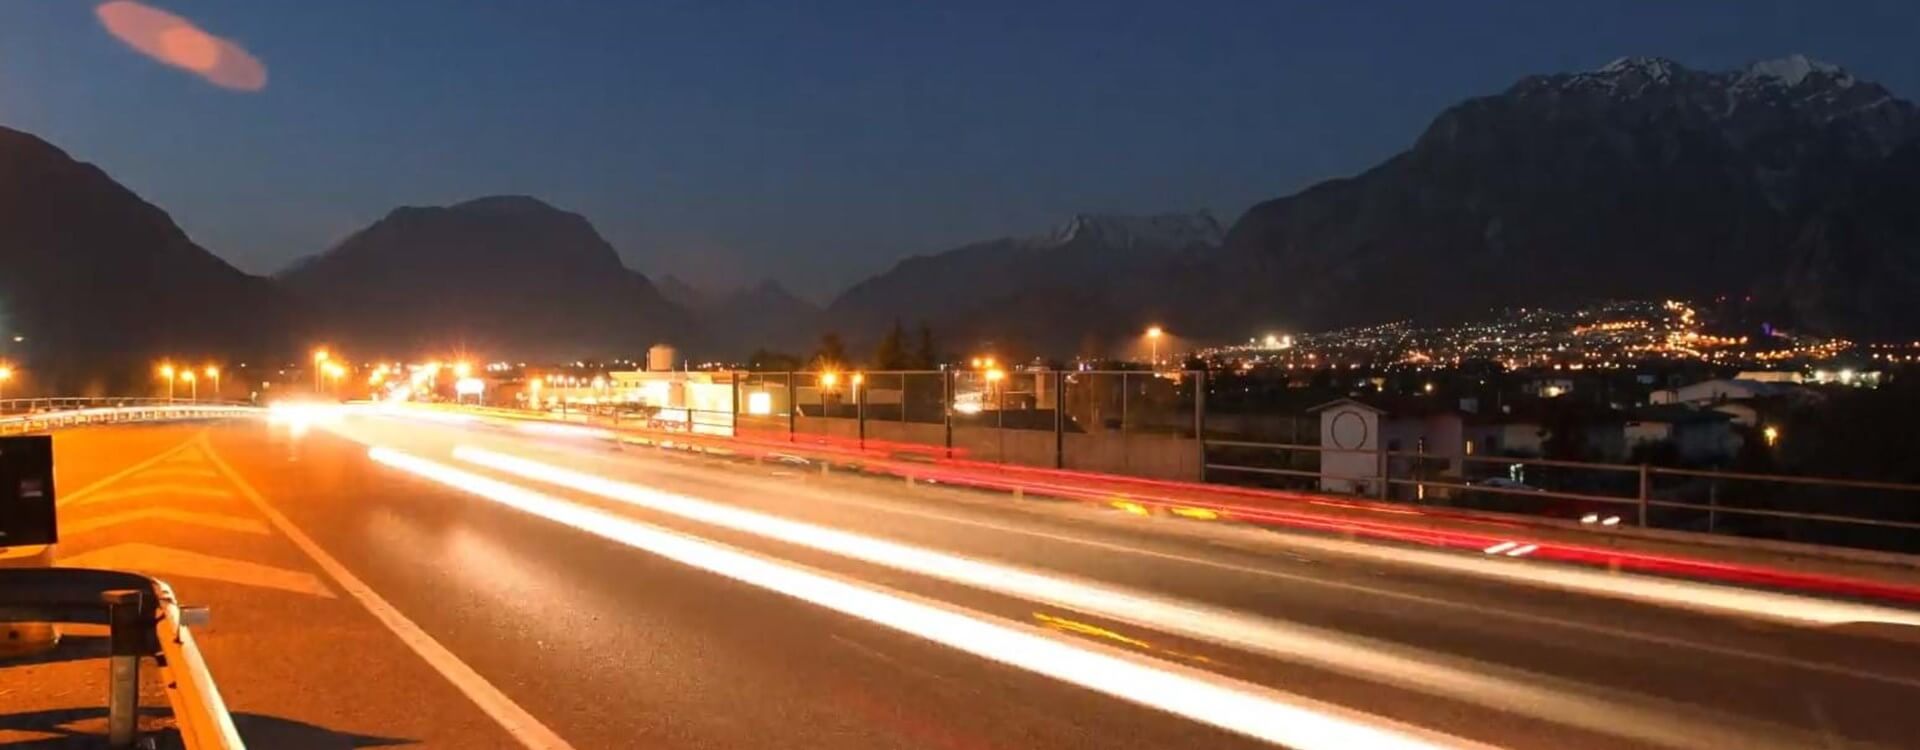
If you’ve tried making timelapse videos and would like to stretch your wings a little further but in the same area, why not have a go at making a hyperlapse? A hyperlapse is a timelapse video but with added motion.
A timelapse video documents a period of change by shooting a sequence of frames with set intervals between them, from a static position with a particular subject. You then stitch together the shots to create a video. You can chart anything from the blossoming of a flower to a major construction project. A hyperlapse is similar, but rather than being filmed from a particular place and with set intervals between each shot, the camera is moved between each shot, usually (but not always) with a set distance between each shooting position.
What do I need to make a hyperlapse?
You can make a hyperlapse using any type of digital camera, with a drone, or even with your smartphone. Unlike a timelapse-video, you really don’t need an intervalometer for a hyperlapse shot with a digital camera. The time that elapses between each shot isn’t as important as the distance that your camera travels. A tripod is a very good idea. You will need to be able to store a high number of images (shooting in Raw will give you more flexibility than JPEG), and if you’re using a digital camera or a drone, you’ll need the right software to stitch together your shots into a video. Don’t forget, you’ll also need to choose the right captivating background music for your video, too, which you could find at Artlist. Check out the time-lapse music category to find the song that will make your hyperlapse even more exciting.
Pick a subject
Whenever you pick up your camera, your subject and the story that you want to tell is always the critical factor in creating compelling images and videos. It’s just the same for a hyperlapse. What is the subject of your video going to be, and what story are you going to tell as you move toward it, away from it, or around it. You need to identify a strong subject and focus on that.
How many shots will you need?
For a 30 second video at the standard speed of 24 frames per second, you’ll need 720 shots. That’s 30 multiplied by 24. However, this number is not set in stone. You might make a video with as many shots as you have or decide that you’ll need to shoot more because you want a longer video or a different frame rate.
Think about your path
When you have settled on your subject and have worked out roughly how many shots you’ll need, it’s time to plot a path that your camera is going to follow as it shoots the frames for your hyperlapse. Consider how the sense of motion is going to add to the story, and what it’s going to say about your subject. Will you be getting closer to, further away from or moving around it?
After deciding on your route, you’ll next need to work out the distance between each shot. How far you move before you reposition your camera for each shot is going to depend on a few factors: the length of your route, how many shots you require for your hyperlapse and whether you want a subtle or a stark sense of change in your video. You might find that moving one step is the perfect distance between your shots. You might, though, need to move further. That could be two steps, or a meter, or two meters, or even five.
Maintaining the tension
To help you get the best out of your hyperlapse and to maintain the tension in the video, try to ensure that your subject is always in the same position in each frame. Use the composition grid lines on your LCD screen to help with this, together with the stability of your tripod. It’s best to keep the horizon in the same position in each shot, too, unless of course, you’ve plotted a very specific path that produces a different look for your hyperlapse. I would always recommend shooting in fully manual mode for a hyperlapse, too. This will give you the highest degree of control over your shots, which will help to ensure consistency. You can edit them in something like Lightroom before stitching them into a video in a program such as Premiere Pro.
Drone hyperlapses
The first point about drone-shot hyperlapses is that you must ensure that where and how you are flying is both safe and legal. After that, you need to decide on your strong subject, plot your flight path and decide on the number of shots you’ll need, just like any other hyperlapse. It’s usually recommended to fly at a height of between 25 and 30 meters (80-100 feet) and at a speed of about 3 kilometers per hour (2mph) over a distance of 300 to 450 meters, or 1000 to 1500 feet.
Using the timelapse mode on your camera when shooting a drone hyperlapse is actually a good idea, as you’re moving at a constant speed, and it’s one fewer thing to think about! You’ll probably want one shot every two seconds. When you have the footage, it will be a case of making any adjustments to the shots and then stitching it together.
Smartphone hyperlapses
Instagram has an easy-to-use hyperlapse mode if you want to try it with your smartphone. It lets you choose your video speed and share your video straight to Facebook or Instagram as it stitches it together for you. Just as with all of the other forms of hyperlapse, think carefully about your subject and keep your focus on that.
Putting it all together
A hyperlapse shot on a smartphone will come out as a complete video but you will need to stitch together the shots from your digital or drone camera. You’ll need a program such as Adobe Premiere Pro, Apple Final Cut Pro X, or Pinnacle Studio to create the video. You might want to tweak them before you create your video, for example in Lightroom, but the most important thing to remember is to maintain the sequence in which you shot them and to name them accordingly! If you stitch your video together out of sequence, you’ll have a very odd looking hyperlapse indeed!
Hyperlapses can come out looking shaky–it’s just how it goes when you’re moving between each shot–but you can help to smooth things out. In Adobe Premiere Pro, there’s a warp stabilizer plug-in that you can download and apply to your images (you might need to right-click and select ‘Nest’ to get this to work), while with Final Cut Pro X and Pinnacle Studio you can stabilize your video before you export it. Either of these will help to smooth out your hyperlapse and make it look fabulous. And that’s it: you’ve got yourself a brilliant hyperlapse.