Whenever you see footage of a flower blooming in super-fast time, or of a construction project that took months but has been condensed into just minutes, you are watching a time-lapse video. Time-lapse video is a technique that captures how a particular scene changes over a given period of time, without having to actually watch it in real-time.
Time-Lapse Photography
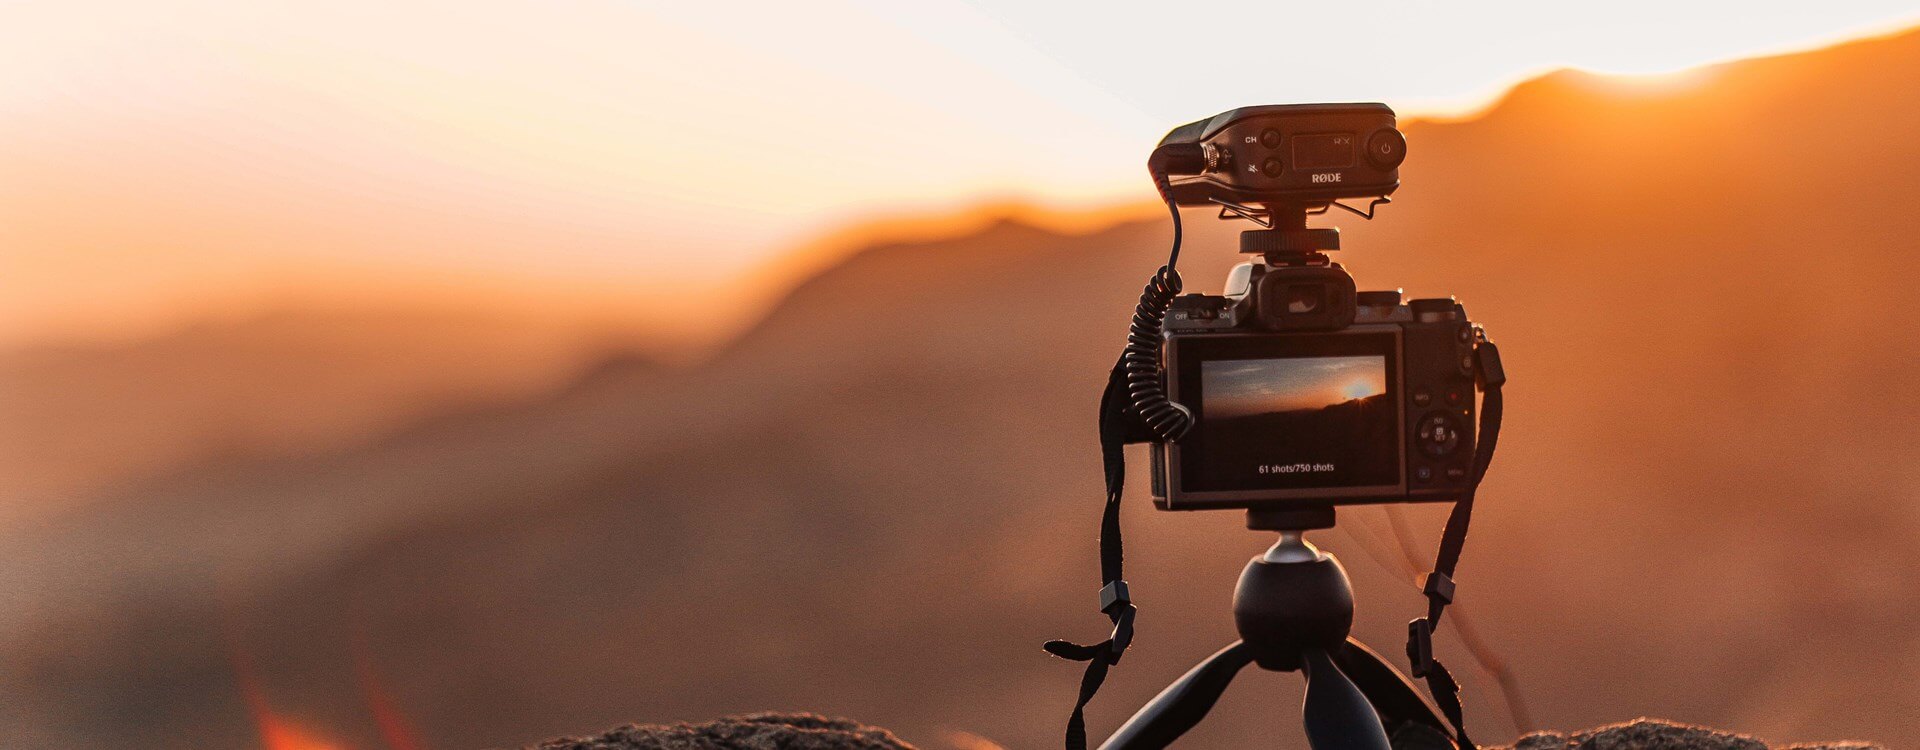
Traditionally, time-lapse videos are created using the time-lapse photography technique. You set up your camera to shoot images of a scene over a given period of time with a specific interval between each photo. You then stitch together the images to create a time-lapse video that charts the changes in the scene, from beginning to end.

It’s not all that tricky, but it does require patience, specialist equipment and software, the skill to select camera settings that will produce a smooth, well-exposed time-lapse video, and not forgetting the idea for a subject in the first place! If you don’t have an intervalometer, time-lapse stitching software, or the time that’s needed to edit the hundreds, if not thousands, of images and compile them into a video, there is an alternative.
Time-Lapse Videography
Lots of phones and cameras now come with the option to create time-lapse videos in-device. You switch it to time-lapse videography mode, select the interval you want between each shot, and let the device do the rest. When you stop recording, your camera (if that’s what you used) will have created a time-lapse video that it has saved straight to your memory card: no editing and no stitching required. If you use your smartphone, there will be a video stored in your album.
Using video mode doesn’t give you the same degree of control as the time-lapse photography technique does, but that doesn’t stop it from being useful. If you don’t own the gear you need, whether that’s because you are just dipping your toes into the time-lapse ocean or through circumstance, use the kit that you have and go for time-lapse videography. Time-lapse videography is especially useful if you want or need to produce a quick turn-around on your output. If you don’t have the time to edit and stitch together thousands of images, for example, if you’re traveling or on holiday, you know what to do.
Creative Time-Lapse Videos
There’s no great secret to making great time-lapse videos—it’s the same for shooting compelling photos—you need to tell a story. Before you start filming a time-lapse video, you need to ask yourself: what am I filming and what am I trying to say with it? If you’re not really sure what your subject is, what the change that you’re documenting is meant to be, or why your audience might want to watch your time-lapse video, you need to have a re-think.
Popular subjects for time-lapse videos include sunrises and sunsets, flowers coming into bloom, traffic flows, and clouds moving. They are all gorgeous, and the chances are you will find shooting them incredibly rewarding, but you might struggle to make them stand out from everyone else’s versions. Why not think about the following time-lapse videos, or variations on them, instead?
Use interesting angles
Changing the angles in your shots is an important technique that anyone with a camera, whether stills or video, should use. It isn’t just that changing angles can make shots more interesting, but that it can make your audience feel differently about your subjects, too. For example, if you photograph a person from below, looking up at them, they will appear powerful. If you photograph someone from above, it can make them look a little shier or quieter. Shooting tall buildings from below, when you are very close to them, looks great in stills and works very well for time-lapse videos, too if you want to capture moving clouds.

Add a mirror
With this technique, you can create a mind-bending time-lapse that looks like an M.C. Escher painting. After you have positioned your camera or smartphone on its tripod, hold a mirror above or under the lens so that you create a line of symmetry running through the middle of your scene. If you want to try this, think carefully about the lines in your scene and how they are going to draw your audience’s eye into the shot.
Try motion-lapse
Instead of filming your time-lapse video from one position, you can always move around! This is great for road trips and for walking tours of cities, just remember to use a stabilizer. You can also introduce more controlled motion by using a motorized slider. Put your camera on the slider, and set it so that it moves a given distance in between each shot.
Why not use a drone?
For an unusual time-lapse video that captures shifting clouds or fog, think about capturing aerial footage with a drone. The trick here is to fly in GPS mode so that you maintain a steady position, but do be sure to follow local regulations regarding drone flights. Don’t get into trouble for flying too high or into areas where you shouldn’t be.

Try a tilt-shift effect
Tilt-shift shots, which create a ‘miniature world’ look, always used to be made using tilt-shift lenses that placed the focus on the scene in a band and blurred everything around it. Now, you don’t require a tilt-shift lens because you can create the effect in post-production, and you can apply it to entire videos. It’s a really fun effect to add to time-lapse videos.
What About Hyperlapse?
Hyperlapse is a method of time-lapse photography where you move the camera, but maintain constant focus on one particular element within the frame. This makes it different from motion-lapse, where you just move from point A to point B without focusing on one specific element in your frame. Having to move the camera and maintain focus on your subject means that hyperlapse is best created using the time-lapse photography technique. You don’t put yourself under unnecessary pressure in between shots to get into position and adjust your focus.

However, there are some cameras and smartphones that can create hyperlapse videos. With smartphones, some have a hyperlapse mode, which you select from the camera app, or there’s the Instagram Hyperlapse app. If your camera has an ‘active tracking’ feature (or something similar) that can be used while in time-lapse video mode, use this to select your subject before you start recording. As you move the camera, it will keep the subject as its focus, creating a hyperlapse.
Any other suggestions?
When shooting a time-lapse video, make sure that you use a tripod to keep your camera steady. But if you want to introduce a different type of movement, you can always position your camera on a turntable to capture a 360-degree time-lapse video. Motorized turntables, for which you can control the speed or degree of the spin, are widely available. If you have the time for some post-production, license some music and add it to your video. Above all, time-lapse videos are about capturing change, and you can check out the time-lapse videos at our stock footage section for inspiration. But for any subject where you want to document a process of transformation, whether that’s personal or professional, time-lapse videography is a great jumping-off point.