Working with natural light, with limited resources or in a confined space can present you with a lighting conundrum: how do you produce beautiful soft light with a minimum of equipment? A low-budget, easy-to-manipulate solution is to try bouncing light. All that’s required is a sufficiently large white surface. If this sounds too good to be true, know that bouncing light really is a very useful lighting technique to know and understand. And it’s something that you might well come back to when you’re working on a multi-million dollar project, too.
What is bounce lighting?
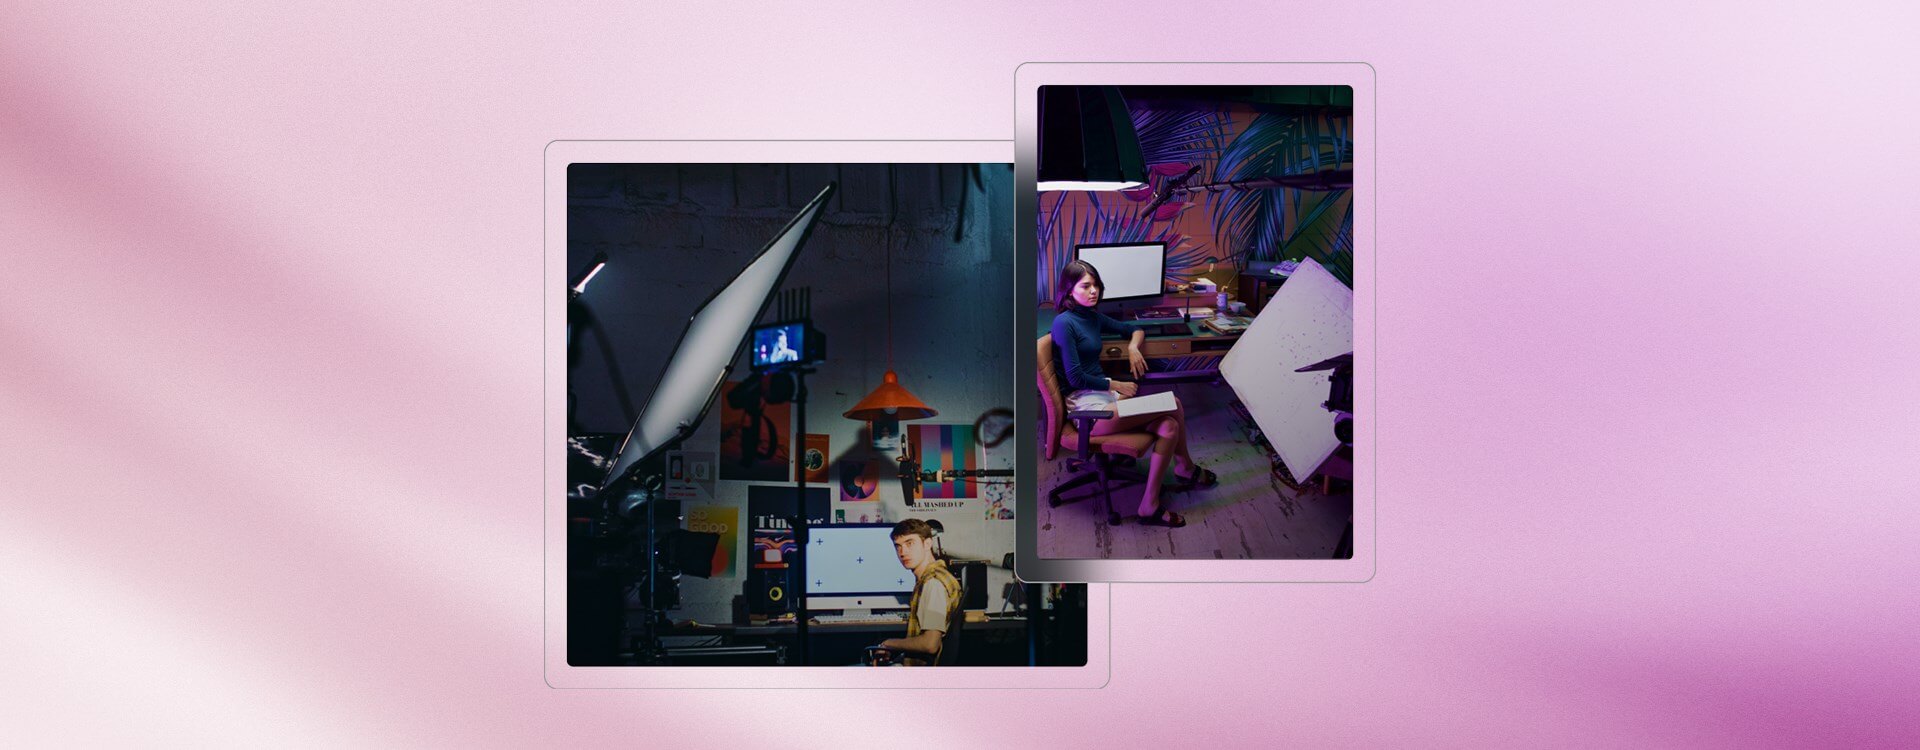
Bounce lighting takes light from one source–often a fairly hard one–and reflects it off a large surface to create soft, diffuse light that spreads over an extensive area. While bounce lighting is a very effective means to harness and soften natural light, it doesn’t mean you can’t use it with artificial light, either. It’s particularly useful if you’re working on a budget. For example, if you’re trying to establish a reasonably priced YouTube lighting setup, or in quite a small space where lots of equipment could be too much of a squeeze.
How to create bounce lighting
It doesn’t matter if you’re working with natural or artificial light; the process of bouncing light remains the same. You are redirecting the light from your key light, which could be the sun or an LED source, over your scene using a light modifier. While you might want to use a specific piece of gear to accomplish this, like a reflector or a bounce board, there are plenty of other things that will work to bounce light back onto your scene.
Walls and ceilings
Walls serve as an excellent fixture for bouncing light. By angling your light source so that it reflects back across your scene, you should be able to produce soft, diffuse light with gentle shadows. Given that you can’t move walls but can move people and gear, you might need to position your subjects or yourself and equipment to make the most of it. Do also remember that the color of the walls will impact the light it sends back. If the walls are, say, pale green, the light will have a similar green tinge.
Like walls, you can use ceilings to bounce light back onto a scene. Angle your key light upwards and watch the soft, bounced light fall back downwards.
Just as you can use a white sheet to act as a diffuser between a light source and your scene, you can also use a white piece of fabric to reflect light back onto your subjects.
Really, you can use anything bright enough white to bounce back light toward where you want it. Even snow.
When to use bounce lighting
Bounce lighting is useful both practically and technically.
In practical terms, you can use bounce lighting when shooting in a confined space without sufficient room for a full lighting rig, such as a 3-point lighting setup. For example, a strong light bounced off a wall or ceiling will provide you with ample, diffuse light.
Soften natural light
If you’re on location with minimal gear or shooting with natural light, you will find bounced light very useful, especially when it comes to hard vs. soft light from strong sunlight. By bouncing sunlight, you will be able to create a much softer look if it’s harsh. This is especially true around midday when it has a tendency to cast very deep shadows. Additionally, should you be working with the sun as backlighting but don’t want a silhouette, you can use bounced light as a fill light to create a more evenly lit scene.
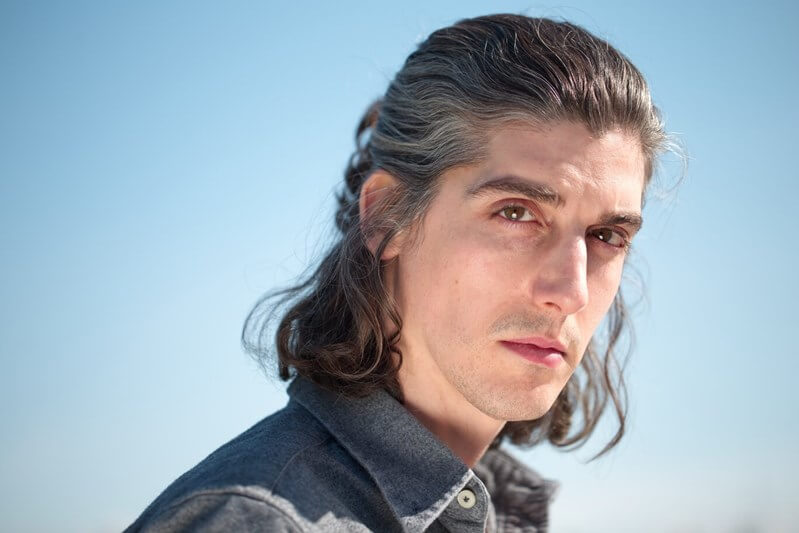
Photo of actor Nick Delvallé. If you look closely, you will see in his eyes a reflection of a reflector, which was used to eliminate the shadows beneath his eyes. Credit: Daniela Bowker
High key lighting setup
High key vs. low key lighting is the difference between bundles of light and an airy, positive feel to a scene and very subdued and controlled lighting that lends itself to more moody or intimidating footage. Bounced light is a simple means of creating a high key setup. Using an intense light source that you bounce off a large surface, like a white wall, a ceiling or a bounce board, you can distribute lots of light around a scene and control the shadows for a bright feeling.
Other light sources
Soft lighting is usually created by a softbox or umbrella, or you can use a Fresnel light if you have access to one. But if you’re in a situation where you have an intense light source without something to diffuse it effectively, try bouncing the light. Look for a reflector or bounce board, or a white ceiling or wall. There are plenty of options; sometimes, it just requires a bit of alternative thinking.
Final thoughts
Whatever your light source, there’s a very high chance that you can find a way to soften it by bouncing it if you need to. And even if you’re not on a budget or aren’t having to work in tight conditions, bounced light can be exactly what you need. Try it and see.