At some point when shooting and editing video, you will notice that interior and exterior scenes look different. As you become a more experienced creator, you have a clearer vision of how you want your footage to look. You may want a look that is more realistic, more cinematic, or maybe even surrealistic. Before you can set your stylistic fingerprints on your video, you need it to have a consistent look. That’s when you need to get into the world of video color correction.
While color correction might sound incredibly technical, and maybe beyond your skillset, it’s nothing to fear. At its core, color correction is a powerful editorial process for achieving the colors you want for your vision. And it works for whatever your project might be—short films, YouTube videos, documentaries, music videos, and so on.
Below, we’ll talk about the basics of video color correction—the foundational principles. And then, we’ll move on to ways of color correcting your videos.
What is Color Correction?
When humans look around a room, it’s relatively consistent, especially if the interior lighting doesn’t change. But when you shoot video footage of the very same place, even if the light does not change, it will look different than what the human eye perceives. And beyond that, if you move the camera around, zoom in and out, change lenses, and especially if you alter the light with lighting kits, the quality of light and colors will vary.
Color correction is the process of creating a more uniform quality of light and color from clip to clip. It involves adjusting parameters like brightness, saturation and hue, among other values.
Often, color correction doesn’t have to be a drastic adjustment of these values. Other times, it will take significant tinkering to get the uniform look you want.
First: White Balance
Before getting into the process of video color correction and color grading, we should mention white balance. White balance is a measure of the temperature of whites in video.
Most DSLR cameras have a “White Balance” feature. These cameras have auto white balance settings, but you can also white balance manually by placing a piece of white paper in front of the lens and adjusting the balance yourself.
To capture “warmer,” more film-like video, the white balance can be set to cloudy when you’re shooting in a sunny exterior environment. For a “cooler” look, the white balance can be set to fluorescent in the same bright environment.
If you’re shooting video with a smartphone, it’s important to know that they don’t have an adjustable white balance feature. Instead, smartphones automatically adjust white balance depending on the videographer’s lighting.
How to Color Correct
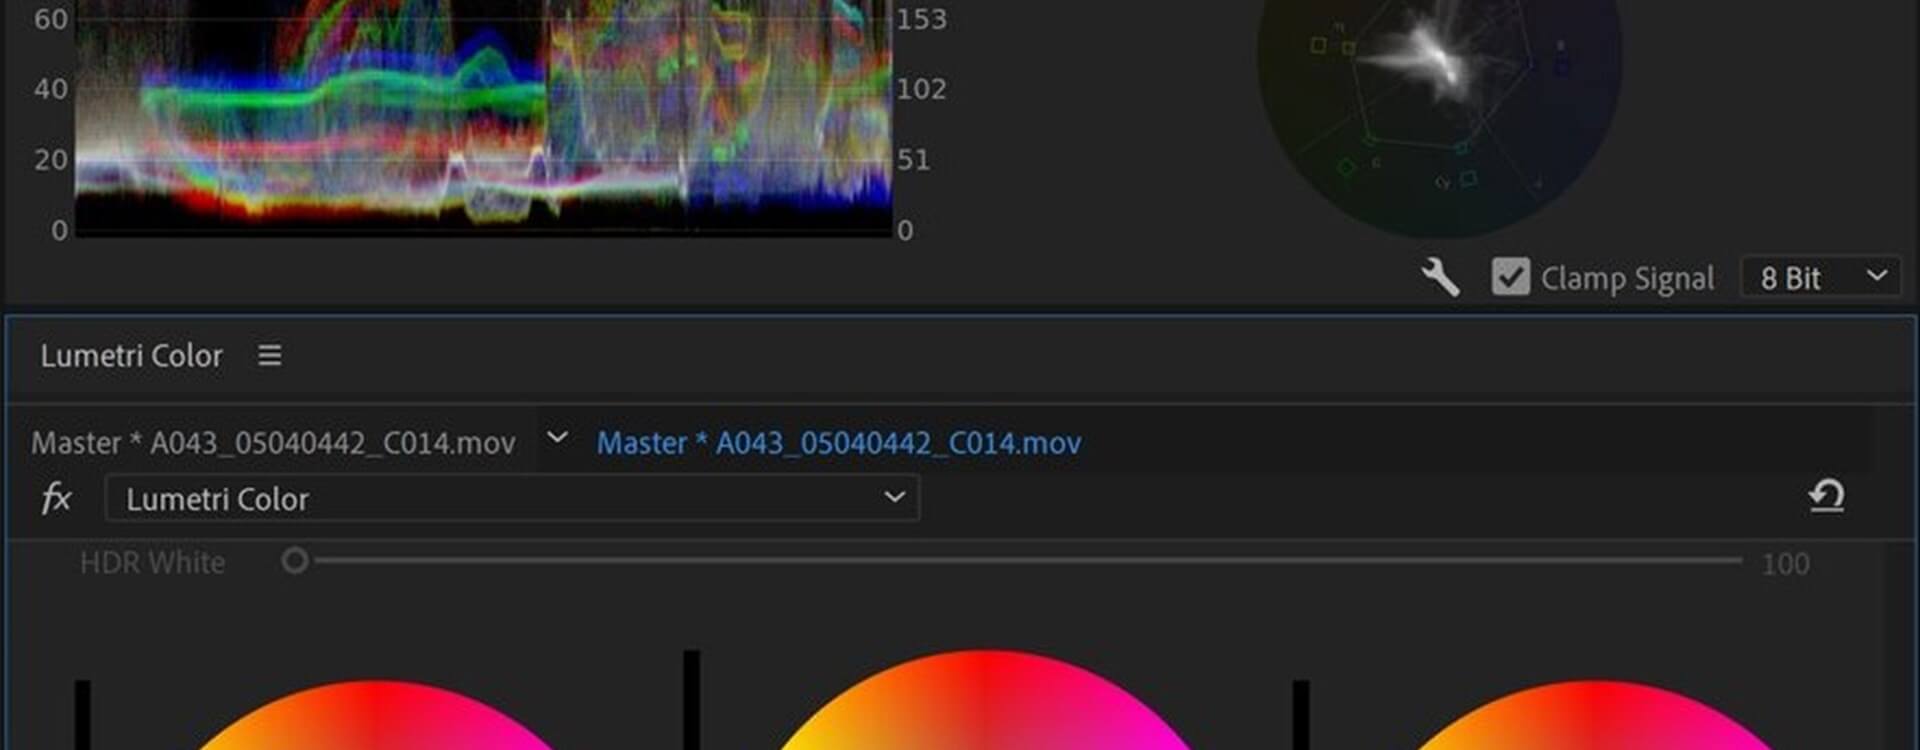
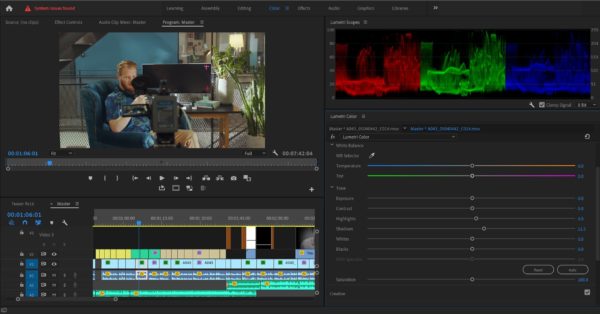
Color correction is available in basic movie editing software like Apple iMovie, Microsoft Movie Maker and others, and the iPhone’s iMovie app even has some simple color correction tools. Far more complex color correction features are available on professional editing software like Final Cut Pro, Adobe Premiere and Avid.
In these programs, videographers can adjust values like exposure, shadows, saturation, contrast, whites and blacks. Another popular piece of software for color correction is DaVinci Resolve, and you might want to use it when learning how to color correct since the program was originally designed for color correction and only later became a full-fledged NLE.
Where to Start
Start color correcting by looking for the clip or clips that are as close as possible to how you want the scene to look. Then you can begin adjusting color correction values to make the other clips match them, or even give all of the clips a more natural look.
Adjust Whites and Blacks
Yes, we already discussed white balance above. If you didn’t correctly white balance your footage, video color correction is your chance to get the white and the black you want or need.
Using your video editing software, adjust your whites and blacks. Make sure they are consistent from clip to clip. Small adjustments will be necessary, so don’t get too concerned if the clips differ slightly.
Calibrate Shadows, Midtones, and Highlights
It’s important to note that when it comes to adjusting values for shadows, midtones and highlights that you don’t try to give it a specific artistic look. Color correction, especially this part of it, is not about aesthetics. It’s about giving your video the most natural or accurate color fidelity and light intensity.
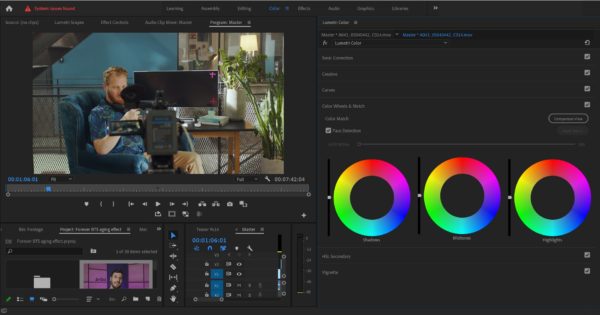
In your editing software, you will want to adjust shadows, midtones, and highlights separately. This way, you won’t alter your highlights when you tinker with your shadows and vice versa.
These three values are often collectively referred to as “Gamma” or “Curves.” Don’t be too worried about what they are called as a group—just look for the three values and start adjusting them.
*Note: In some video editing software, shadows, midtones, and highlights are known as “offset”, “gamma”, and “gain”, respectively.
Adjust Your RGB Curves
After adjusting the whites and blacks, you will need to adjust the amount of color in your video. This means turning to RGB Curves.
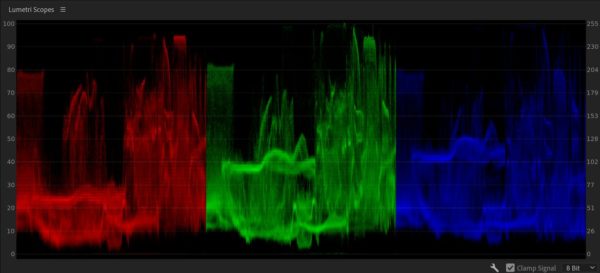
In the NLE, these curves visualize the amount of color in your moving images. RGB stands for Red, Green, and Blue, and in editing software, you will be adjusting the reds, greens, and blues separately.
Once again, you’re not going for a particular aesthetic when you color correct your RGB curves. What you’re doing is trying to find the most natural or realistic look you were trying to capture when recording your video (or film).
*Note: After you’ve color corrected, you turn to color grading, which is the process of giving your footage a specific aesthetic or cinematic look.
Saturation and Brightness
In video, the intensity of colors is the image Saturation. When you increase saturation, it removes greys from your images’ color data. When you lower saturation, it adds more grey.
Brightness, on the other hand, is a value for the level of light seen in an image’s colors. Tinkering with brightness either adds more or less white or black to your video’s colors.
Again, your task in video color correction is to ensure the saturation and brightness are consistent from clip to clip. So, either write down the saturation or brightness values that give you the most naturalistic image, then input them into other clips; or, copy and paste them.
Takeaways
Not to sound like a broken record, but color correction is the process of giving your footage a consistent look, as well as an appearance that is natural and real. Basically, you’re trying to provide the image with the look you saw when shooting the footage, whether that was in an interior or at an exterior location.
Learning how to color correct starts with properly white balancing your camera before recording your footage. Once you start editing, however, follow the steps we listed above.
First, adjust your whites and blacks, which is especially important if you forgot to white balance, or if the white balance was incorrect. Next, it’s time to adjust shadows, midtones and highlights, before moving on to calibrating your RGB curves. Finish up by tweaking your video clips’ brightness and saturation. After the video color correction is complete, you can begin thinking about Color Grading. As we noted above, Color Grading is the process of giving your video a desired artistic or aesthetic effect, and you can get some tips for how to get the style you want in our latest color grading post.