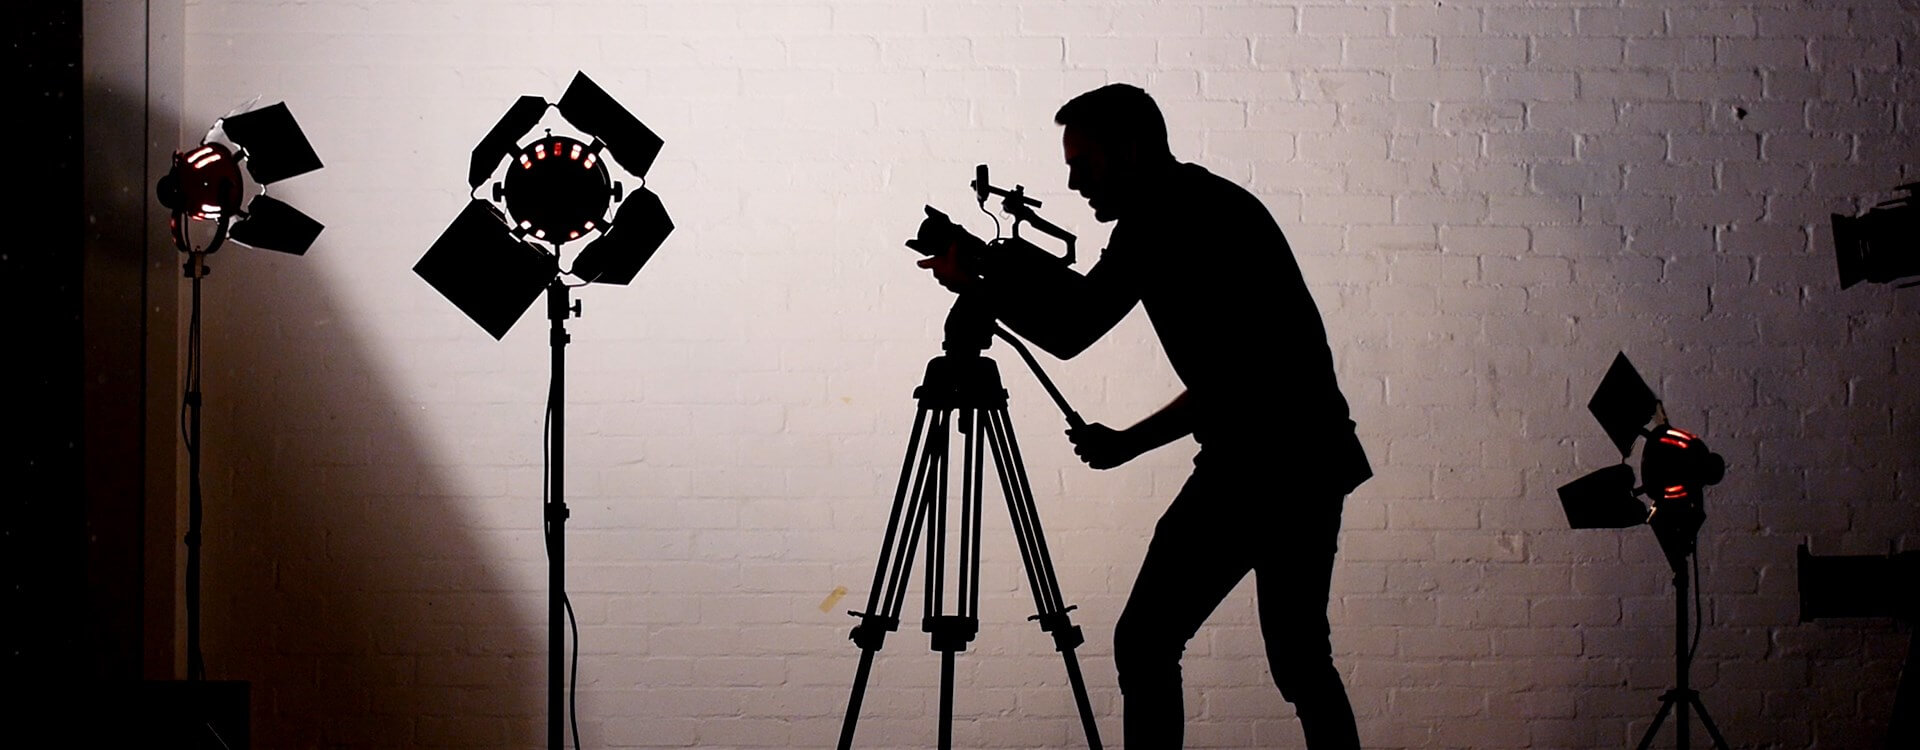
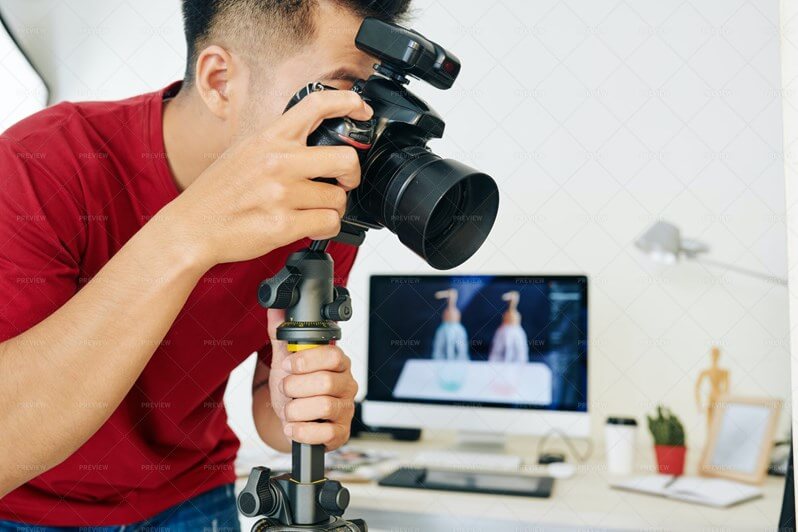
The video tripod is often seen as the gimbal’s and the Steadicam’s boring relative. It’s stable and reliable but not altogether exciting. However, when you learn how to use a video tripod to its full potential, it can make a huge difference to your filmmaking.
There are different types of tripods for different types of shooting, so we’ll be looking at the pros and cons of those, as well as some advice on how to use a tripod to get the most out of it.
Photography vs. video camera tripods
While all tripods are 3-legged stabilization devices, some tripods are designed for photography, and others are video tripods. There are 3 main differences between photography tripods and video tripods. First, video tripods don’t usually have a center post as it can add vibrations when you’re panning. Instead, there will be a bowl where the head sits.
Second, video tripods can usually bear more weight than a photography tripod. An Arri Alexa Mini weighs in at around 2.3kg, which is significantly heavier than a Canon 5D Mark IV (without a lens) at about 800g. And if you’re using a mirrorless or DSLR camera for filmmaking, by the time that you’ve added on a monitor, mic, battery packs, and any other accessories, the weight will be significant. Whatever camera you use for filming, you’ll need a video camera tripod that can hold more weight.
Third, the head of the tripod differs from photography to video tripods.
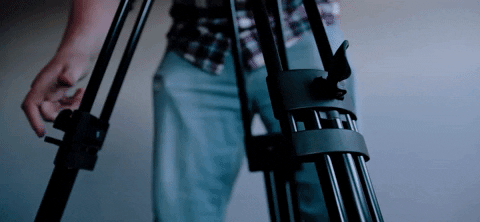
Ball head vs. fluid head tripods
Ball head tripods
Ball heads are like a ball-and-socket joint. This gives them a great range of motion and can track fast-moving subjects easily. When you need to secure your position, you can screw the ball in place, and there’s usually an adjustable tension knob, too. They are light, relatively cheap and easy to use. This might make them sound like the perfect tripod head, but they do have their drawbacks, especially for filmmaking.
Ball head tripods are not great for panning. Because you usually adjust the camera by holding it in your hands, there can be quite a bit of shake that transfers into the picture. This is sometimes known as the earthquake effect. Ball head tripods are great for wildlife and sports photography, and you could use them for creating a time-lapse video but will struggle to deliver what you need for filmmaking.
Fluid head tripods

This is where fluid head tripods come in. These are based on the pan and tilt head mechanism, where you control panning and tilting independently of each other using levers. These are more tricky to use than ball heads, but they are smoother. And fluid heads are even smoother still because of the inclusion of fluid cartridges into the head mechanism. The fluid provides resistance to your panning or tilting movement, ensuring that it is smooth and controlled and doesn’t shudder to a stop. They help make your footage look more professional. Of course, the extra engineering and the addition of the fluid mean that they are more expensive and heavier, too. But, they are worth it for filmmaking, although not so great for photography.
Height and weight
Tripods come in all sorts of dimensions. They vary in height and weight, making some more suitable for taller people and others better for people who travel frequently and therefore need a relatively lightweight and compact model. Of course, what you want and need will depend on how you intend to use your tripod and your personal considerations, too.
Rubber feet
For indoor-only shooting, plain rubber feet are fine. However, if you might be shooting outdoors, look for rubber feet with metal spikes running through them. The rubber should be retractable, meaning they won’t mark indoors and can get a good grip outdoors.
Positioning your tripod
Think about where you want your tripod before you get it out and set it up. Moving a collapsed tripod is so much easier and safer than wrangling a fully extended 3-legged monster. When you set it down, position one leg toward your subject, which leaves you with plenty of space to stand between the other 2 legs and close to the camera. If you’re shooting on a slope, always position 2 legs down the slope. It is far safer.
If you have to reposition your tripod from one shot to another, remember to close the legs and, if necessary, take the camera off it, too. It doesn’t matter how pushed for time you are; it is always better to be safe than sorry.
Maximum stability
When you erect your tripod, do ensure that you fully separate the legs so that they are spread over their widest area. This will ensure that you have maximum stability from your tripod.
Extending your tripod
Some people will tell you that you should always extend your tripod from the thickest legs, which are the top ones, downwards because having it on its chunkiest legs first affords you the most stability. Others will suggest extending from the bottom to the top: it’s easier to unfasten the locking mechanism and raise your camera upwards than it is to pull the legs downwards. Honestly, it’s really up to you and whatever you find easiest. Just please be careful whichever option you choose.
Leveling your tripod
Most tripods are fitted with a spirit or bubble level so that you can be sure that you’ll be shooting square and level. With a bowl mount, you should be able to level the tripod by adjusting the camera in its setting. If you don’t have a bowl mount, you’ll need to adjust the tripod’s legs.
Weight your tripod
To be certain that you won’t nudge your tripod or that a gust of wind doesn’t catch it, there should be a hook around its center to which you can attach a weight. You can buy sandbags for this, but a tote bag with a bottle of water in it, or even a backpack, works just as well.
Set the counterbalance
Video tripods tend to have larger plates to attach the camera to the tripod than photography tripods. This helps hugely with increasing their stability, but so does using the counterbalance mechanism that comes with most fluid head tripods. The counterbalance is there to stop your camera from falling backward or forward if it’s lens- or battery-heavy. The counterbalance is usually a dial that you adjust in steps. If you don’t have a counterbalance, try sliding the plate back and forth in its setting until you are as well-balanced as you can manage.
Adjust the drag
You can adjust the degree of resistance that the fluid in your fluid head tripod will set against your panning or tilting movements. This is known as drag and is usually controlled by a dial on the tripod head. For a whip pan, you will probably need to set the drag to 0, but much higher if you are doing slow, steady panning or tilt shots.
Compose your shot
Composing a pan or tilt shot the right way is just as important as composing a close-up shot. It might help to think of it as having a beginning, a middle and an end. Your shot starts somewhere, with a particular composition and it finishes elsewhere, also with a specific composition. You then have to travel between the two with purpose. You need to think about the speed and the angle at which you move the camera, the distance you want to be from your subject and background throughout the motion, and what you want your audience to see and feel as the camera moves. This isn’t just about getting from A to B: you need to do it with purpose.
Storage
Last of all, when it comes to storing your tripod, be sure to loosen any knobs or levers and ideally lay it on its side. If it should get knocked, then loosened parts are less likely to be damaged. And if it’s on its side, then it’s less likely to get knocked over.
Final thoughts
A gimbal is cool, but don’t look past a tripod! They are solid, reliable, and surprisingly versatile. And while the expensive ones are not cheap, tripods do not have to cost the earth, either. Every photographer and filmmaker should have (at least) one. To get the right tripod for your needs, check out our list of best tripods for every type of video creator.