Highlights
Table of Contents
Explore article topics
Depth of field. It’s a term you hear a great deal in both photography and filmmaking. But what does it mean, and what impact does it have on your photos and videos?
Acceptable sharpness – or blur
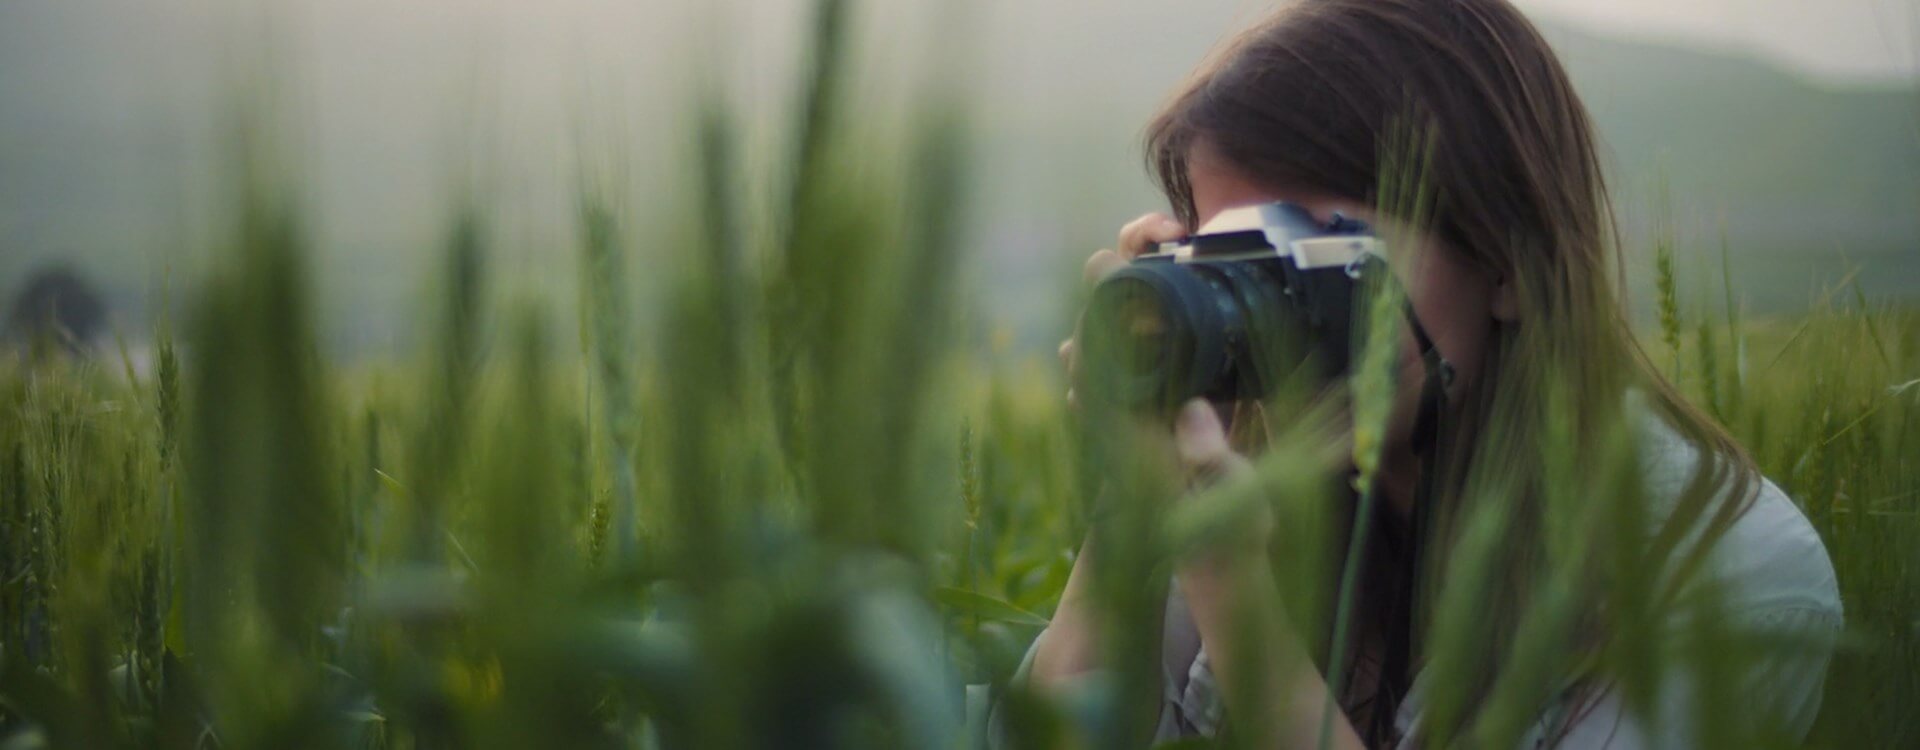
Depth of field refers to the area of your image – still or moving – that is ‘acceptably sharp’. Or, how much of your image appears in focus and how much of it is blurred. A shallow depth of field means that the plane of focus, which is the space around your focal point that looks sharp, is fairly small and there’s lots of background blur. A deeper depth of field gives you much less background blur in your shots.
The transition from sharp to blurred is a gradual thing: you won’t see a line going across an image where it suddenly switches from sharp to out-of-focus. But this change happens faster in images with a shallow depth of field. In a shot with a deeper depth of field, the movement from sharp to blurry takes longer, so it looks as if more of your scene is in focus.
Why use shallow depth of field?
If shallow depth of field makes lots of a scene blurred or out-of-focus, why would you want to use it? Wouldn’t it be better to just stick with a depth of field that keeps everything or nearly everything, in focus?
Well, no. Not really.
There are a few reasons that you might want to use a shallow depth of field, the first of those being that you like how it looks. If you like the effect of your in-focus subject standing out from a blurred background, that is a good enough reason to choose this technique.
But sometimes, you might need to use a shallow depth of field, too. If the background is ugly or distracting, blurring it out will make for a more appealing shot and help to keep your viewers focused on the subject. Their eyes won’t be drifting everywhere, hunting for a focal point.
Or, you might want to deliberately blur the background and make sure that your subject is sharp to help with your storytelling. Doing this will ensure that your audience knows exactly who or what the subject of the scene is and where they need to concentrate. There are also the emotional effects that isolating your subject can have. You might be telling the audience that they are lonely or maybe afraid. Equally, it could be showing that your subject is free or lost in their own thoughts.
Controlling depth of field with aperture
Now that we know why we might want a shallow depth of field, how do we achieve one?
The first and most important factor that controls your depth of field is your lens’ aperture. A large aperture that lets in lots of light (and conversely has a small ƒ/stop number: ƒ/2.8 is a larger aperture than ƒ/11) will give you a shallow depth of field.
Get unlimited royalty-free 4K footage
The importance of distance, focal length, and sensor size
Aperture might be the most immediate and obvious way to control your depth of field, but there are other factors, too.
First of all, the closer you position your camera to your subject, the shallower the depth of field you will create. As you fill your frame with more of your subject, it is harder to keep it all in focus. Similarly, if you put more distance between your subject and the background, you will help to create a shallower depth of field and blur the background. By moving your camera or your subject, you can adjust your depth of field.
It’s a bit of a myth that lenses with longer focal lengths ‘have’ a shallower depth of field. It’s better to say that the longer focal length has a magnifying effect on your scene, and by bringing it closer to you, the depth of field appears to be shallower. The blurred parts of the image will also be magnified, making them look even more blurred, too!
Finally, the larger the sensor in your camera, the closer you need to move to your subject for it to fill your frame. This, I’m sure you’ve guessed it by now, means that the depth of field will be shallower.
Do you need ND filters?
You don’t need a neutral density filter to be able to shoot scenes with a shallow depth of field, but in certain circumstances they are helpful. If you are shooting in very bright conditions and you want to use a larger aperture to get a shallow depth of field, a neutral density filter will prevent you from over-exposing the shot.
What about follow-focus?
A follow-focus is a wheel that lets you adjust the focus of your lens more accurately than you can with your hands. If you’re working with a very shallow depth of field and need to be accurate in selecting your focal points, a follow-focus could be a good investment.
Think about using marks
When you’re shooting with a shallow depth of field, it’s very easy for your focal point to shift in the frame and no longer be sharp. By putting down marks for your subjects, they will know exactly where they need to be in each scene so that you can keep them in focus. Similarly, you can put marks on the wheel of your follow-focus so that you can get your subject sharp in the frame.
Should I use a monitor?
If you hook your camera up to a monitor while you’re shooting, you’ll be able to see your scenes more clearly. This will help you nail your focal points, especially when you need to be precise with a shallow depth of field.
Being cautious with a shallow depth of field
Apart from the obvious technical restrictions around using a shallow depth of field, for example, over-exposed scenes and not being accurate enough with your focal point, it’s easy to over-use this technique. It’ll be quite boring for your audience if that happens, so remember to use a good mix of shallower and deeper depths of field to move along your story and keep things visually interesting.
Daniela is a writer and editor based in the UK. Since 2010 she has focused on the photography sector. In this time, she has written three books and contributed to many more, served as the editor for two websites, written thousands of articles for numerous publications, both in print and online and runs the Photocritic Photography School.
Share this article
Did you find this article useful?
Related Posts
- By Robert Hardy
- 3 MIN READ
- By Daniela Bowker
- 8 MIN READ
Latest Posts
- 25 Apr
- By Josh Edwards
- 4 MIN READ