When it comes to the many repetitive tasks in editing, graphics, and VFX, efficiency is the name of the game. If you can shave mere seconds off something that you do every single day, the time savings (and mental energy savings) can add up over weeks and months and years. All of this is to say that efficiency is a big deal.
In a new video from the good folks over at Motion Array, a one-stop-shop for all of your stock asset needs, we get a few great Premiere Pro tips for being more efficient. These tips range from simple ones that should help you complete simple editing tasks way faster than if you did them manually to effects, graphics, and color tasks that many editors do on a day-to-day basis.
So without any further ado, here’s the video:
And here’s a quick recap of the tips covered in the video:
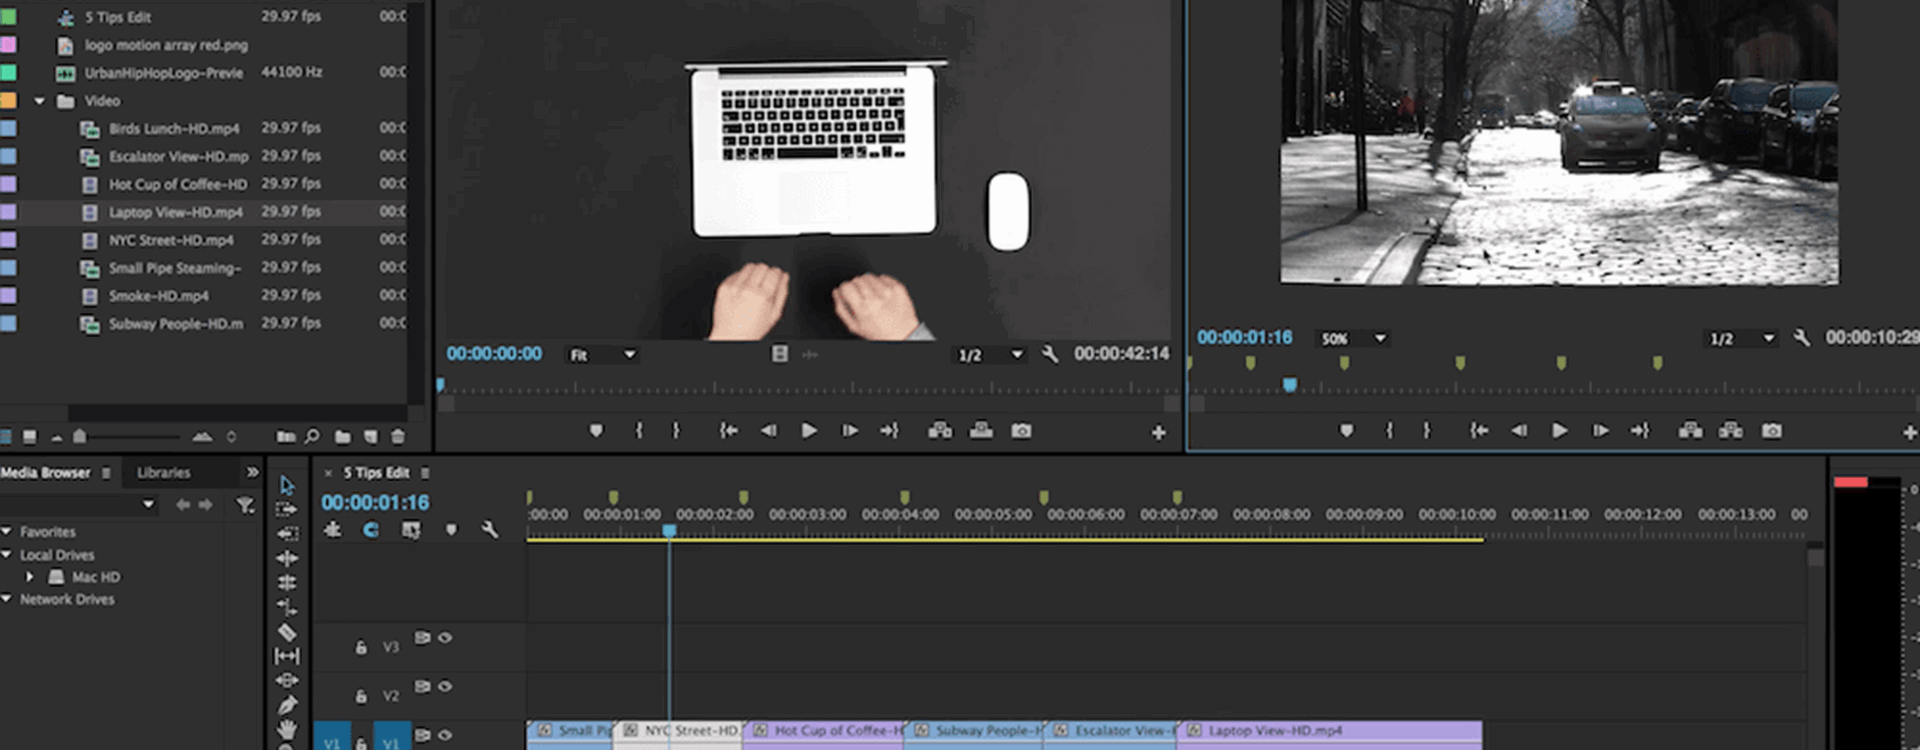
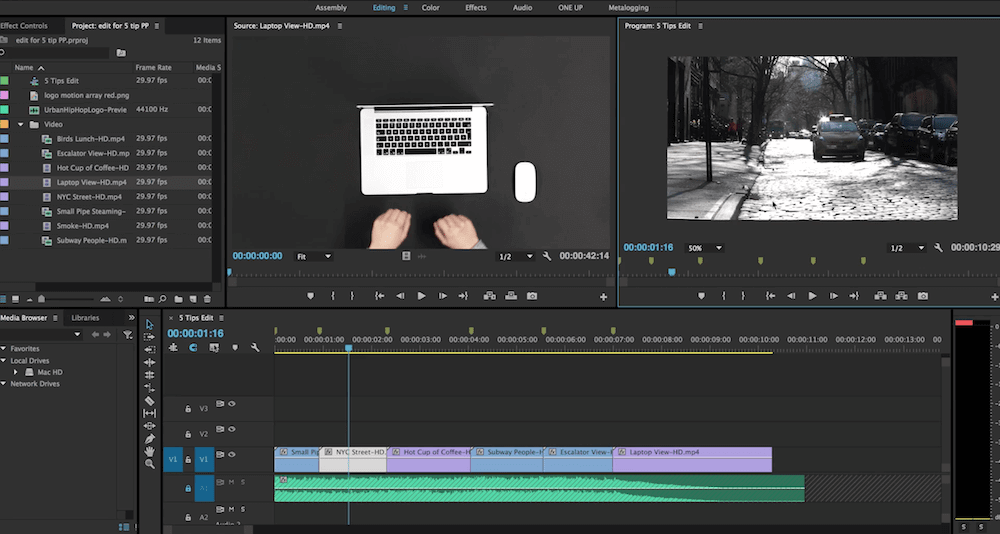
- Automate to Sequence: This first tip is awesome when you just want to make a quick montage of shots, especially when you want that montage to be synced with the beat of some music. For this to work, you first need to lay down your music track, add markers to the sequence where you want the edits to be, then select all of the clips you want to add. After that, it’s simply a matter of hitting the “Automate to Sequence” button in Premiere’s media pool area, and voila, your clips are in the timeline with cuts where you need them to be. Now just adjust the timing and arrangement of shots to your taste.
- Swap Clips in Timeline: Chances are, if you’re building a sequence using the technique above, you’ll want to rearrange some of the clips in the timeline. Well, simply by holding down CMD+ALT on the keyboard, then dragging clips to where you want them, you can insert that clip in the new position and have all of the clips around automatically adjust. Super simple and super useful.
- Replace Clip: This technique is great for when you have a shot in your timeline that you’ve added effects to, but you want to replace it with another take or another shot entirely while keeping the effects in place. In order to do this, just drag the clip that’s replacing the original from a bin or the source viewer while holding ALT on the keyboard. This will maintain the timing of the sequence and the effects that were on the old shot.
- Adjustment Layers: Now, I’m sure most Premiere editors know about adjustment layers by now since they’ve been around for a couple of years, but if you don’t know about them or use them, you really should. Basically, an adjustment layer lives on top of multiple clips in your timeline, which means it’s a great way to add any effect in Premiere to multiple shots at once. They’re great for color correction, blurring and sharpening, having animations that are consistent from shot to shot, and so much more.
- Easing In Keyframes More Precisely: This one isn’t so much an efficiency hack as much as it is a way to get better, smoother results when animating things in Premiere. Most folks know that you can change the temporal interpolation of keyframes so that you can ease an animation in and out, but the trick here is to drill down into the bezier editor to make those animations buttery smooth. For those of you animating logos and graphics in Premiere, this is a must.
So there you have it, 5 tips for more efficient Premiere Pro usage. If you’d like more tutorials like these (plus post on lots of other post-production topics), be sure to follow Motion Array’s blog.
What are your favorite tips for being more efficient in Premiere? Share them down in the comments!