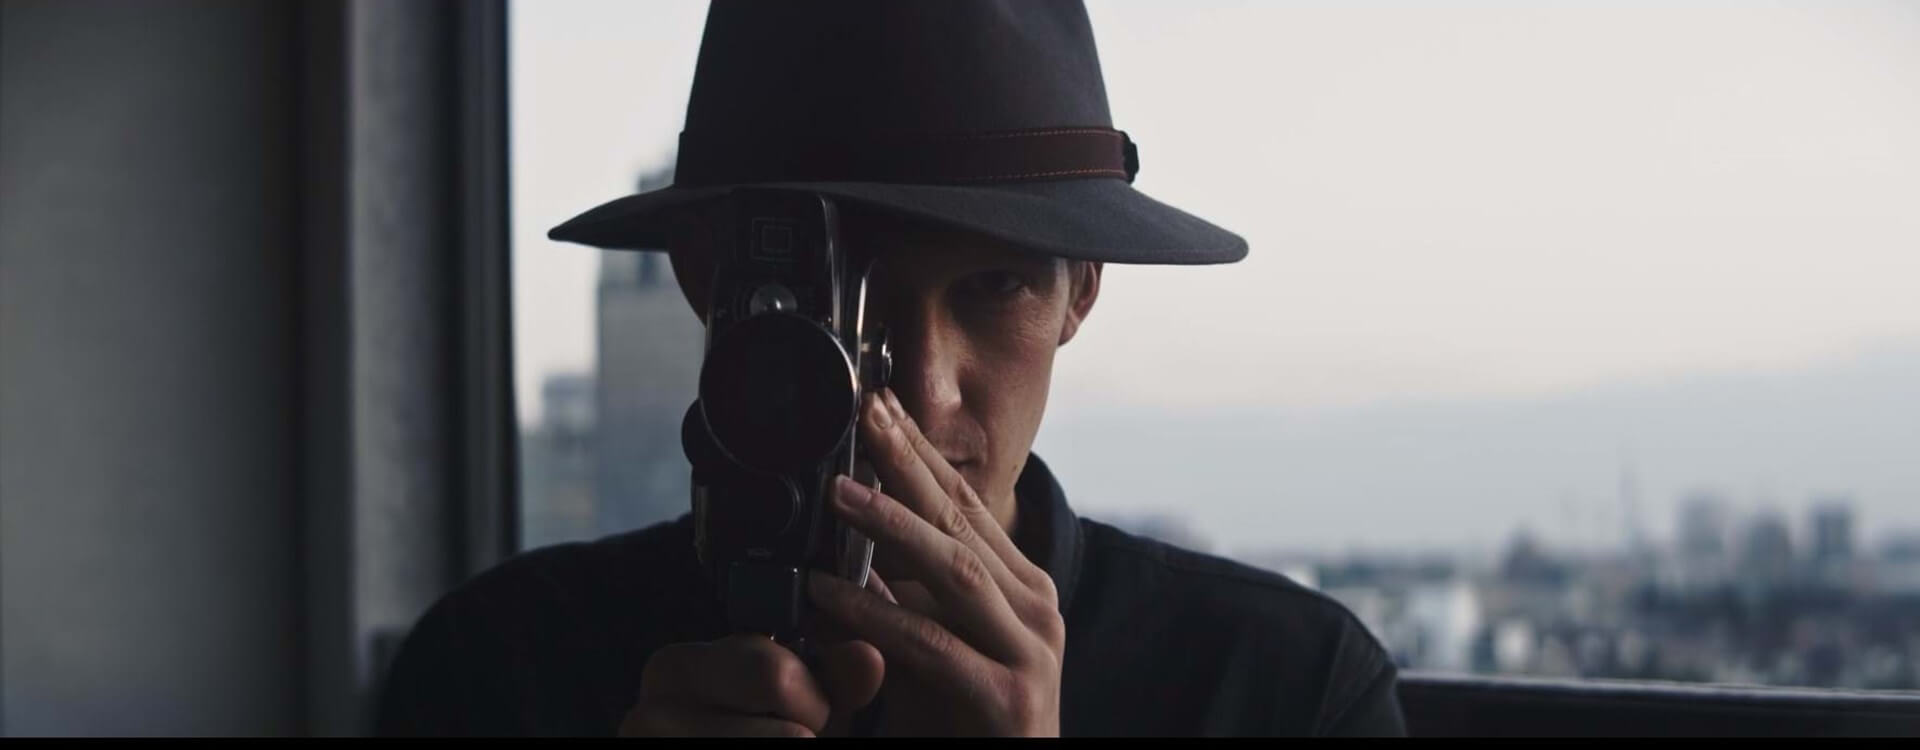
One of the obvious strengths of video technology – or any digital media, for that matter – is its ability to capture a vast amount of moving picture information. One of video’s other great strengths is its potential for manipulation. While it’s almost certain no filmmaker can give film a digital look, many cameras, tools, and techniques exist to make the digital moving image look like film. And in this age of nostalgia, every creator encounters the need for vintage videos.
While well-known for the gritty bleach bypass film look of his films Se7en and Fight Club, director David Fincher actually shot most of his 2007 film Zodiac on a Thomson Viper Filmstream high-definition camera. Sure, it helps to have elite cinematographers, production designers, and editors to give a digital motion picture the deep contrast, warmth, and grain of film; but, it is possible to capture a vintage atmosphere with DIY tools on a budget.
What follows are some tips and techniques for giving your videos a classic vintage film look.
Use real film
Wait, but aren’t we talking about giving videos a film look? Yes, but it would be a bit foolish not to mention the real deal.
Plenty of 8mm and 16mm cameras still exist. Companies like Kodak and Fuji still sell black and white as well as color negative motion picture film. A 100-foot roll of film will cost about $50, so plan to use that film wisely. From there, you will need to pay someone to put your film through the telecine process, which converts it from analog to a digital media file.
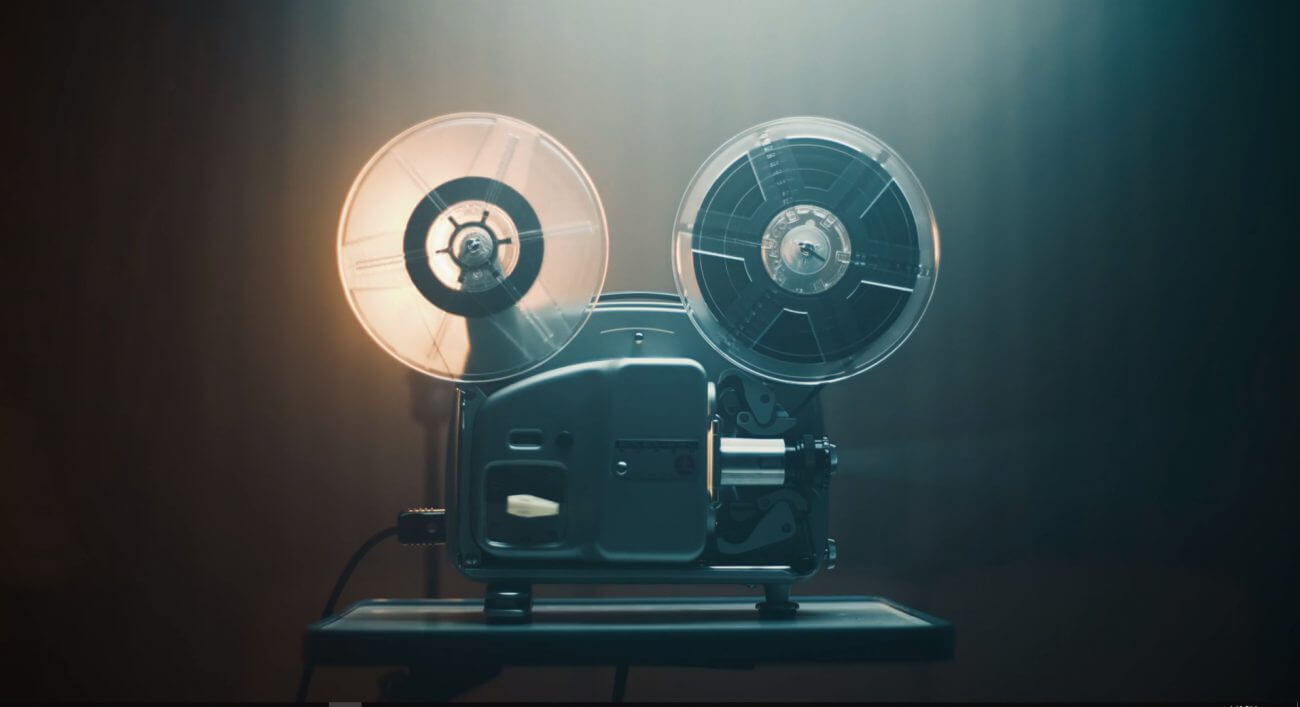
While there won’t be the instant gratification of shooting with a digital camera or even a smartphone, this entire process will give you that vintage film look. And you’ll have your film in video format that you can easily edit, color grade and correct, as well as publish and distribute.
Vintage lenses and filters
Most filmed content is only as good as the lenses, lights, and camera work. So, one of the best things that filmmakers can do to create a film look is use a vintage lens and certain filters on their digital cameras.
First, lenses. Vintage lenses have various characteristics that give that film look. Some of the coatings used on them, for instance, create lens flares that some filmmakers find attractive; while multi-coatings produce the desirable warmth, softness, and color saturation of the motion picture film period.
Carl Zeiss lenses, produced in Germany throughout the 20th century, are particularly well-known for such characteristics. A similar option is the Helios-44M 58mm f2.0 lens, produced by KMZ in the Soviet Union throughout the second half of the 20th century. Plenty of others exist, so do some research and find what works best for your rig. (Keep in mind that you’ll have to find a mount so these vintage lenses fit on your digital camera.)
Beyond lenses, try playing around with what diffusion filters like the Pro-Mist. Diffusion filters are an incredibly handy tool for filmmakers, regardless of format. As with digital filters in software like Final Cut Pro, Adobe Premiere, or even on Instagram, diffusion filters reduce the resolution of a high-resolution image, giving footage more vintage warmth or glow.
However, Keep in mind that some filters will “lift” shadows (i.e. contrast lift). While this can create a film look, remember that some film stock does well with really high contrast light and shadow (see: Andrei Tarkovsky’s masterpiece Stalker). Conclusion: contrast lift is not the only school of thought here in making something look like a vintage film.
Create it in post
With film, traditionally developing and color-grading facilities worked together with directors and cinematographers to pin down the final visual product of a film. If you’re shooting film, this is something to keep in mind. It’s an added cost, but it could really help a film look better. With digital video, on the other hand, various pieces of software can fulfill color-grading and other post-production needs.
It’s important to understand the difference between color correction and color grading. Color correction fixes imperfections or errors in color to give the moving images a more naturalistic look. Color grading adjusts color characteristics for aesthetic reasons (mood, atmosphere, etc.). One scene, for example, might call for a sunny exterior shot; another might be set in a dark and gritty basement scene. Color correction will provide a more organic moving image, but the color grading will really bring out the strong contrasts of these two scenes.
Beginners should also familiarize themselves with Lookup Tables, or LUTS. LUTS are preset colors for grading footage captured by a camera before its final output. They can be found in non-linear editing programs like Premiere, Final Cut Pro, and Avid, as well as color-grading software such as DaVinci Resolve and Speedgrade.
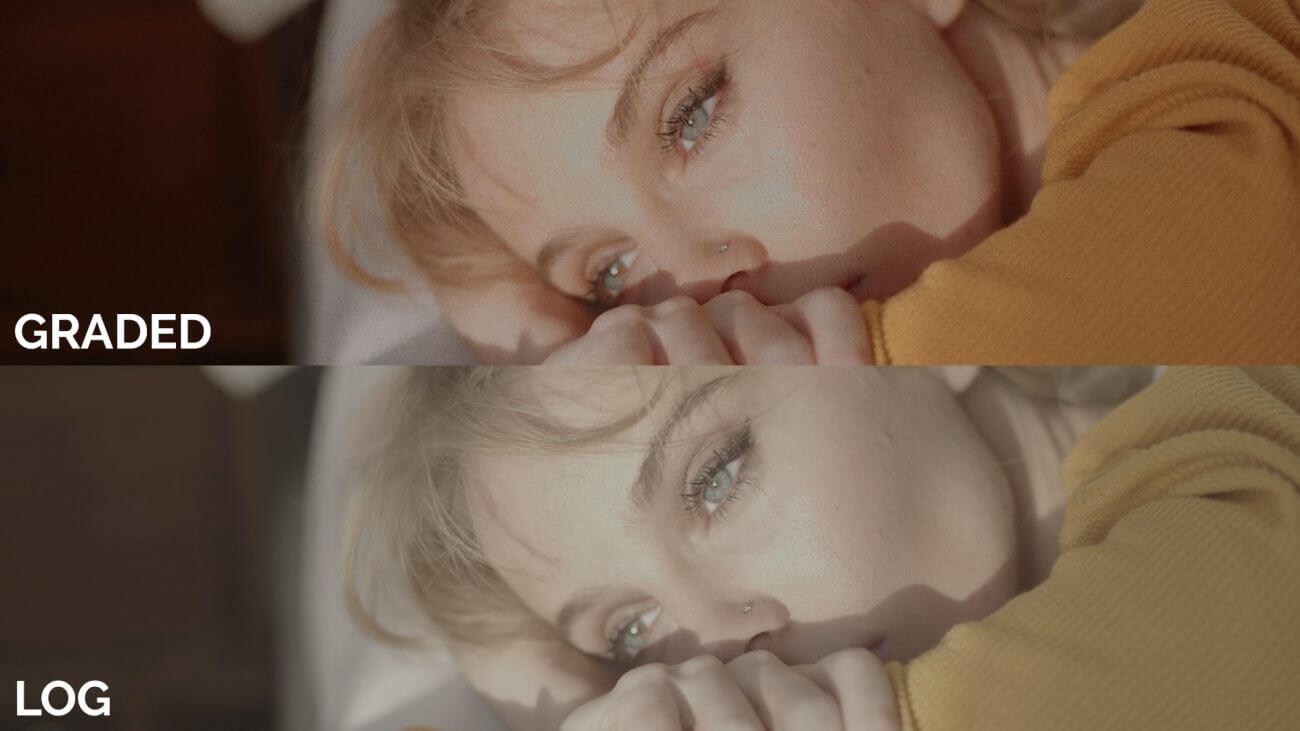
Another option you have for DIY color grading is using stock footage. For example, the Artlist stock footage platform offers videos in Raw and Log formats, which means you can color grade it yourself using LUTs and give any footage you want a vintage look.
It’s important to understand that LUTS should not be used as color correction cure for poorly shot footage. Instead, these presets are helpful tools in the color grading arsenal, which will help you achieve the desired look of your scenes and overall project.
If color correction and grading all sound too overwhelming, turn these processes over to professionals, or at least filmmakers who are familiar with such software. But, ultimately, it’s good to learn how to do this work yourself, so that for certain projects you can go DIY, or at least be able to clearly communicate what you want color-wise to professionals.
Knowing how these processes work will only help in creating vintage videos.
Play with aspect ratio and imperfections
Over the 20th century, moviegoers gradually became accustomed to widescreen aspect ratios. Watch any P.T. Anderson or Coen Brothers film, and you will instantly recognize the rich panoramic detail of widescreen aspect ratios like the classic 1.85:1, or anamorphic (2.35:1 and 2.39:1).
Most digital cameras, from DSLRs to smartphones, record in the 16:9 aspect ratio. But in NLE software, you can play around with other aspect ratios. Note that some pixel information will be lost if you transition from 16:9 to an even wider format, like anamorphic, which clips the top and bottom of the frame for a more vintage cinematic image.
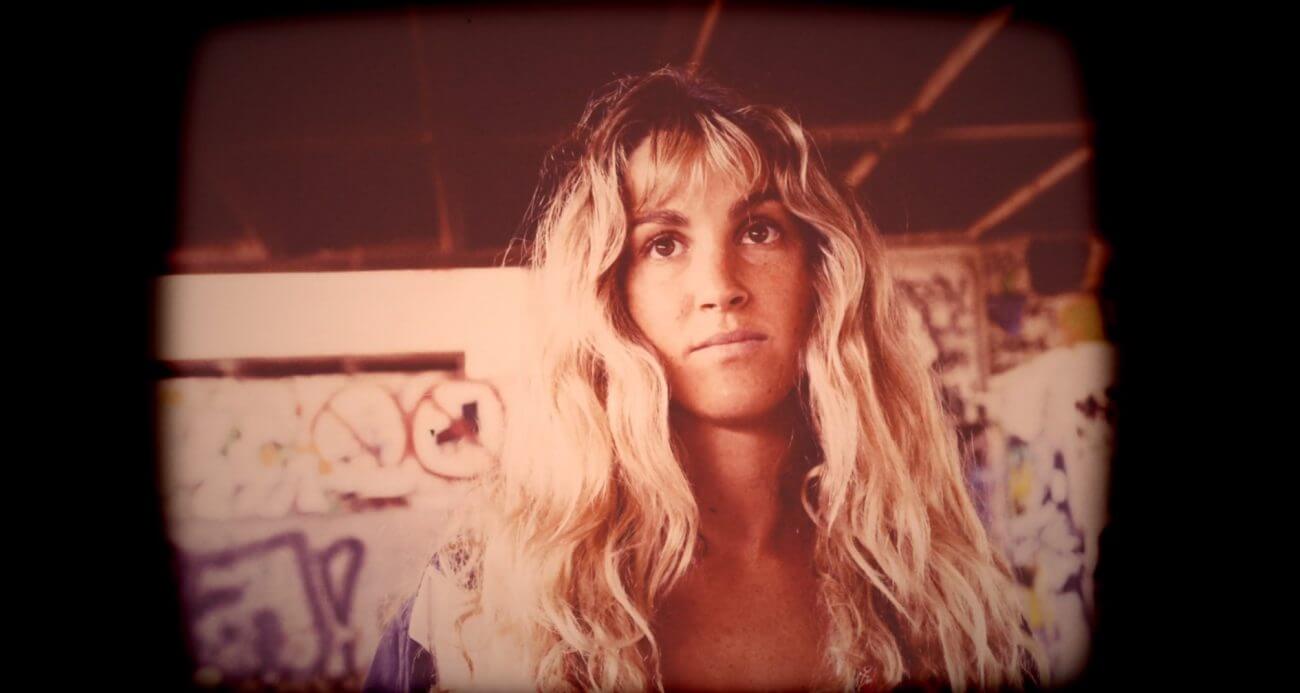
Editing software also gives user options to add imperfections like film grain, burns, dust and scratches for a more vintage look. You can download these and then drag and drop them in your editing software. To get the most authentic look, look for film mattes, which are ready-made video effects scanned from real film.
While these can be handy, use them carefully, as they can quickly become visually loud and distracting to the eye. In other words, they can look amateurish if not done well.
If you’re using a smartphone as your camera and editor, think about using some apps that give video a vintage film look. A couple of options are an 8mm Vintage Camera and iSupr8 Vintage Video Camera.
Start creating vintage videos
The best thing to do is experiment with the various tips and tricks above. If you’re not happy with smartphone apps that attempt to replicate the look of vintage film, get a digital camera and start experimenting with lighting, diffusion, vintage lenses, filters, and color grading software. Ultimately, it might take a combination of techniques to arrive at the look you want for your vintage videos.