Sometimes you’re pressed for time and just can’t spend hours tweaking the color your images to your heart’s content. In those instances, the following grading technique on DaVinci Resolve will give you the most bang for your buck in a short amount of time.
This tutorial for DaVinci Resolve comes from Alex Jordan over at Learn Color Grading, and it’s actually the perfect follow-up to another great video he put out last year about the power of desaturating shadows (more about that later). In the meantime, here’s Alex — along with his adorable and super helpful kitty — to show you the power of limiting the dynamic range of your blue channel. Enjoy.
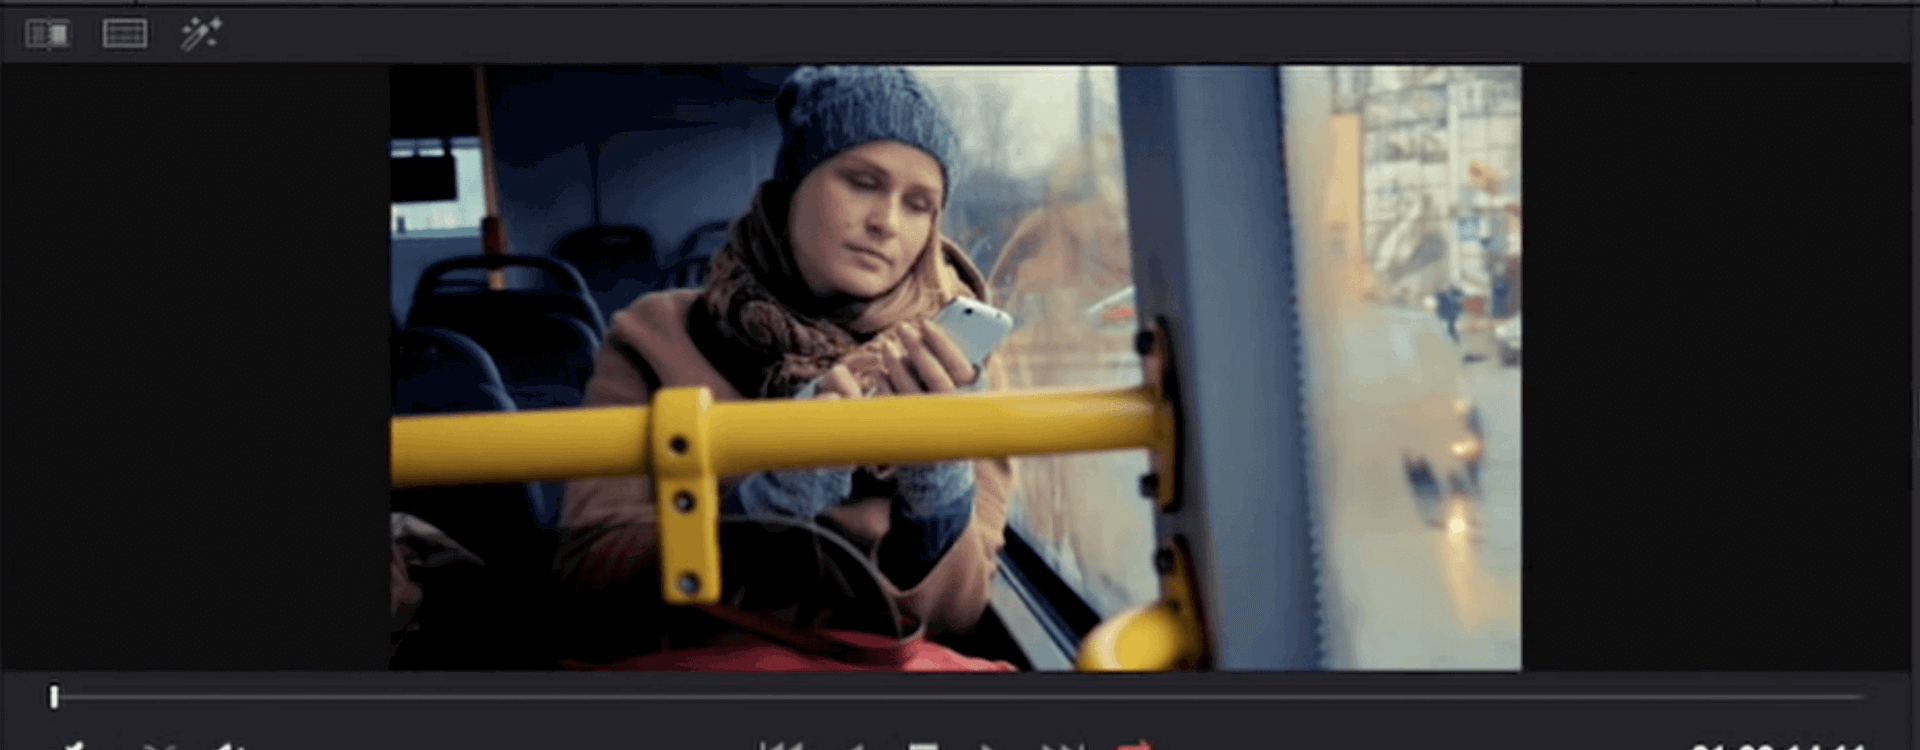
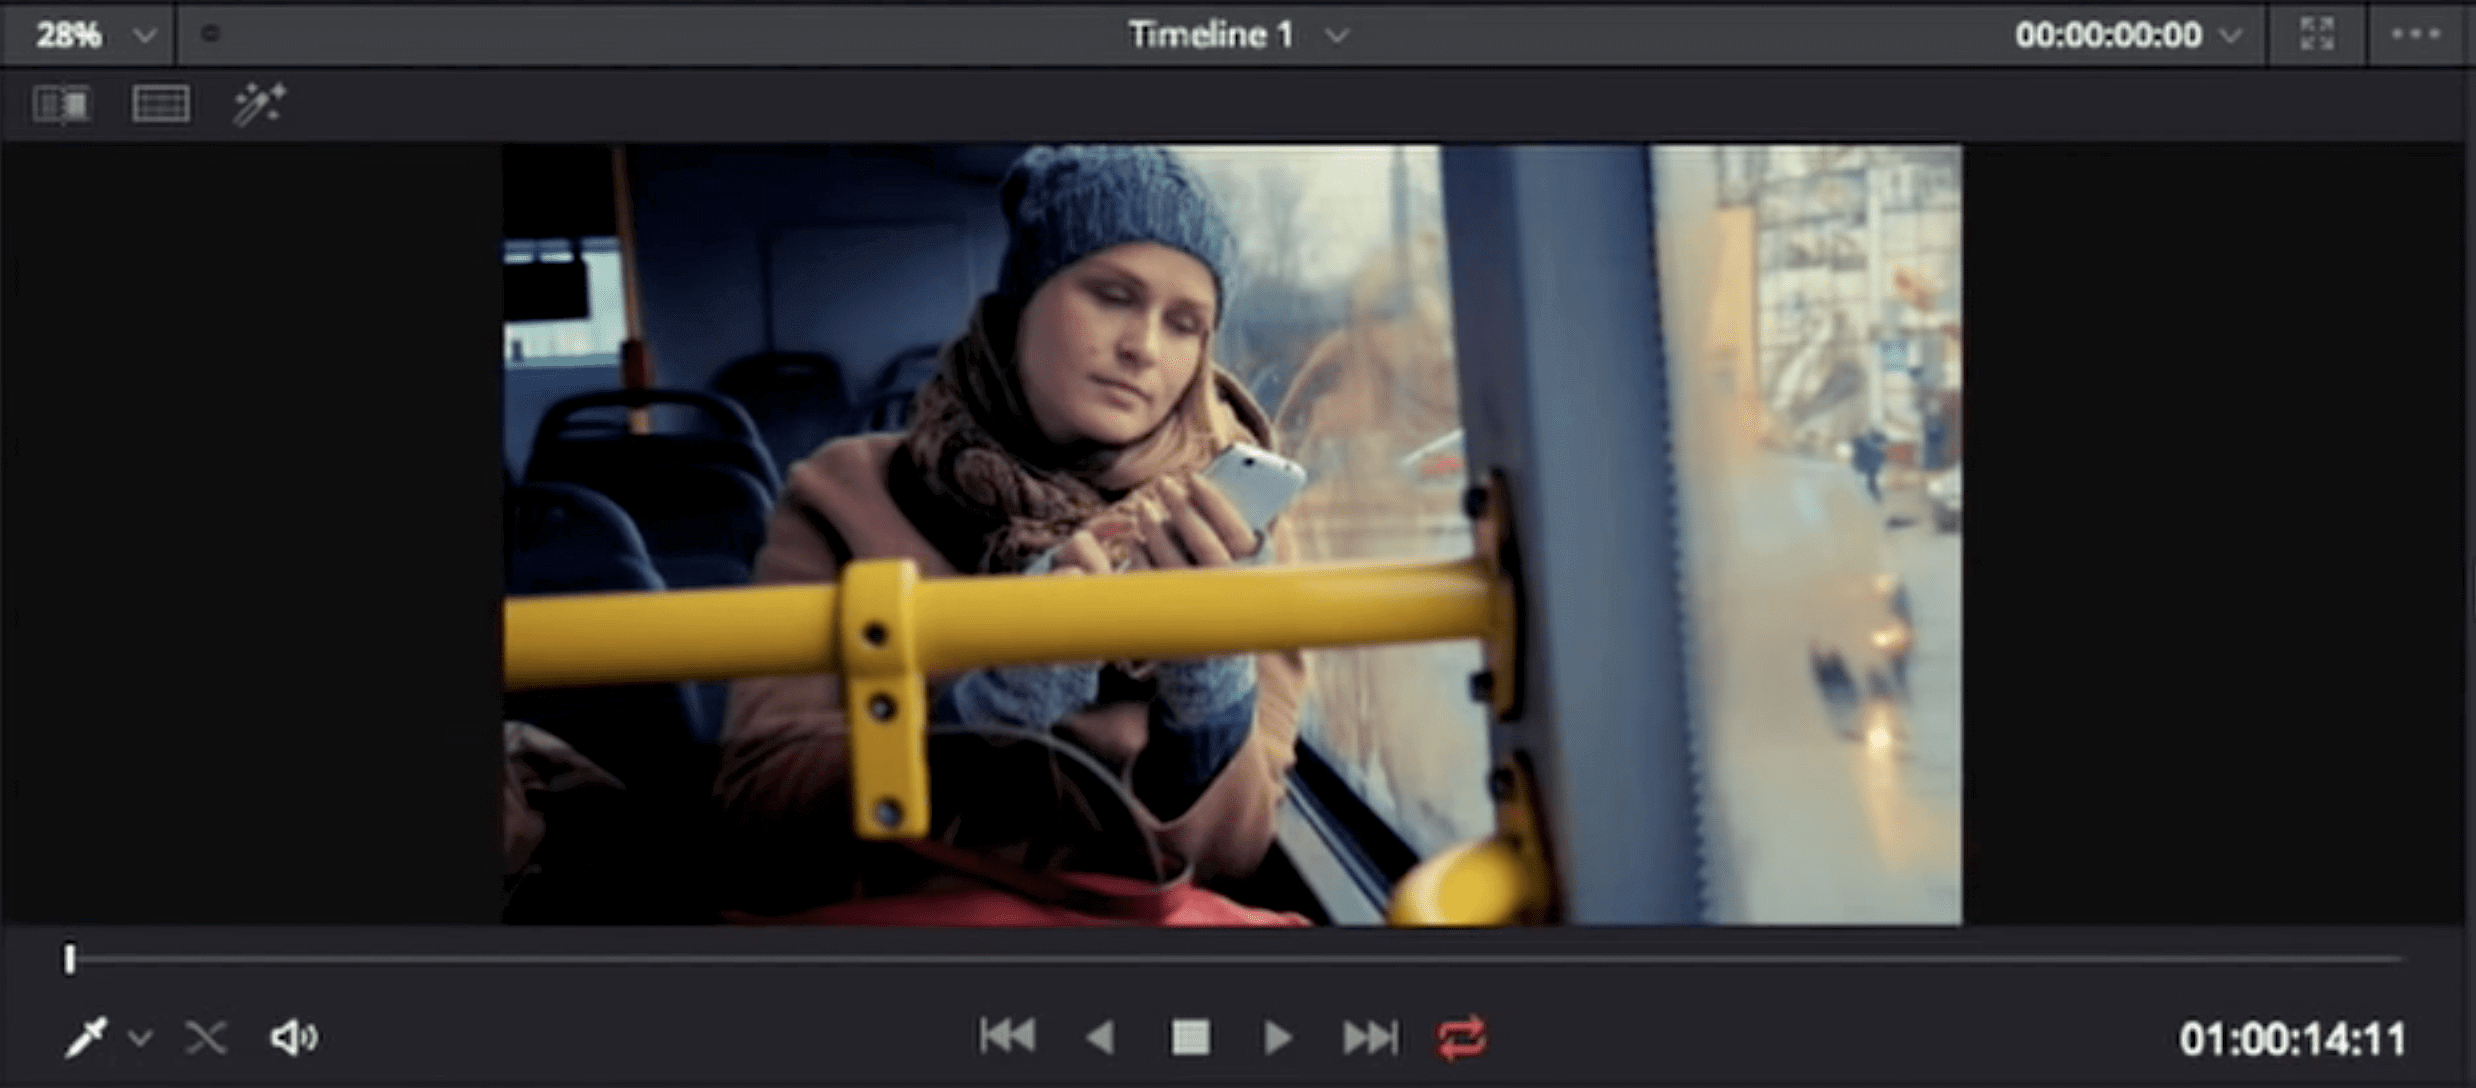
In case you’re not in a position to watch the video, here’s a quick recap. Like I mentioned before, the technique that Alex is using here can be summed up as limiting the dynamic range of the blue channel. Basically, he’s just taking a little bit of blue out of both the shadows and the highlights. It’s quite a simple tweak, and it really does make a noticeable and positive difference in the images.
You can accomplish this technique in a couple of different ways in Resolve, and both are pretty quick and simple. For reference, you’ll probably want to pull up the RGB Parade under your scopes to see how these small tweaks are working. Here are the methods:
- Using the “Primaries Bars,” pull the blue channel in the highlights (gain) down slightly and push the blue channel in the shadows (lift) up slightly. That’s it.
- Using the blue channel in Resolve’s Curves editor, pull the highlights down a tad and push the shadows up a little. If you’re using another program like Premiere, this curves method is how you would achieve this effect.
If you really wanted to stop there, you could. However, in the video, Alex also mentions that this technique of limiting the blue channel is even more powerful when combined with the other simple technique of desaturating the shadows of an image. This can also be done very simply by pulling the shadows down on Resolve’s Luma Vs Saturation curve.
In case you need a refresher on that technique, here’s that original video once again.
And that’s it. With these two simple techniques, both of which can be accomplished in about 30 seconds or less per shot, you can really make your images look a lot nicer without having to put in a ton of time. If you have any of your own tips and tricks for quick grading solutions, be sure to tell us about them down in the comments!