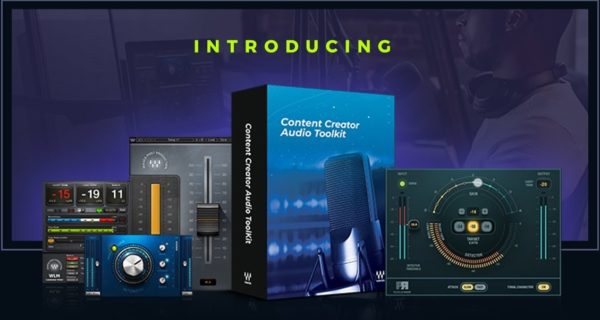
As video creators, we are all aware of the importance sound plays in the content we create. Your audience may keep watching through a shaky camera scene or quality that’s less than 1080p. However, when you dial back the quality of the audio added to your video, you’ll struggle to retain and engage your viewers. You have an important message to share in your videos, and I’ll show you how to make it sound great in four easy steps. I’ll do this with ease using the new Content Creator Audio Toolkit from Waves.
Choose the right microphone before you start
You want the best chance of sounding great before you get into post-production and start working on cleaning up and improving your audio. This is why the type of microphone you choose for filming; will play a large part in the amount of work you’ll do later.
What’s the best microphone for video? There are so many different microphones to choose from and, rather than get into specific brands, I’ll talk about the type of microphone you’ll need for different filming situations. There are four types of microphones I’ll recommend.
Condenser Microphone
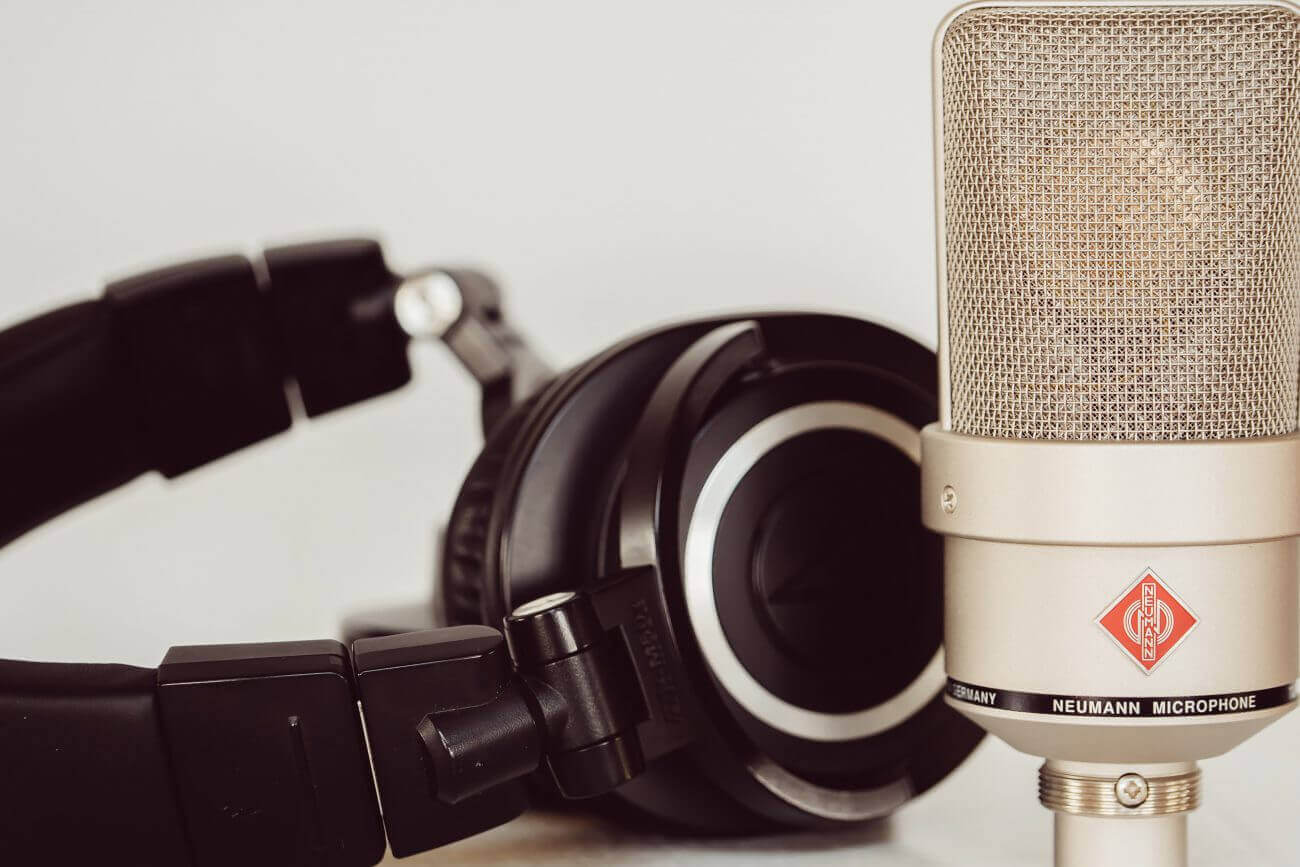
A condenser microphone will generally give the best sound but can also pick up plenty of background noise, especially if you’re in a room that’s not sound treated. They’re also big and you need to talk right into the microphone, meaning it’ll need to be in the shot. You also need to provide 48V phantom power to these mics, and that is not always easy when on the move. If you’re recording in a studio environment and don’t mind a mic on display, a condenser is your best option.
Dynamic microphone
Coming in close to condenser mics in terms of sound, a dynamic mic is generally more directional in the sound it picks up. This means it’ll pick up less background noise and more of your on-screen talent. These microphones don’t require power but they’re usually quieter than condenser mics, meaning you’ll need to boost volume in post. You’ll also need to be close to the mic, meaning it’ll be in shot.
Shotgun microphone
This type of microphone can be just out of shot and pointing towards the mouth of the speaker. Shotgun mics are very directional, meaning you pick up the speech and not much else. They usually require a boom pole to position and power (the same as condenser mics) to operate. Many creators choose shotgun mics because it means there will be no mic visible in the shot and they sound good when set up correctly.
Lavalier microphone
Finally, the trusty lavalier microphone is a tiny little thing that clips onto your speaker and will get great sound no matter where they go or what they do on screen. If you move away from a shotgun mic, you’ll sound off mic and terrible. This is not the case with lavalier mics. You can also attach multiple microphones to more than one person on screen for great audio. They are visible on screen, but only barely and many modern lavaliers come with wireless kits giving you the freedom to move around. And if you’re recording a podcast, a lav mic is an excellent option that’s been used by professionals for many years.
What is an audio plugin?
Now that you’ve recorded the best sound you can for your video, let’s get started in post-production. I’ll show you four audio plugins that will help you and make everything a breeze. If you’ve never used an audio plugin before I’ll show you how.
Waves audio plugins work with most video editing apps like Adobe Premiere Pro, Final Cut and DaVinci Resolve. Waves make it easy to install the plugins using their app called Waves Central. You simply select the plugins to install, let the app do the magic, enter your video editing app and it should automatically add them all for you to use.
You can find newly installed audio plugins, in Premiere Pro for example, by heading to the “Effects” workspace and searching by name.
All the plugins I’m about to show you are included in the Waves Content Creator Audio Toolkit bundle.
Removing background noise from a video
Cleaning up background noise from a video is arguably the most important step on the way to a great sounding video. When filming, unless you’re in a pro studio environment, it is likely you’ll have some background noise, ambient noise, fans, road noise or even echo in your recording.
I’ve been blown away by how easy it is to remove these sounds using the Waves NS1 Noise Suppressor plugin. NS stands for “Noise Suppression” and that is exactly what it does. When you open up the plugin settings, you’re presented with a single slider that goes from 0 to 100. The further you push the slider up, the more noise it will remove from your dialogue.
I usually find that there’s no need to go over 40 to get a great-sounding recording with minimal background noise. It may vary for you and the power is there for those situations with out-of-control noise.
How does the NS1 work? It intelligently scans for noise, in real-time, and takes it out while leaving the speech virtually untouched. You’ll know it’s working when you see the yellow bar pushing down in between spoken words. It is literally turning down the noise and giving you a clean sound.
How to make a voice sound better on video
We’ve already looked at selecting microphones that can play a big role in making speech sound great. We’ll now take that dialogue with the background noise removed already and make it sound amazing. To do this, we’ll use the second audio plugin in the Waves Content Creator Audio Toolkit called Greg Wells VoiceCentric.
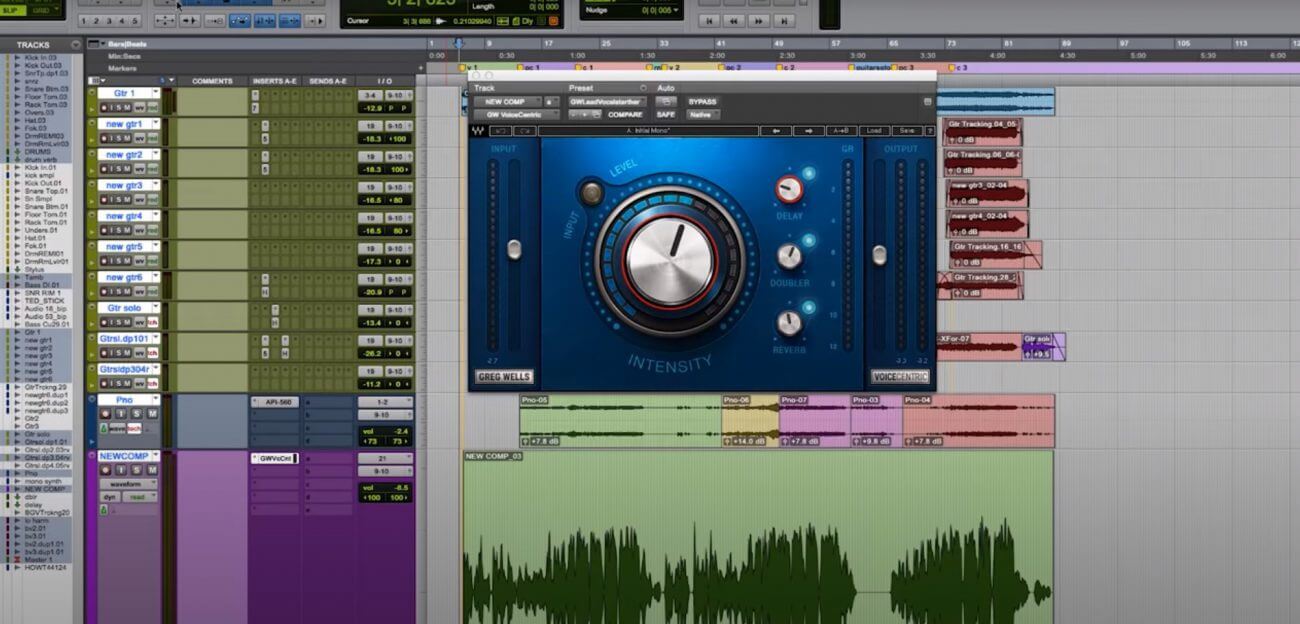
This plugin is designed to make voices sound amazing without over-processing them, which can sound unnatural on video. It achieves this using a clever blend of EQ, compression and De-essing, all in one single knob that you turn from 0 to 100 to enhance the sound.
I just used words like “EQ, compression and De-essing”. Let’s understand what each of these steps is doing to your recorded voice.
EQ will change the volume of different frequencies in the voice just like you would change bass, mid and treble on your car stereo or home hi-fi. This plugin does it in a much more subtle way and simply reduces any unpleasant frequencies, and slightly enhances beautiful vocal frequencies so you end up with an awesome-sounding voice.
Compression then levels out the loud and soft parts by taking audio above a certain level and, you guessed it, compressing it! This can make a voice sound louder and make it easier to hear and understand.
De-essing focuses on the high frequencies in a voice and simply smooths and reduces them. Those sharp sounds on words with an “s” are greatly reduced by the process of De-essing.
That was a deep dive on all the power that’s going on behind the scenes in this plugin, but remember you’ll only need to turn one dial to get all of these capabilities.
How to automatically level multiple audio sources
Sometimes it’s not just one speaker in your video, as you’ll often have multiple speakers. You’ll also mix in some sound effects, music and perhaps extra audio clips and extracts too. Most of the time, these multiple audio sources are not all at the same volume.
This means that one moment you need to turn the sound up on your video to hear what is being said and the next moment you’ll be deafened by a loud clip of music or a speaker that happened to be closer to their microphone.
The old method of leveling out audio clips would be to go into the mixer view and change the levels on each audio track. You’d then often need to work through your timeline and place on volume automations (or keyframes) to turn volume levels up and down as clips get louder or quieter.
It’d be great if they were all at the same volume level automatically, and you can make sure this is the case with the Waves Playlist Rider.
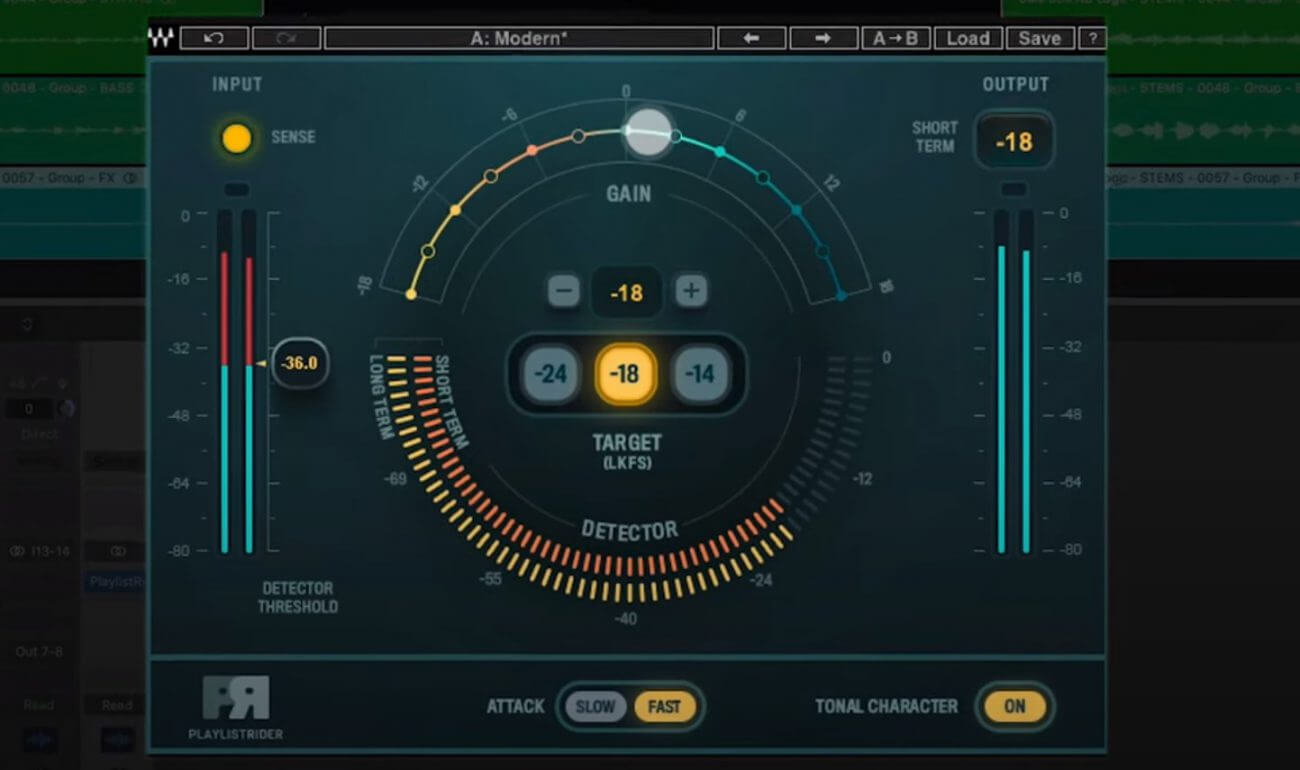
This is a powerful audio plugin with a preset specifically for online video, meaning you can set it and forget it! It’ll work through all of your audio and bring it to a target volume level that the plugin sets (you can also decide the level, but the preset will do this for you).
There’s a clever threshold level detector that will ensure it’s only leveling out audio that is important, such as speech and music and not the silences in between.
‘Attack’ is another setting at the bottom of the plugin that decides how slow or fast it will work to change and smooth levels. If you’re working with plenty of dialogue, you’ll want the “fast” setting, as “slow” is better suited to music mixes where you may want more subtle changes in levels.
Finally, there’s a tonal character setting which can be on or off. I recommend setting it to ‘on’. You don’t need to know exactly what it’s doing, but essentially it matches all your audio to a fancy pink noise curve. The end result will mean all your recorded audio sounds the same and will blend together well.
How loud (or quiet) should my video be?
Have you had the experience of watching videos online and finding some are super quiet while others are really loud? Perhaps you’ve been watching a show on TV and then the ads start and make you jump out of your chair with how loud they are.
This is all down to the overall loudness of a video. Not every creator pays attention to this detail. If you get the loudness levels on your videos correct, you’ll give your viewers a great experience and have them coming back for more.
We’ve already got the volume levels of all clips at the right level, now we need to make sure they hit the correct number on a loudness meter. To do this we’ll use Waves’ WLM Plus Loudness Meter.
Waves have made it easy for us again, by adding a preset for online video, which we can select when we open this plugin.
With this selected, we’ll simply be looking at the short-term and long-term numbers while moving the “Gain” control up or down. The most important one is the long-term number, as this is what platforms like YouTube will look at when deciding if they should crush your audio further and ruin your hard work on sound because the audio is too loud.
The generally agreed number for online video is -14 LUFS.
To make sure the audio on your video is hitting this level, simply play back a sample and watch the long-term meter. If the number is below -14, simply increase the gain until you hit that number after around 30 seconds of listening. If it’s above -14, then you’ll need to reduce the gain until you hit the correct number.
The good news is that you shouldn’t be far off that number already as the previous plugin, Playlist Rider, already does a good job of leveling to a preset loudness level.
Final thoughts on audio plugins for video
That’s it! You’re done in four easy steps, and Waves have made it easy using four simple audio plugins. I would have spent hours alone on noise reduction and restoration if it wasn’t for the one slider NS1 plugin. You can also see how the voice processing plugin takes 3 audio processes and combines them into one simple dial. After this, it’s simply a case of getting levels and loudness correct before you hit publish.
Now you know how to do everything; go and create some amazing looking and sounding content!