When producing audiovisual content, lots of creatives first focus on the quality of the visuals and leave the sound quality until later. Even though both sides of video production are important, sound plays a bigger role than ever. Bad audio will subconsciously result in a bad video as viewers will notice issues immediately. That’s why critically listening to your mix while editing your video is more important than you think.
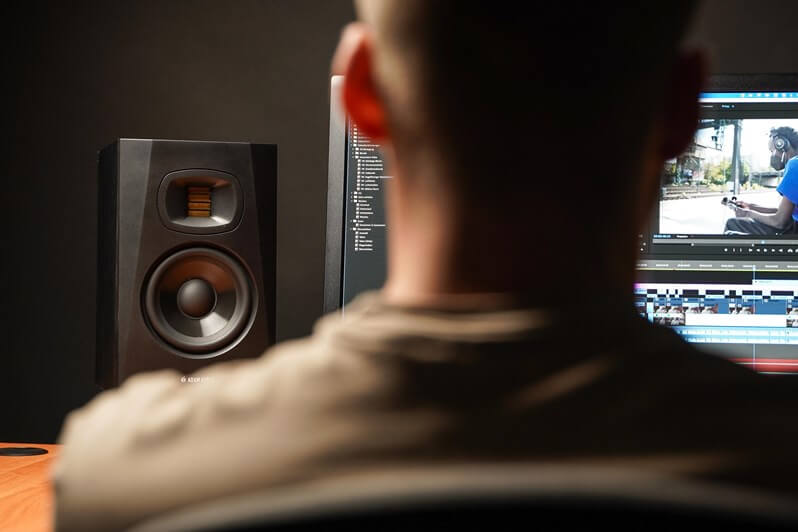
Critical listening means thinking about proper solutions to monitor the audio while you’re editing the footage. A quick and easy fix is using a pair of headphones, like the ADAM Audio SP-5 headphones. Because of the closed design, you won’t have any problems with frequencies that bounce in the room and distort the audio signals you hear. However, not everyone is comfortable using headphones for hours and hours when editing.
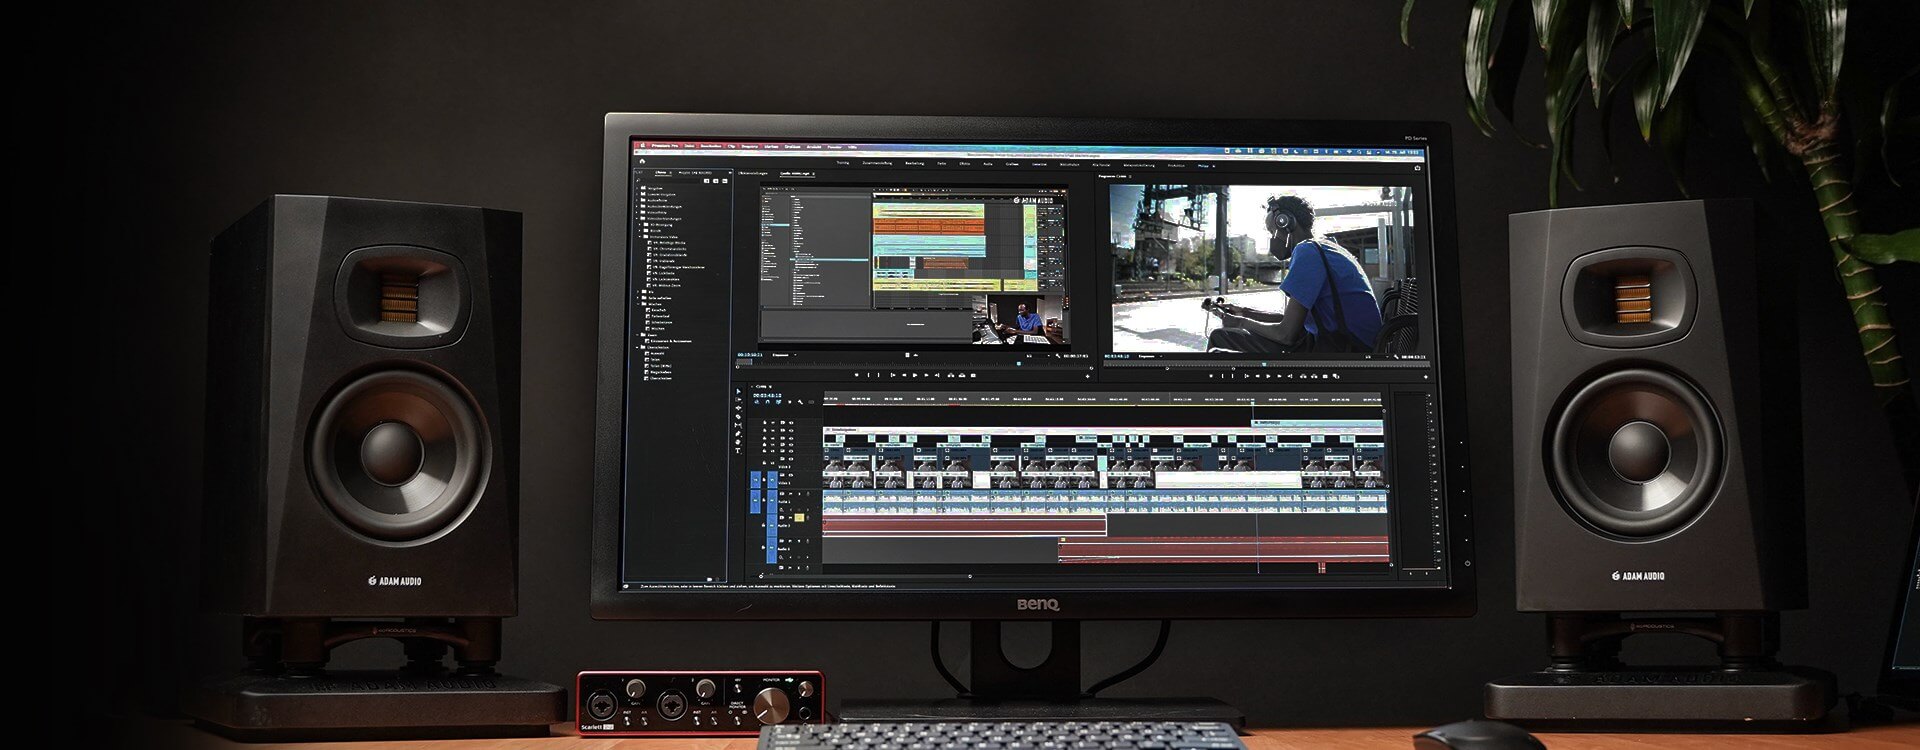
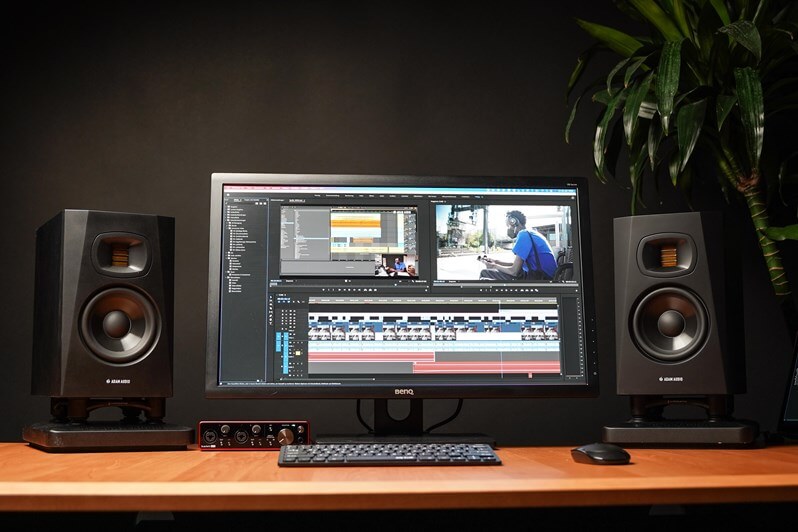
But what is the alternative? Working on laptop speakers won’t do the job. There is another way: companies like ADAM Audio develop and build active loudspeakers and audio monitors that are used by professional musicians, producers and artists worldwide to produce music. The purpose of using studio monitors is to get the real, flat and truthful output of audio signals.
This way, you won’t miss any issues in your mix, and you could translate the sound perfectly to almost all devices.
The right room and desk positioning
Before setting up a video editing workspace, consider the room dimensions and desk positioning when you think about getting a pair of studio monitors. Why? The room is a major factor when it comes to getting a linear and flat audio output because sounds bounce against walls, tables and equipment. This results in a distortion of your frequency response, which ultimately leads to flawed audio monitoring.
To prevent this and upgrade the way you monitor audio, consider the room when positioning the desk you’re working on. For example, let’s say your room has the shape of a rectangle with a longer side wall – always fire the loudspeakers down the longer dimension of the room and position the loudspeakers close to the ‘front’ wall. The listening position should be somewhere in the front third of the room, with plenty of space behind the listener. The bass from the loudspeakers will be high because of the front wall loading, so use the bass control to reduce it and make the sound neutral again but with the added benefit of reduced distortion. Also, remember symmetry: a totally symmetrical setup brings much better imaging.

Choose your speakers and set them up correctly
Now that you’ve positioned your desk properly, you can set up your editing workspace and add a pair of studio monitors. For video editing, we recommend a compact pair of studio audio monitors like the ADAM Audio T5Vs. Setting them up is fairly easy: all you need is an audio interface and cables to connect them. Here’s a video on how to do this:
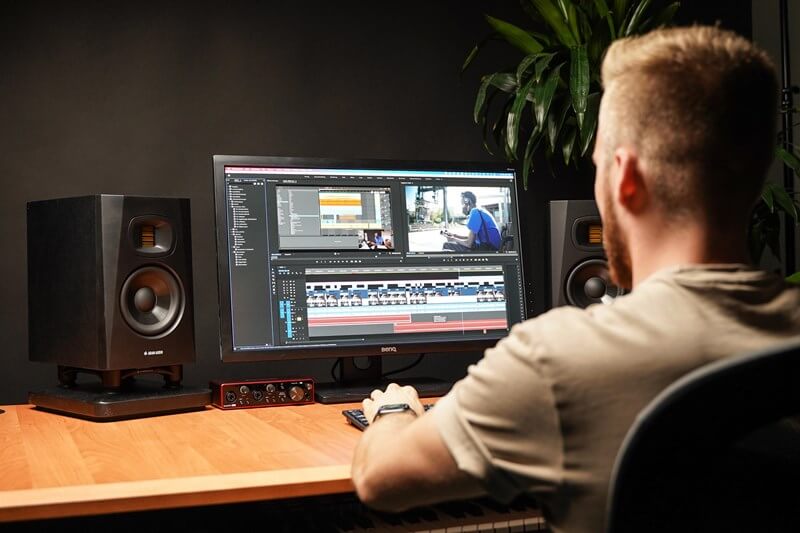
After you’ve installed your studio monitors, properly positioning them is really important. For this, you can use the ‘stereo triangle’ as a starting point. To create a stereo triangle, make
sure the distance between you and your speakers is the same as the distance between the speakers. The idea is to form a triangle with a 60° angle at each corner. Our T5V audio monitors are designed to be used vertically, so place them vertically and rotate them slightly to face your ears. Ideally, the spot between the woofer and tweeter should be at ear level and face directly to your ears. If this is not possible, tilt your speakers accordingly. To achieve this, you can use speaker stands. Don’t forget to place them on foam pads to acoustically decouple them from your desk.
Calibrating studio monitors with filters
After you’ve completed these steps, stop and listen to your studio monitors. Do you feel the sound is linear, and neither high nor low frequencies are overemphasized or underemphasized? If so, this is a good sign. If not, you’ll have to adjust your setup. Either way, there are always certain elements you can improve.
Like many studio audio monitors, the ADAM Audio T5V features filtering options. You can use the high shelf and low shelf filters on the backside of the speaker to adjust to your room. Here you have the possibility of either emphasizing or reducing the output of high and low frequencies by +/- 2 dB. If, for example, you feel you’re missing bass, try to use the low shelf filter by adding + 2 dB.
Acoustic room treatment
If your budget and room allow for it, acoustic treatment can improve the quality of how you monitor audio even further. By using diffusers and absorbers, you can prevent sounds from bouncing around the room uncontrollably. It’s these reflections that result in audio distortion. While proper acoustic treatment is never bad for sound quality, it takes time to install; it can be expensive, and it takes up space in the room. Use blankets and duvets as fast, cheap and simple alternatives that offer reasonable sound absorption. If you have bookshelves, push and pull out books randomly to act as diffusers.
Ideally, you need to position acoustic elements in the spaces of your room where the sounds bounce back to you from the speakers. You can find these spots by using a handheld mirror. Ask a friend to go around the walls while holding a mirror perfectly straight to the wall while you sit in your listening position. If at one point you can see the speaker in that mirror, you know that this is a spot that an absorber or diffuser should cover.
Software optimization for your studio
Last but not least, software optimization like Sonarworks SoundID Reference (other equalization products are available) is a great way to fine-tune your setup. By measuring your studio space with a measuring microphone, the software will know exactly which frequencies are emphasized and which are not. The software will take care of adjusting the equalizer levels to achieve a flat audio output.
The right way to monitor audio
When creating a video, you want the sound to translate perfectly to whatever device your audience is using. Whether it’s a phone, television, or laptop, the video has to sound great. Audio and visuals are equally important – they go hand in hand. Put as much effort into the sound as the filming and make sure you use the right audio monitoring system to get the best results.