We want to show you how to take any video to the next level using assets from the creative pack that we are giving away. In this tutorial, we are going over a clip, and use the different features to make it pop.
In this video, we have a group of neighborhood athletes playing sports like basketball, soccer and other aerobic exercises. This is the clean cut:
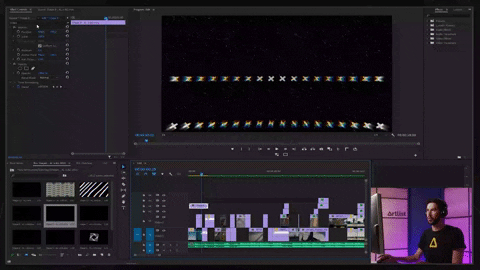
As already assembled, we see a pretty nice mash-up without any flair. What we want to do is make each and every moment in this video pop, so you can use these techniques in your own videos. For that, let’s drop the footage into Premiere Pro!
Overlays – shapes and mattes
For the first few shots, including a dribbling ballplayer and a group of friends, we’ll utilize shape overlays to give the initial image a little more texture.
- Going into your Overlays folder, select the shape you want (we chose Shape 8) and drag it to the timeline on top of your base footage.
- Make sure to change your blending mode from Normal to Screen to make sure you can see the shape without the black screen blocking the initial image. Drop into your timeline, and you’re good to go!
For the next shot of the group of friends, we’re going to use film matte, or the borders of the camera gate framing your image. Select a matte and drop it into your timeline. In order to see the footage underneath this new layer, go into your effects window, click on the cropping tool, and crop the sides to make sure you’re able to see the whole image.
To add even more pop, you can use several overlays, dropping them it into your timeline and changing to Screen blending mode. Adding a film burn to your shot will accentuate the shot, and you can also find these in the Overlays folder. Some of the overlays are pre-keyed, so you don’t even need to change the blending mode when using them.
Parallax and shake effects
The parallax effect gives your shot subtle movement, so we’ll use it for the shot of the guy juggling the ball with his feet. These effects are already preset, so you can drop them directly into your timeline. We Chose Parallax Smooth Zoom Out 3 and dragged it underneath our footage.
By adding more film burns, you can also make the image pop in between kicks./\
In the image of the basketball player dunking, we’re adding a shake effect. Shake 2 is enough to be subtle without being overkill, so we’ll choose that. Be sure to add an adjustment layer where you want the effect so you don’t permanently change the pixel values.
Shapes and grain
Going for more shapes will give your video consistent texture. Shape 5 is 3 triangles across, enough for accent while not cluttering the image. We’ll choose that. You can try scaling down the image while creating a cropped background on the edge. Playing with colors, like blue and white (or orange and yellow) will allow the dark areas in the middle of the image to not drain the life out of it.
Adding grain to your video is a great way to give it a sharper texture. In your pack, you’ll have VHS elements, and we’ll select VHS 2 in order to give it a clear cut across the screen. In the same folder, you can also drag in glitches over different sections of the frame. Adding a couple across, while also utilizing the parallax effect already mentioned, can give you the vibrant texture while also giving fluidity to the movement of the shot.
Split screens
Next, we’ll work with splitting footage. Crop your shots and align them with effect controls and position scale. After doing so, you’ll see your images side by side, giving the shot more dimension and activity. Utilizing what we already covered, you can also add VHS textures and shapes. For the slam dunk shot, adding a film burn will give the image a bleached intensity. For the final shot (aerial of slam dunk), you can add Shake 5 to give the satisfying dunk more flesh and verve for the closing image.
Text animations
Adding text animations to your video will help you make your text as dynamic as your visuals. To add text animation, go to the folder in one of the packs, open it in Premiere and copy and paste it to your timeline
To change the text, double-click on the asset and then double-click on the title you want to change.
So, after adding all the different overlays and animations, here is the final product:
Wrap up
The Artlist Creative Pack is a great resource to use in order to make your videos pop. Play around with the different tools and effects in order to get a better handle. Soon enough, you’ll become an ace with a trained eye for what works best in making great content.
To get this ultimate giveaway for creators, just subscribe to any plan on Artlist and download your packs. And remember to stay creative!