
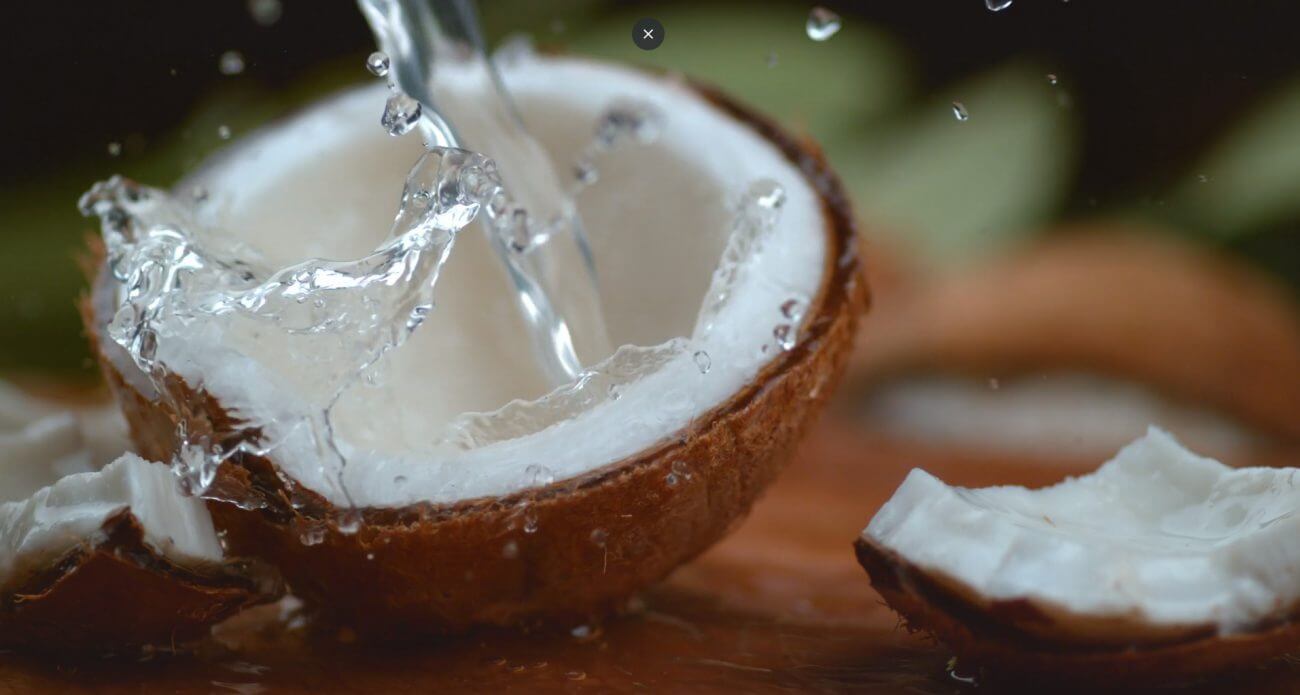
The internet is filled with videos of food – and really, why wouldn’t it be? Well made food videos are a joy to watch with their color, vibrancy, and temptation, but even more than that, everyone has to eat, every day. As a potential source of inspiration or information for millions, if not billions, of people on a daily basis, food videos present an enormous potential audience to filmmakers.
But what do you need to do to get your food videos right, so that you can tap into this huge viewership? We’ve put together a guide, with plenty of ideas and helpful pointers.
What type of food video are you making?
First of all, you need to decide on what type of food video you’re looking to produce. They fall roughly into two categories: inspirational that are often used for marketing purposes, or instructional. This means that you need to decide who your target audience is going to be. Are you trying to sell a product or a brand? Are you aiming to provide a quick flash of inspiration to a busy parent who needs a fresh idea for minced beef? Or do you want to help a nervous cook prepare a slightly more complicated meal for a romantic date?
For food videos that are used for marketing purposes, you really want to think about making them look slick, fast-paced, and bright. Use plenty of movement in them to catch your audience’s eye: think juggling vegetables, garnishes sprinkled from high up, and clever knife skills. But more than that: introduce movement with your camera, too. Try some unusual angles, for example from beneath, from above, or sideways on. Use tracking shots to follow those thrown vegetables and sprinkled garnishes.
Get in close to show off pretty patterns in whatever produce features in the video or that sharp knife work. Slow-motion segments mixed into your film are also highly effective in food videos. The change in pace keeps things interesting. These sorts of marketing videos for food don’t need to be very long but they must be catchy. You want these videos to grab your viewers and send out a clear message: be bright, be bold, and be brave.
While food videos set to inspire are usually shorter and simpler, instructional ones will probably last longer. Any video that you shoot is going to take careful planning—don’t think that a one minute video on vegetable fritters won’t take planning, it really will—but if you’re planning on creating an instructional video be prepared for it to take longer to shoot and require a lot of plotting. You need to know where your presenter is, what they are saying, and what your cameras are doing at every stage.
In short: what do you want to say, who are you saying it to, and how do you want to say it?
Where are you sharing your food videos?
Hand-in-hand with the type of food video that you want to make is the decision on where to share it. Detailed, instructional videos aren’t going to sit well on Instagram or TikTok: those are platforms for 60 seconds bursts of ideas that capture and inspire. For something that is more dense and complicated, you will want to think about sharing on YouTube. Facebook will serve either type of video well. Again: it’s about your intended audience: someone who’s scrolling through social media on the bus home from work and looking for an idea for dinner, or someone who’s carefully putting together a menu for guests?
Planning
When you’ve settled on what you’re going to film, how you’re going to film it, and where you will share it, you need to plan your shoot meticulously. This isn’t just about making sure that you have all the ingredients and equipment that you need, but thinking carefully about which elements of a recipe will be tricky to film, what you should focus on to make it useful for your viewers, and how long it will take. The more carefully and thoroughly you plan your video, the easier it will be to film.
Your Setup
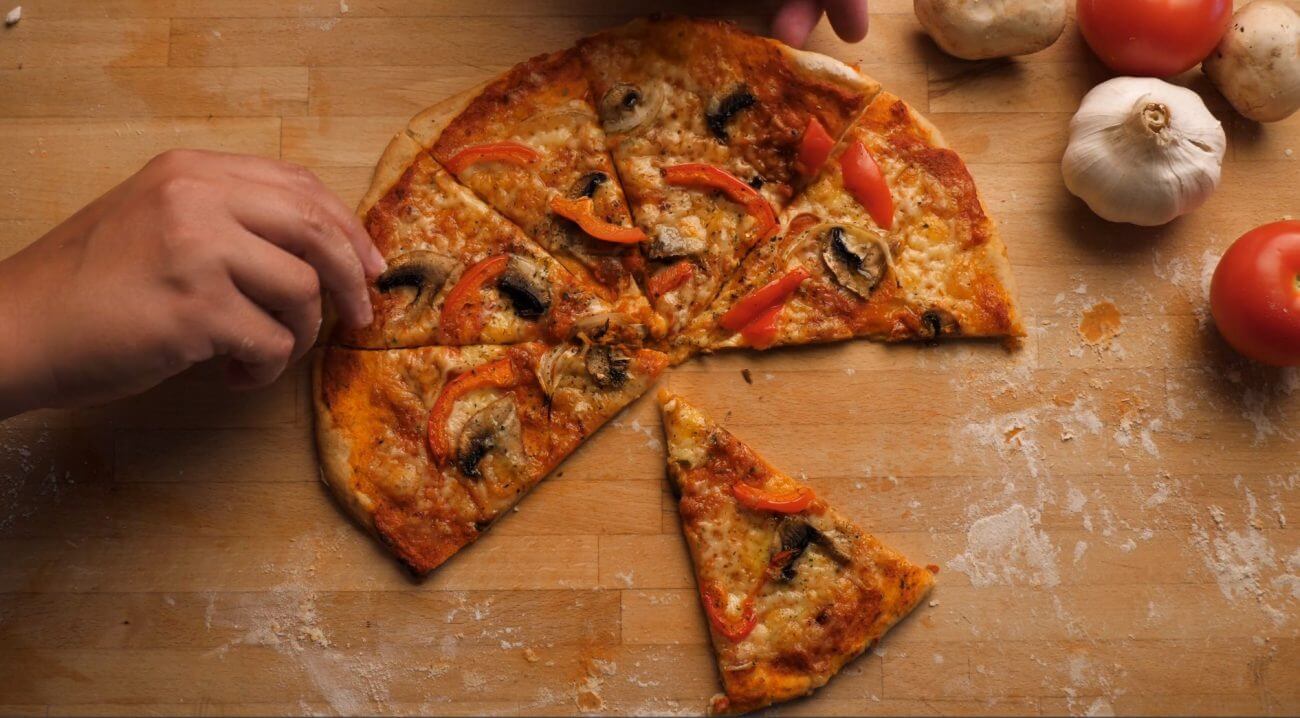
If you’ve watched a few food videos, you will have noticed that so many of them are shot from overhead. There’s a reason for that: it gives the viewer a feel of what it’s actually like to cook the dish. People are able to relate to it more. If you want to make food videos, then you need to get yourself an overhead rig. They will really give your videos a professional appearance. The good news is that you can build your own if DIY is your thing.
To do so, you will need two lighting stands, an extension arm, a ball head from a tripod, two grip heads, a spigot, and a spirit level. Use the spigot to attach the ball head to one of the grip heads and slide it onto the extension arm. Next set up your lighting stands. Attach the extension arm to one lighting stand with its own grip. Use the remaining spare grip to attach the other end of the extension arm to the other lighting stand. You should now have something that looks like a frame: two lighting stands with a bar (the extension arm) running between them. You can raise or lower the bar depending on how close to your subject you want to be. All you need to do is ensure that it’s level, using the spirit level!
Should you think that your food video is going to need any pieces-to-camera, either as an introduction or throughout the video to talk viewers through the process, you will probably find it easier if you have a second camera set up on a tripod. Don’t forget, you’ll have to think carefully about how you shoot and edit your video to keep it slick and professional-looking. It’s all in the planning!
Lighting
Good lighting is essential for any photography or filmmaking, we all know that. But it’s so important when it comes to food photography or videography otherwise it just doesn’t look appetizing, and that defeats the purpose of the exercise. The best type of light for food photography is window light; however, when you’re making a video you need to ensure that your light is consistent. You don’t want the sun going behind a cloud and suddenly plunging everything into shade. If you can’t rely on natural light, then you need to ensure that your artificial light is as natural in appearance as possible, by using a softbox or diffusion, for example.
Intertitles
Whether you are planning on having just music, a voice-over, music and a voice-over, or pieces-to-camera (with or without music) backing your food video, do not underestimate the importance of having intertitles or overlaid text to support your images. Apart from clarifying exactly what’s going on in the video—what type of lentils were those? That goes in the oven for how long, at what temperature?—they are useful for people who might be referring to your video while they are cooking. Having a screen that shows an ingredients list, or the next five steps in the recipe, that you can stop mid-play and refer to while you are chopping or stirring is invaluable.
Music and Voice-Overs
Music is always a good idea for your video, especially if you don’t have any voices in it at any point. If you are going to have voice-overs or pieces-to-camera, remember that a language barrier can limit your potential audience. But, that doesn’t mean to say that you shouldn’t think about a voice-over or a more traditionally filmed food video. There are plenty of people who’ll be looking for exactly that kind of thing, so don’t dismiss it. Remember: the pictures are there to tell the story, and a few well-written and well-placed intertitles that can be easily translated or interpreted by viewers will open up your food video to the globe.
Useful Hacks
There are hundreds, maybe thousands, of hacks that food photographers have been using over the years to make their subjects look more appetizing, or simply be easier to work with. For example, when you need to hold items of food in place, you can do so with a toothpick; if you need to separate layers of food, use a sponge; if you want to ensure your garnishes don’t sink into a soup or stew, plunge a ramekin into its middle that will sit just beneath the surface and support your leaves or croutons.
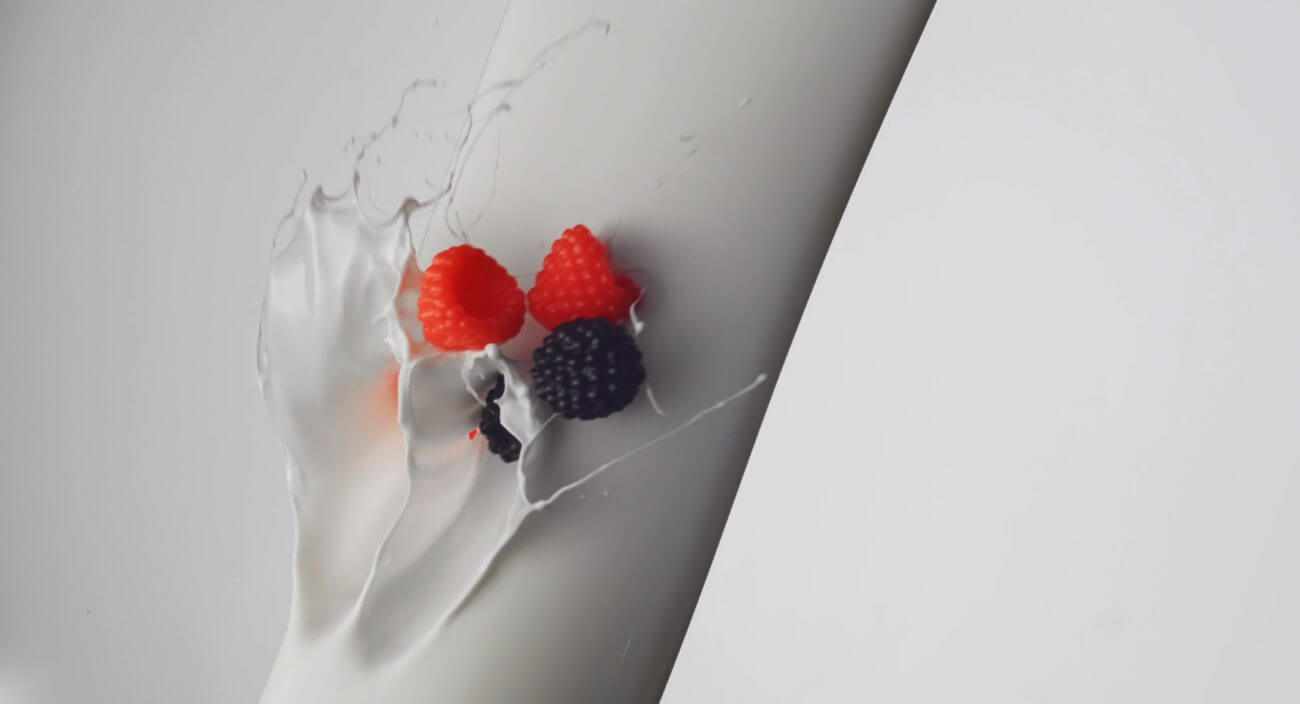
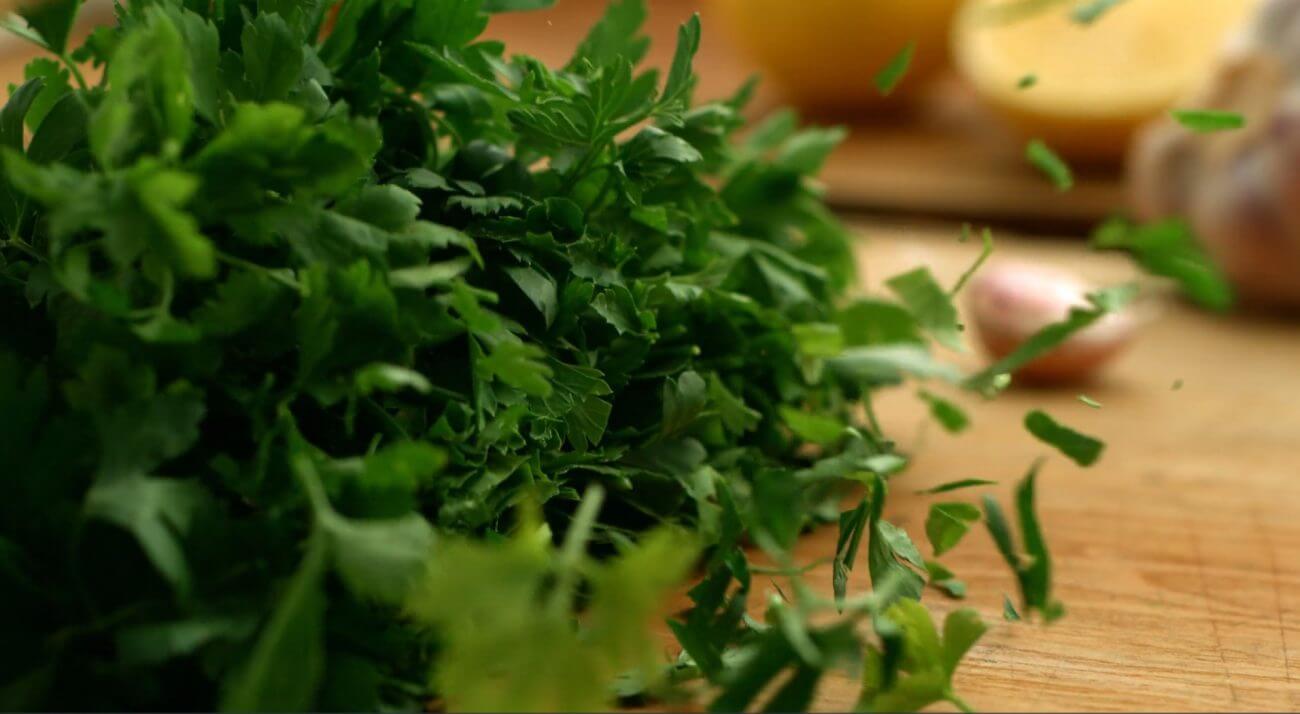
Brown foods often look terribly dull on-screen—yes, even chocolate cake—so do be sure to garnish them brightly with green herbs or red chili on soups, stews, or curries, or berries on the aforementioned chocolate cake. If you need to work with whipped cream, you’ll find that shaving foam is a much more amenable substitute, even if it’s actually inedible. This kind of trickery really is a dark art, so it pays to read up on it carefully.
Anything Else?
As with any photography or filmmaking, food videos are about telling a story to your audience. Think about what you want to say, and who’s listening to it. When you’ve worked out that: the world is your oyster!