The COVID-19 pandemic has put a damper (or pandem?) on the whole idea of traveling, for now, at least. It’s especially hard for travel vloggers, whose entire online presence is built around going to new places and filming their experiences.
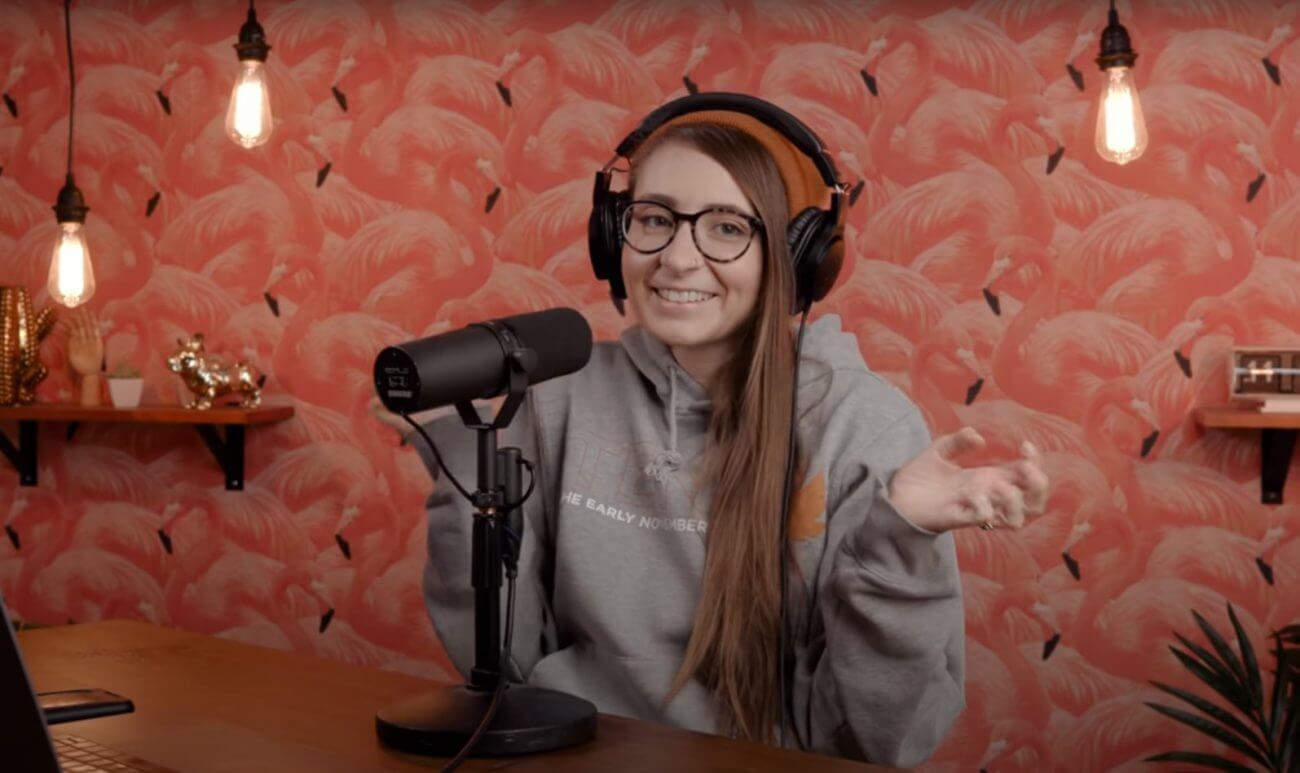
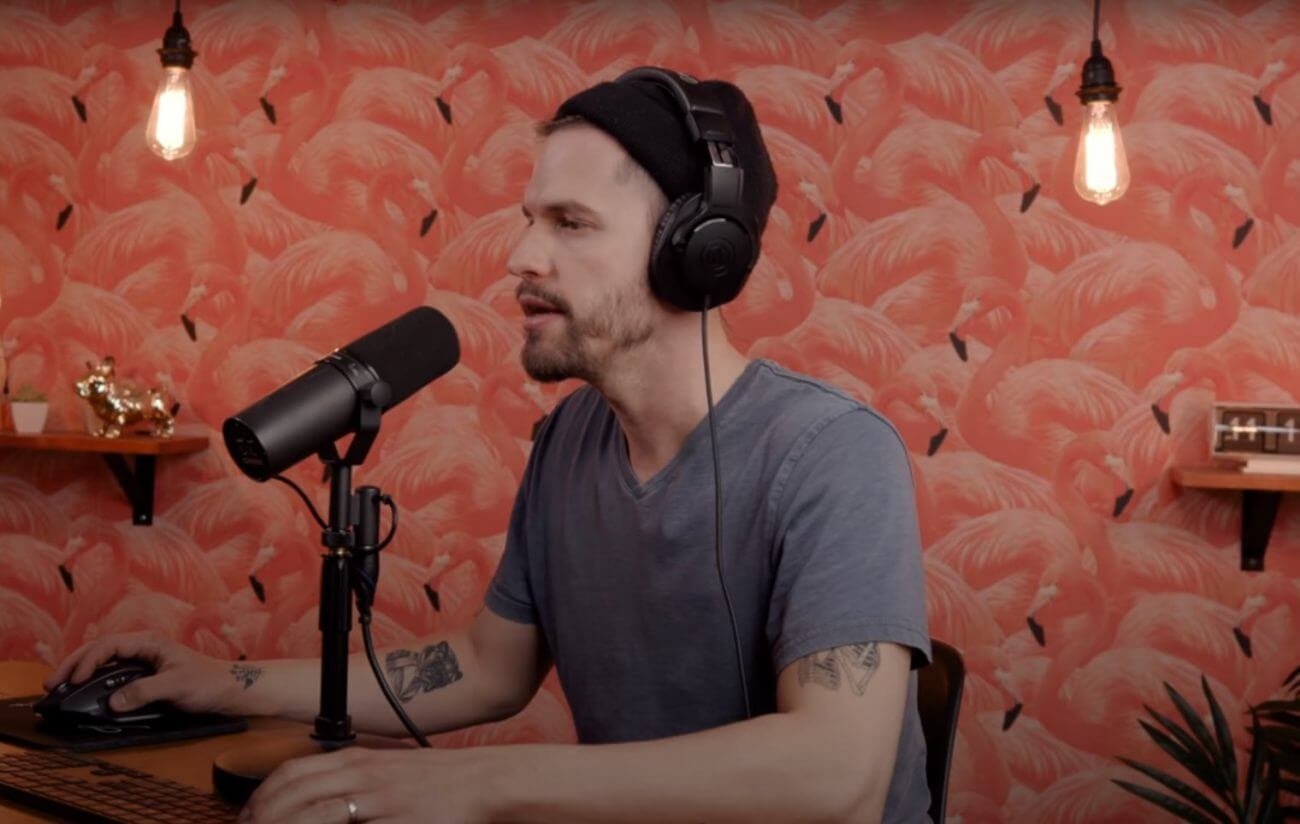
Travel YouTubers Daniel Inskeep and Rachel Gulotta, aka Mango Street, thought this was an excellent time to create the “Stay Home Challenge”. They wanted to use the fact that they’re stuck at home to brush up on their editing chops and create a travel reel without leaving their computer.
How, you might ask? By using stock footage, of course.
While you might think of it as a source for filling a missing shot for your edit, stock footage allows you to do so much more. In this challenge, Rachel and Daniel talked us into giving away three subscriptions to Artlist and Artgrid among those who vote for their favorite travel video.
The rules of this challenge were simple:
- A video up to 1 minute long
- Using only stock footage from Artgrid
- Using music from Artlist
- It has to be travel-themed (obviously).
- They have 48 hours to make the video.
The loser has to do the dishes for the rest of the week, so you know the stakes are high.
Every creator has their own way of making a video, and Daniel and Rachel have very different creative processes. Rachel comes to the table with a clear concept from beginning to end, while Daniel starts stitching something from one or two ideas and forms a complete vision as he goes along.
The Mango Street stay home challenge can teach you how to make a travel video using only stock footage, as well as help you figure out what type of filmmaker you are – a Daniel or a Rachel. And this is not just about travel videos; you can apply the same principles for almost any subject.
If these were ordinary days, when Rachel and Daniel would go on a trip, they would shoot footage onsite. When they’d come back home, they’d pull selects, throw the footage into a timeline, set music, maybe write a voiceover, add sound effects, grade it and that’s it. These are anything but ordinary days, and in this challenge, Rachel and Daniel are working with readymade footage, which means they have no control over the clips they have available.
Let’s follow their creative process from A to Z.
Day 1
Travel and jogging
Rachel chooses a short story she once wrote about travel jogs, which is how she gets to know every new place she travels to. Her plan for winning the challenge is to download footage both of jogging and of traveling, throw those clips into a timeline, edit the video, record and fit a voiceover, add music to the video and sound effects and get the most votes.
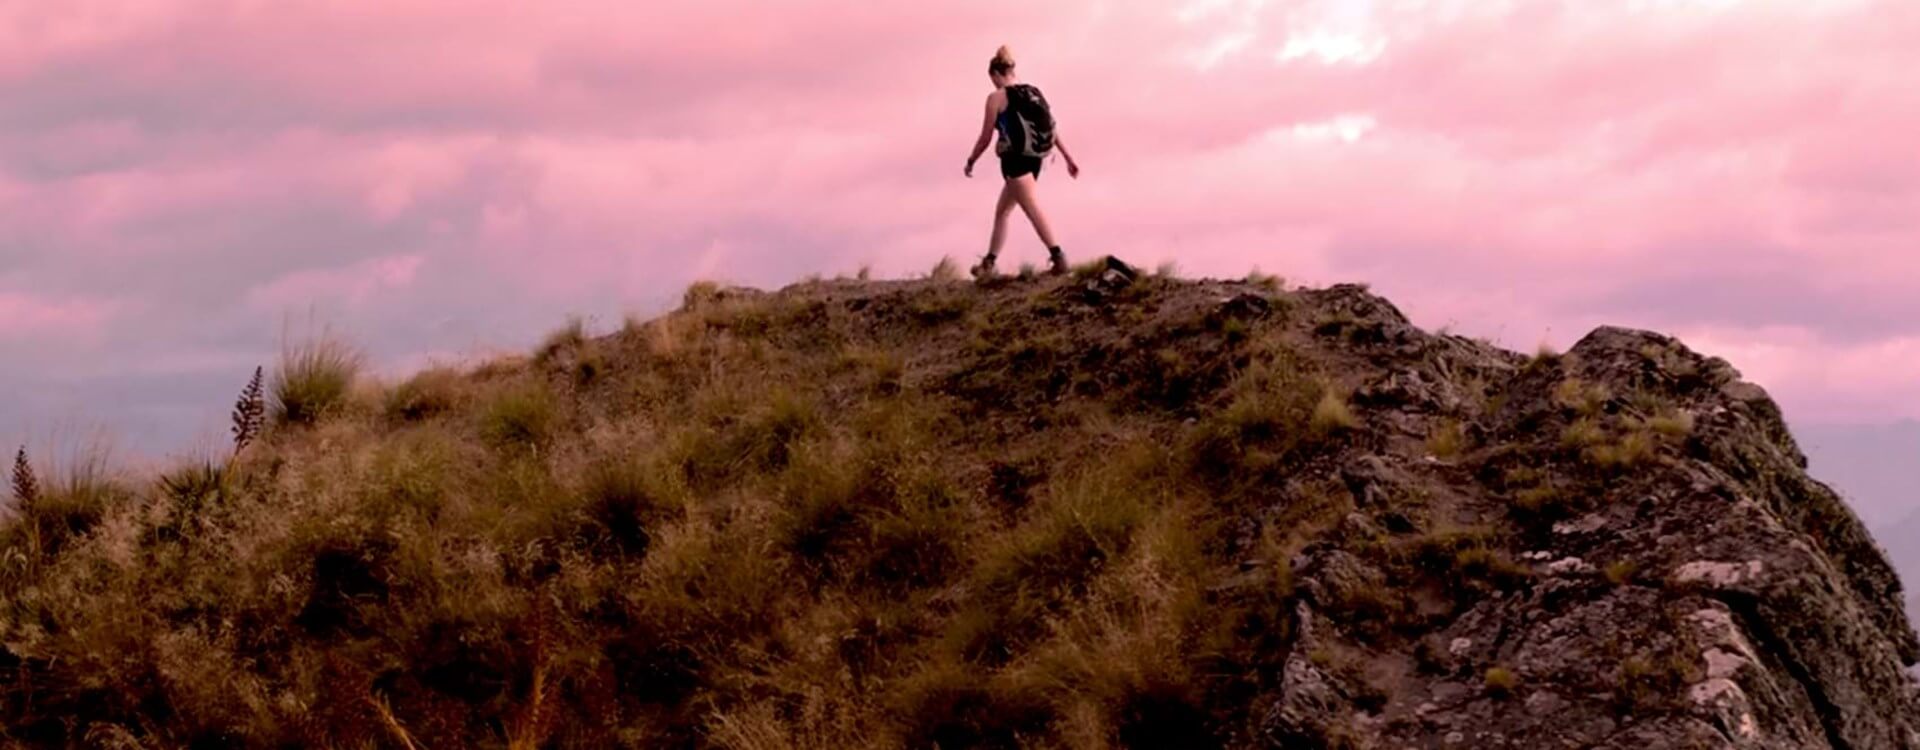
Thinking of doing a montage of beautiful landscapes at the beginning, Rachel starts by filtering travel-related footage. Since her travel video is not about a specific location, rather about the idea of getting to know places by jogging through them, she can add a variety of landscape shots from different parts of the world.
Every clip on Artgrid is part of a story, which is a collection of shots from the same production. When you have many similar-looking shots, you can use them to create a video with a consistent style and narrative.
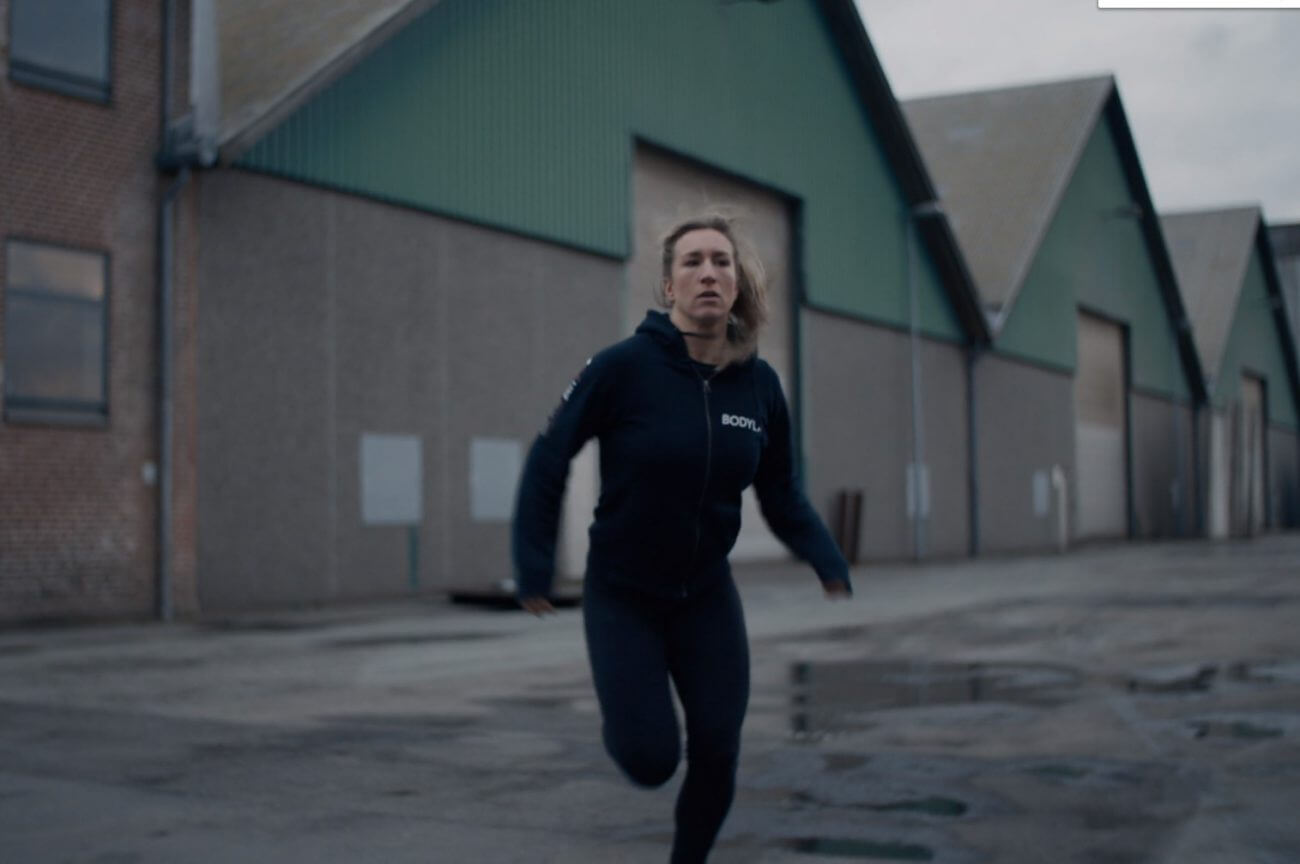
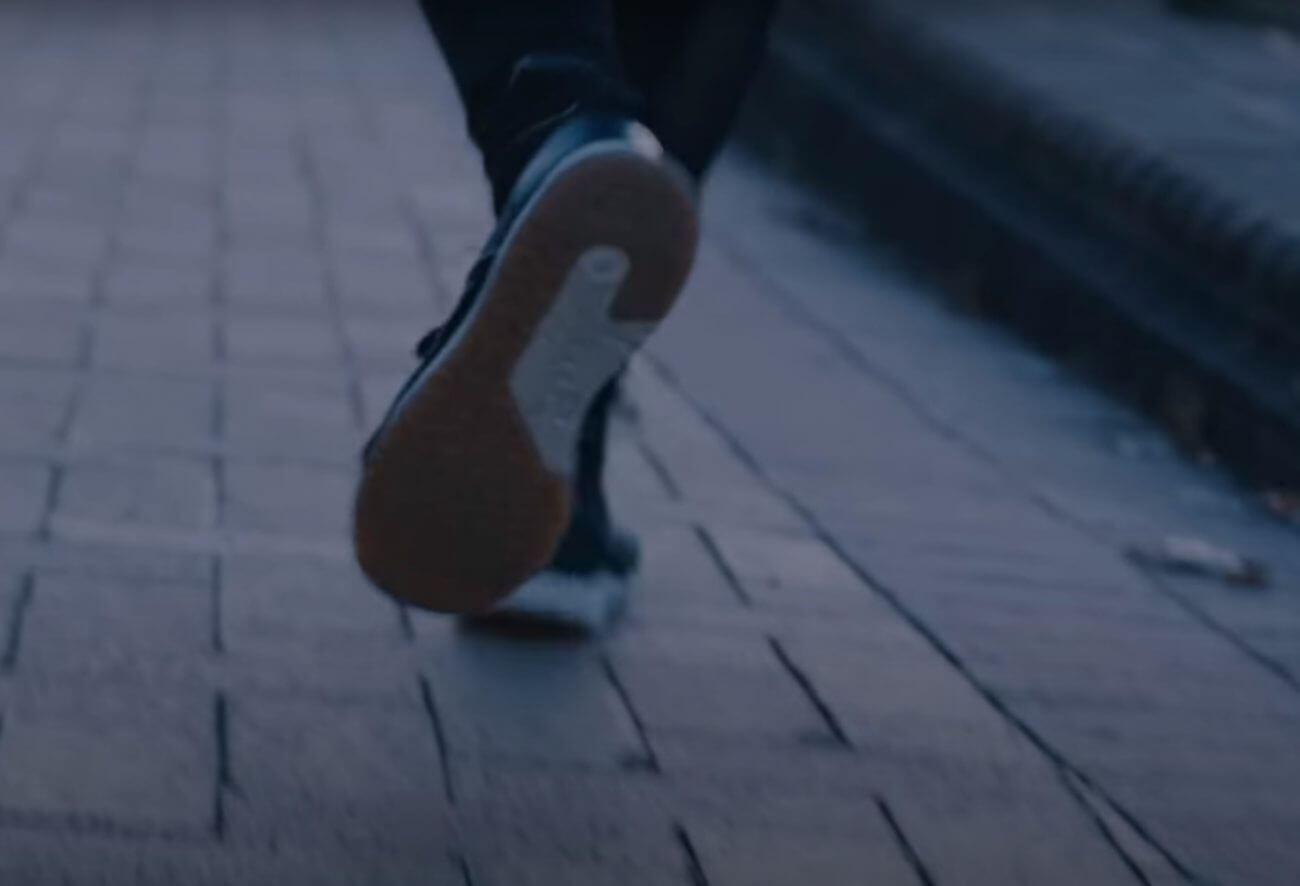
Being a fan of travel filmmaker Brandon Li, Rachel clicks the Filmmakers filter and browses through his footage. After that, she looks for running clips by typing ‘running’ in the search bar. Rachel selects a clip called ‘woman running in the city‘ and opens the story to find more running clips with the same woman.
Since Rachel’s video is about one woman jogging in different places around the world, she needs to show only one runner’s face but many different locations. So, she looks for running clips from other places where you can’t see the runner’s face.
From the city to nature
Daniel, on the other hand, starts with a vague idea for his video. He wants to start in an urban setting and end in a beautiful landscape, but he’s not sure if his character gets to his destination by driving, walking or some other way. Uncertain where he will start or finish, Daniel looks at footage options to get his creative juices flowing. That’s how he develops his outline into making a travel video with a beginning, middle and end.
He begins by looking for an aerial shot of a city, which is an excellent option for an establishing shot.
Daniel browses the catalog and adds possible shots to a collection. He begins by filtering his search with the Urban & City category and then refines it to Aerials.
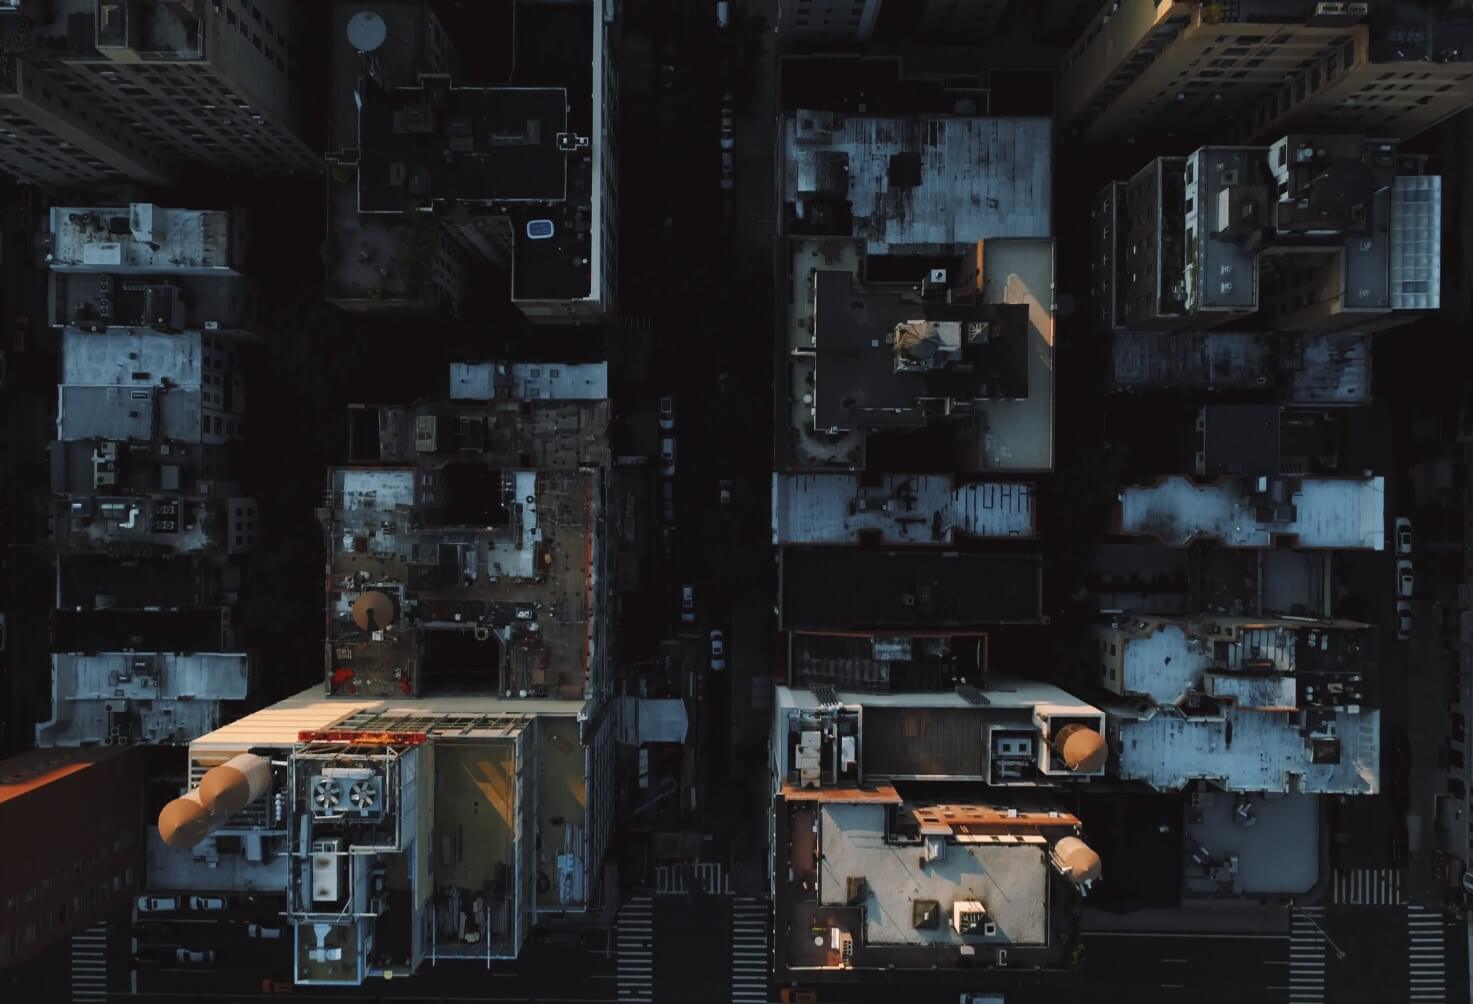
Daniel likes the bird’s eye view style of aerials because he finds them more interesting than the regular-type drone footage shot from a helicopter view. He picks a clip from a story called Flying Over Manhattan by Lester Platt. After looking for other shots of New York to sequence together, he starts looking for his destination shots.
During his search, Daniel stumbles on a cool car chase scene, and now he’s determined to get it into his travel video. When he sees some shots of deserted streets, he decides to make his video topical, start it off with the whole shutdown situation and have his character get out of there to a lovely tropical location. It’s probably a fantasy for many of us stuck in lockdown situations.
After downloading all his clips and importing them into Premiere, Daniel organizes them and starts building a timeline. He does that by labeling them and creating subfolders. Once he gets a better sense of the sequencing, timing and the whole flow of the video, he goes back to Artgrid and gets more footage as he needs. His idea is to start by establishing the New York City location and the fact that there aren’t many people around and then introduce the character leaving the city.
Day 2
Rachel adds music and sound effects
It’s day 2, and Rachel has already downloaded 77 clips for her video. The thing about Artgrid is that you don’t pay by the clip. It’s a subscription-based model, which means you can download as many clips as you want once you’re a subscriber. Rachel’s plan of action for today is to record the voiceover, put it in the timeline, bring down the clips she’s thinking of using, get a feel for what works and what doesn’t and see if she needs to get any other clips to tighten the whole thing up. Then, she plans to find some music, add sound effects, a LUT and go for the win.
FUN FACT: Daniel Inskeep has music on Artlist that you can license under the name Generation Lost, so check him out!
For her soundtrack, Rachel chooses one of Daniel’s songs, in hopes that he’d vote for her in the competition. After laying out everything, adding voiceover and some sound effects, her video clocks at 1 minute 29, which is longer than the 1-minute rule of the challenge. So, she starts looking for ways to trim her video down to have a chance of winning.
Daniel chooses music
At the beginning of day two, Daniel is struggling a bit with his story, as he tries to match his coveted car scene to his initial and final sequences. The fact that his car scene is of a specific model means that if he wants to add any other car footage, it either needs not to show the car or be a similar enough model so that you won’t notice. It looks like he has his hands full when it comes to tightening things up and making a polished video.
That’s when he starts looking for music on Artlist.
Daniel’s initial idea is to use music that’s in complete juxtaposition to the action on the screen. He discovers The Hazelnuts’ ‘It’s Gonna Be Alright,’ which is an uplifting retro pop song, imagining it playing during his car chase scene. So he goes to lay some sound and some music to his video.
Next, we find Daniel editing the doo-wop song he chose for the car scene. The music starts with a percussive down-beat, and Daniel tries to fit it to the action on the screen. After trying out a few starting points for his song, Daniel feels that it’s not what he was looking for. He realizes that his upbeat track would fit better in the final sequence where the guy reaches his heavenly destination and decides to look for a more orchestral song with percussion for his dramatic car scene. In the end, he goes with ‘A Battle in the East‘ by Rhythm Scott.
Now, Daniel goes to add some sound effects for the city, the car engine sounds and all that. Incidentally, Artlist has recently launched a new sound effects library, so you don’t need to go somewhere else to find your video’s sounds.
Having narrowed it down to two songs for the beginning of his video, Daniel checks to see which one will build tension the best. One of the songs has a low-pass filter on it, which makes it more dramatic, but it also has a lot of movement to it as opposed to his static shots of empty NYC. The second option has more of an eerie feeling, which is what Daniel is looking for. He chooses It’s a War‘ by Jordan Hatfield.
Day 3
Rachel has finished her video, although she couldn’t trim it to the 1-minute limit, so she hopes for mercy from the judges.
She does have a couple of tips she wants to share for working with stock footage.
To avoid showing the faces of multiple people, Rachel cheated by scaling up the shots of her running character and only showed the face of one runner throughout. You see different people’s feet and bodies but only one face of a runner.
The other tip is to use sound effects. After finishing her edit, Rachel felt her video was alright but lacked something. Only when she started adding sounds like raindrops and city noises, her video started to take off. Good sound design goes a long way in giving your video life and taking it to another level.
Daniel also managed to finish his video, so he wants to share a few editing tricks he used to get the result he wanted. Daniel wanted to emphasize the empty city feeling, but his establishing aerial shot had a car driving down the middle of it. To get rid of it (or any unwanted element in your clip), he redownloaded the ungraded LOG file of the clip. Many shots on Artgrid make the Log and Raw file available, which gives filmmakers a lot more flexibility when it comes to compositing or grading. Here, Daniel keyframed the masks in After Effects to follow the car and used the Content-Aware Fill feature to remove the vehicle from the shot.
As for LUT, Daniel chose Mango Street’s own MS gray LUT from their Gamut collection and balanced out the color of a few other clips.
For added effect, Daniel ripped audio from some news reports and added them to the beginning. It really sets the scene nicely.
Ready to see the final products?
Here is Rachel’s video:
Here is Daniel’s video:
Hope you enjoyed seeing the videos and especially how Rachel and Daniel created them. If you know how to make a travel video using stock footage, then you’ll be able to create many other types of videos without leaving home. Give it a shot!