If you still haven’t seen our ‘Artlist is Fast’ commercial, check it out here and then check out our take on the familiar time freeze effect. In this post, you’ll learn the insides and outs of how we created this moment frozen in time.
Let’s jump in.
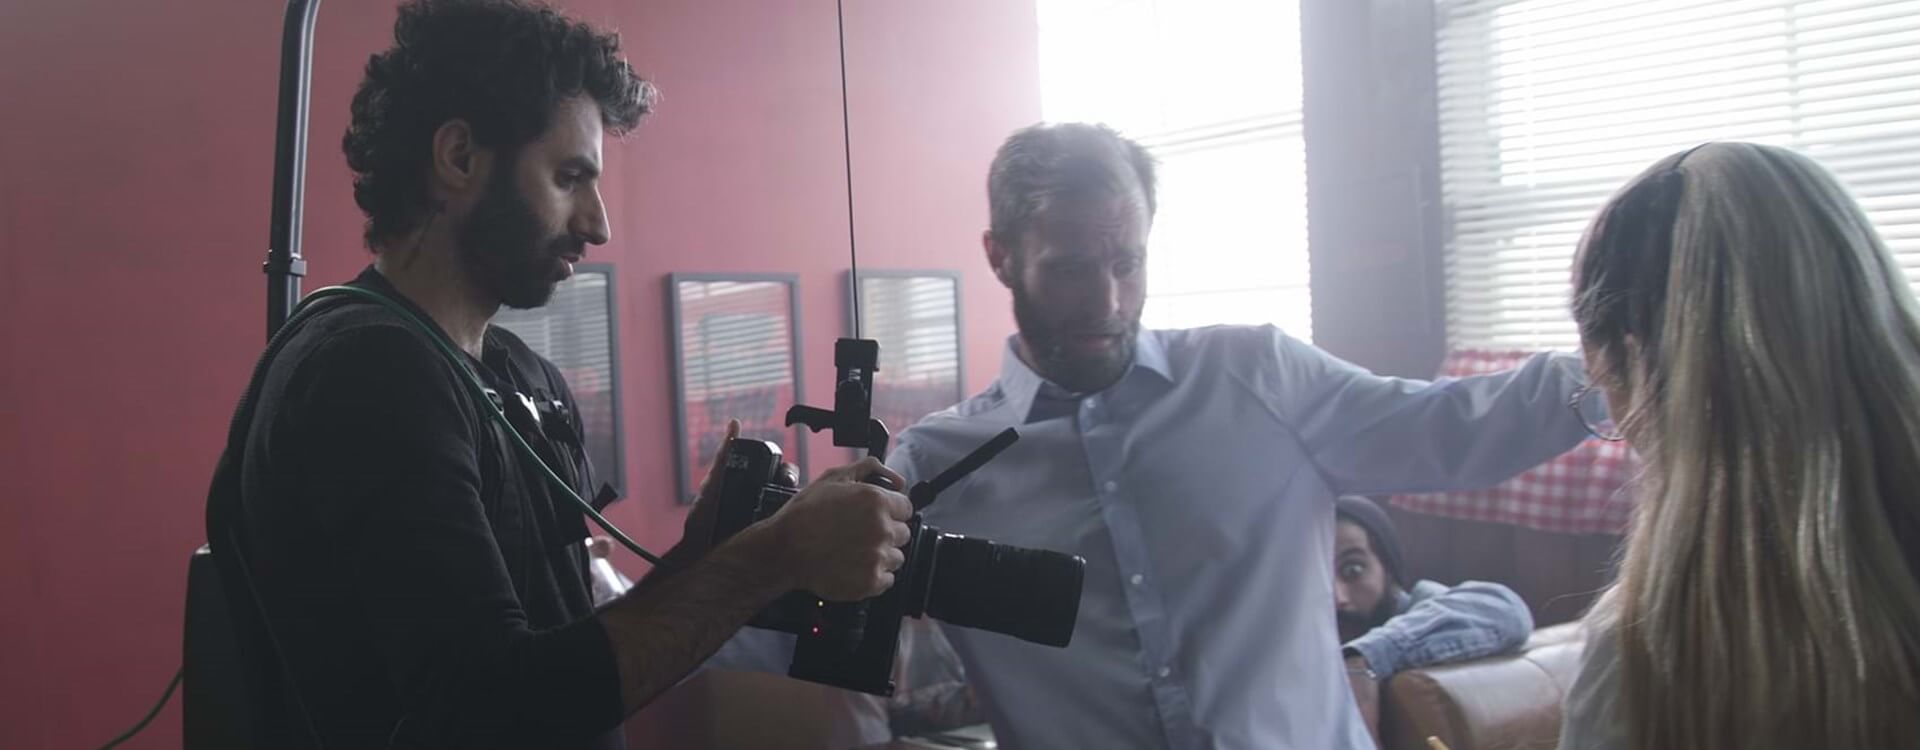
Lighting and Set
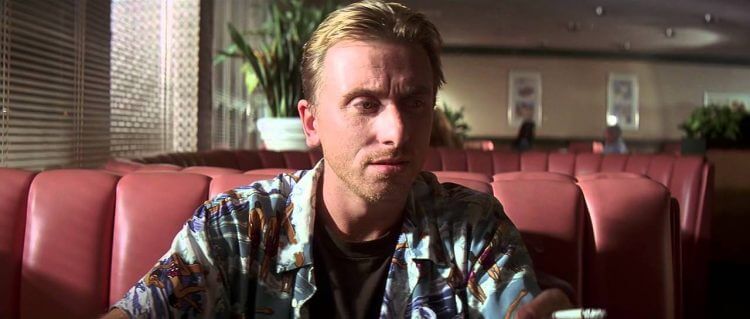
For a retro feel, we used a classic American diner inspired by movies like Pulp Fiction. We used wooden walls, wooden tables, brown couches and painted the walls in red to get a warm color palette.
To recreate the natural sunlight coming through the shutters, we used 2 HMIs as the main backlight, one was 1.8K and the second was 2.5K. We used the Arri Skypanel as the key light and a haze machine to give the diner a lovely diffused look.
A Simple DIY Trick
Remember the mannequin challenge from 2016? Well. the time freeze effect is kind of similar but with a much higher degree of difficulty. After doing some research about the different ways you can create a time freeze effect, we decided to use mostly practical techniques and combine them with a little bit of CGI.
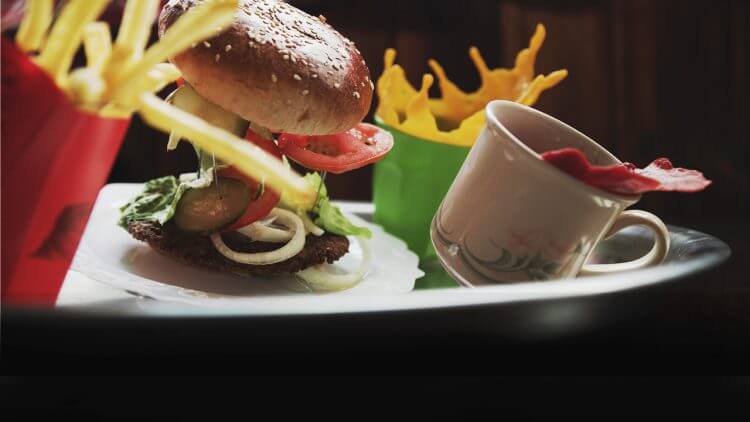
We used a simple DIY technique for the liquids. We melted some wax and shaped it in the way we wanted that liquid to look. For solid items like the food, we took metal wires and glued different parts in random angles and layers on the wires. All in all, these are pretty simple DIY techniques.
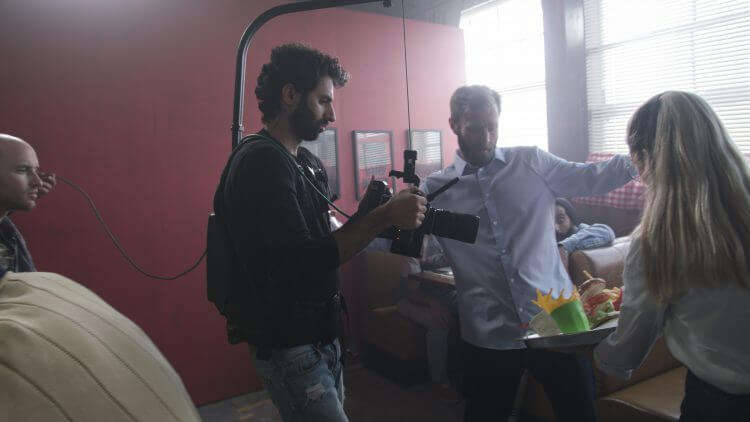
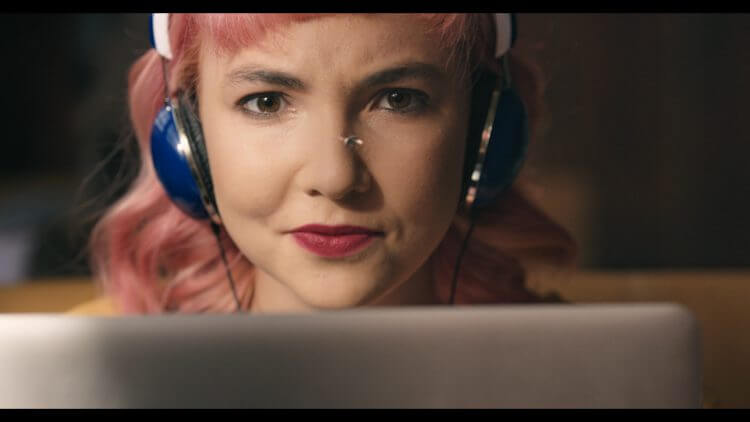
The X-factor in any time freeze effect is the actors. They needed to stay still as the camera made quick motions between the people, the situations and space.
Transitioning Into Time Freeze
To alert the audience they are about to enter time freeze territory, we needed an establishing shot where everything freezes except our main subject. We chose the fly shot as our transition in and out of the time freeze.
That fly is a 3D model we bought on TurboSquid, a site where you can find all sorts of great 3D models for your projects. We animated it in Cinema 4D and rendered it with Octane, a render engine that uses your computer’s GPU.
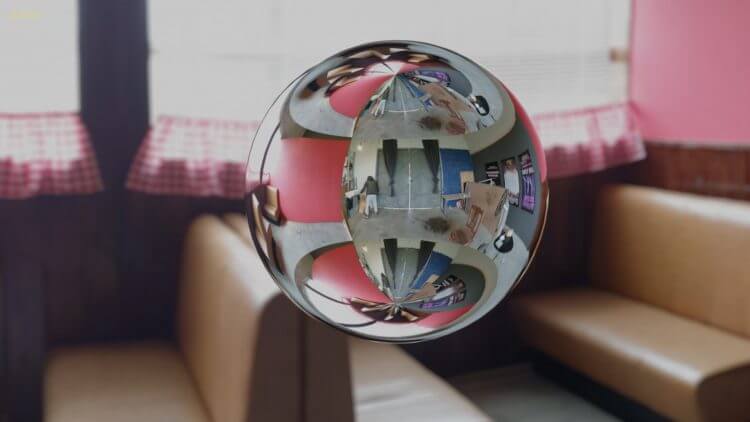
To make our fly as realistic as possible, we took a 360 degree shot of the set with the original lighting and then recreated the light on the fly in Cinema 4D. We composited all that in After Effects and took different close-up reaction shots of our main subject to the fly stropping in midair. To enhance the time freeze effect, we added to our practical effects some objects and liquids with After Effects in post-production.
That’s a Wrap
We hope this helped you learn how to create your own time freeze effect. Catch our tips for using color and light, and join us for more BTS tips that will simplify your filmmaking process. In the meantime, don’t forget to stay creative.