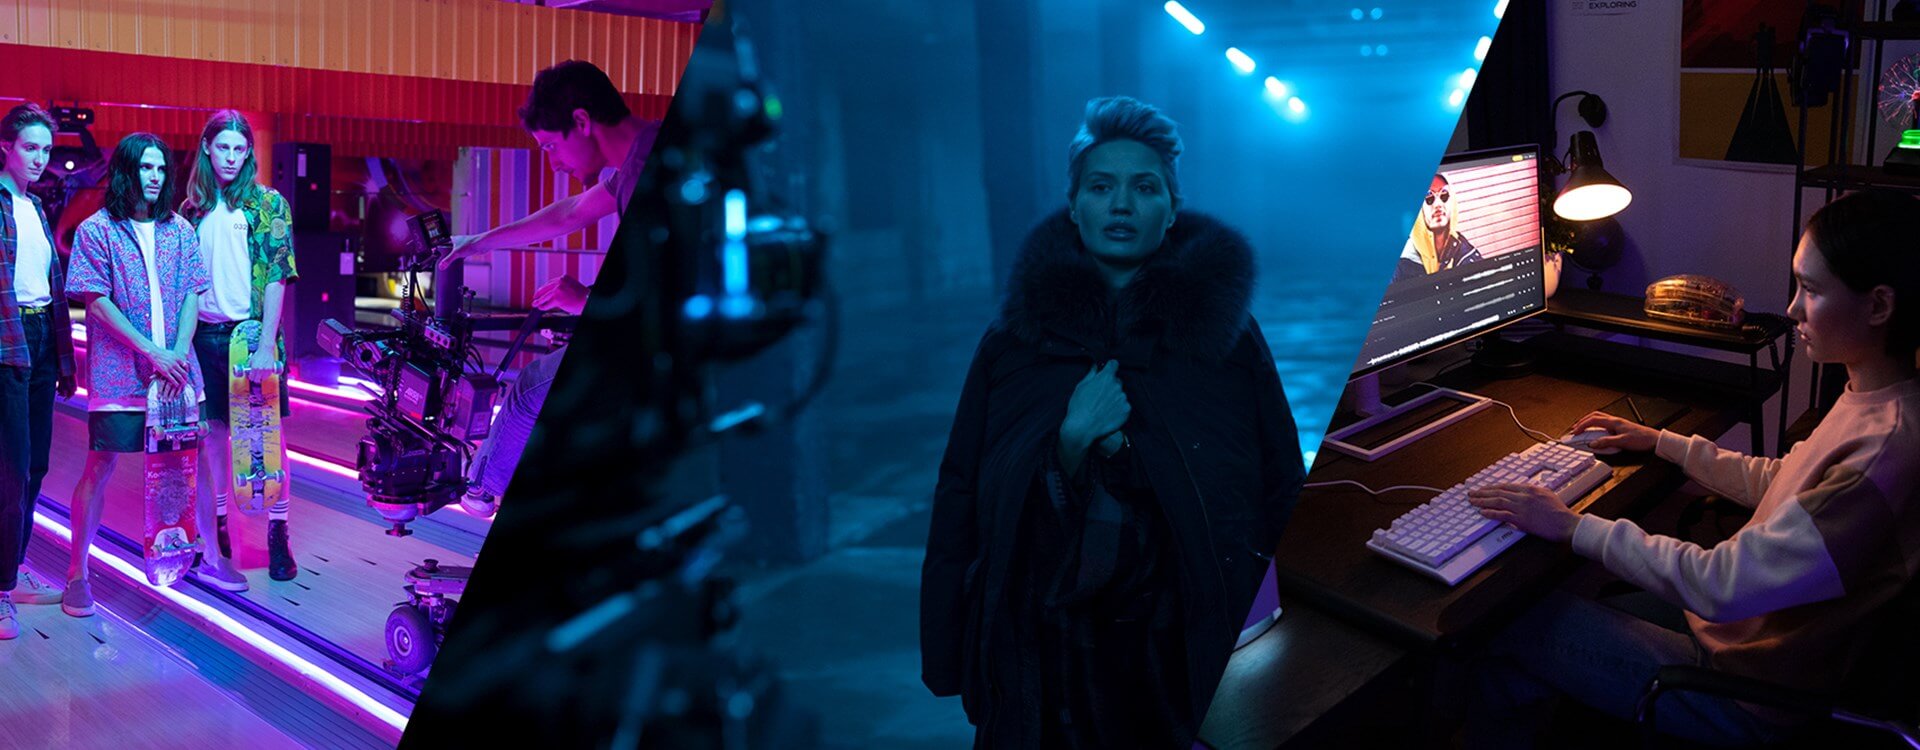
In this post, you will learn how to manage a project for a high-end commercial, starting at the pre-production stage with concept development, going through filming and all the way to the production wrap.
Follow the We Are the Creators production which was shot in partnership with MSI, a computer hardware world leader.
First, take a look at the finished product:
Now let’s dive in.
The Treatment
Any pre-production should begin with a creative treatment, which is a document that summarizes a video’s concept and defines its creative angle. It should have your locations and sets, costume design, casting, gear, and everything should come with references. The more references you have, the clearer your vision will be, for yourself and for your client.
Let’s take a look at the treatment we made for this commercial.
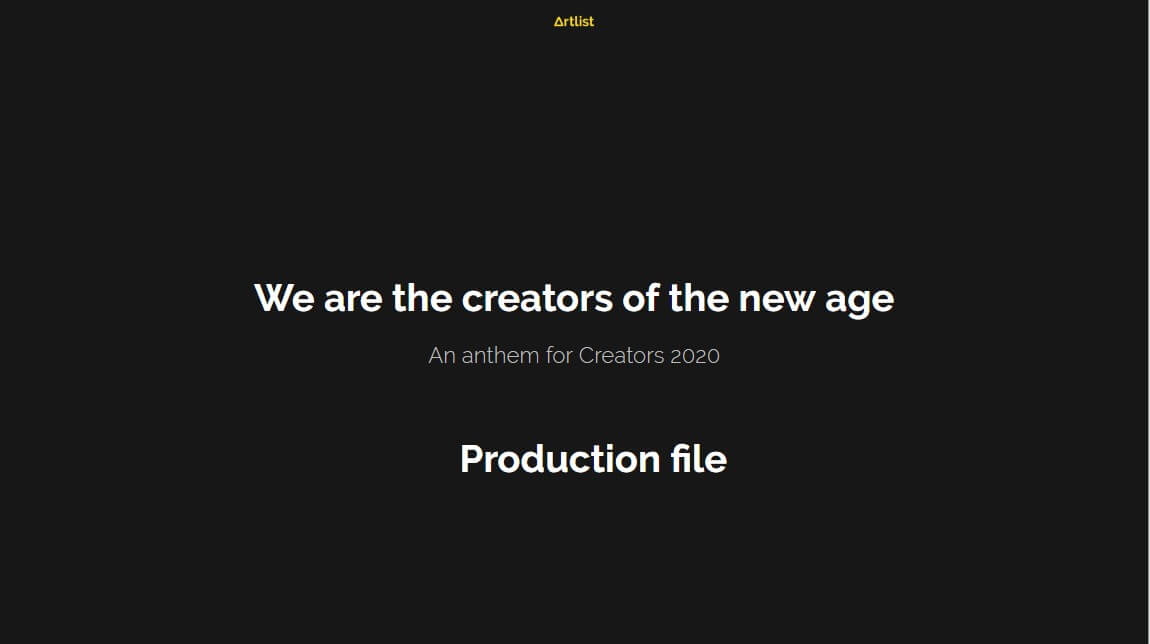
The first slide is an overview of the commercial that describes the basic idea and audience. The second slide includes the locations and sets that we wanted to show in the ad. Although it’s not In our case, we already picked a background song – Howling at the Moon by D Fine Us. It’s not a necessity to choose your soundtrack at this stage, but it could be helpful for you and your client to get a clearer understanding of the feel of your commercial.
The Script
When writing a script for a commercial, you write the audio together with a description of the visuals. If you already have a written script, it’s better to put it in the treatment.
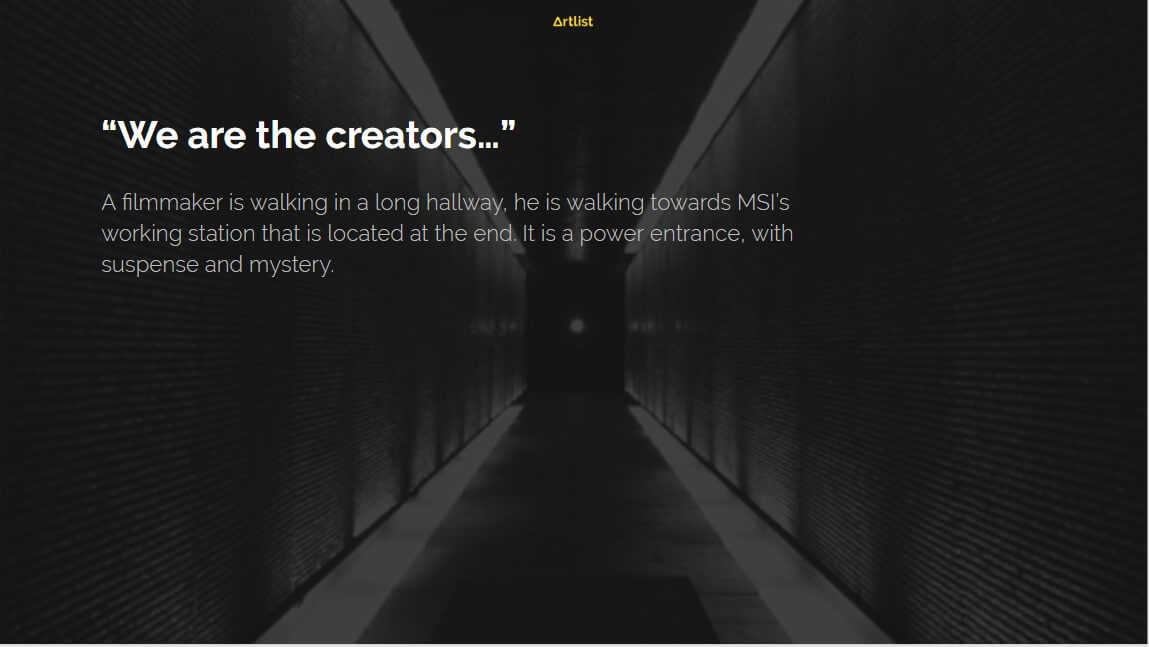
So, for example, the first sentence in our ad is “We are the creators,” and the visuals are of a filmmaker walking toward an MSI working station.
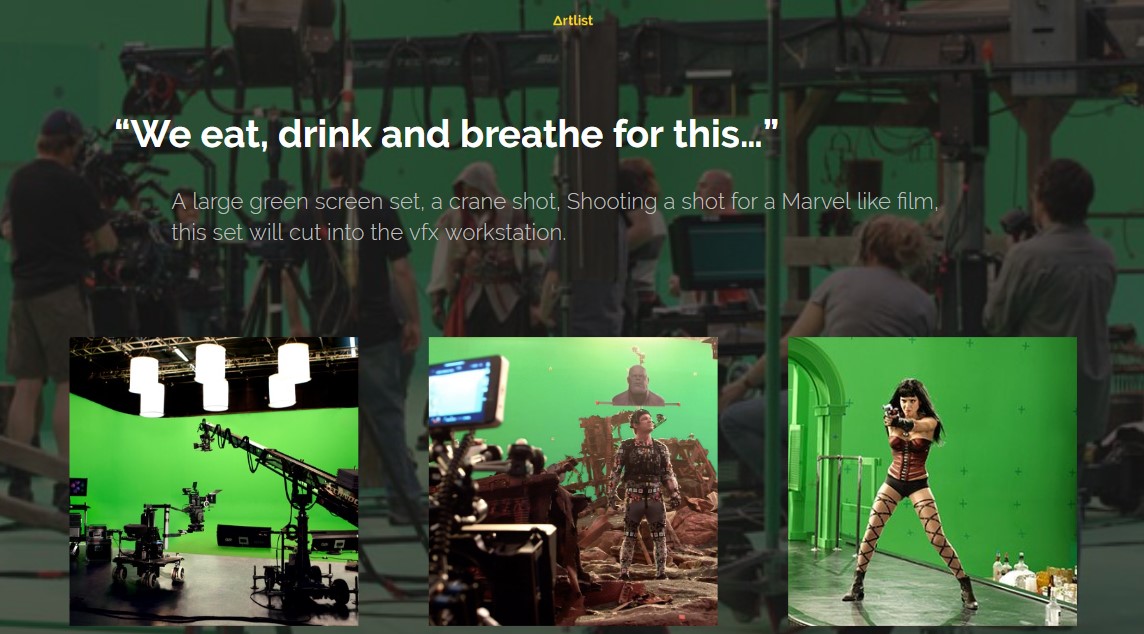
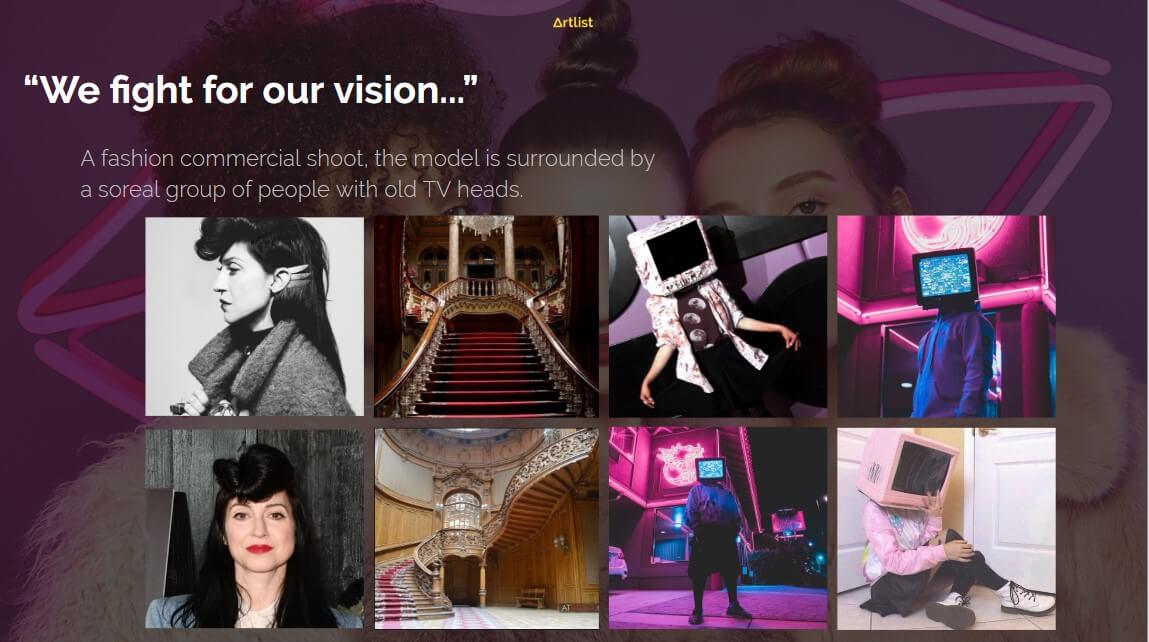
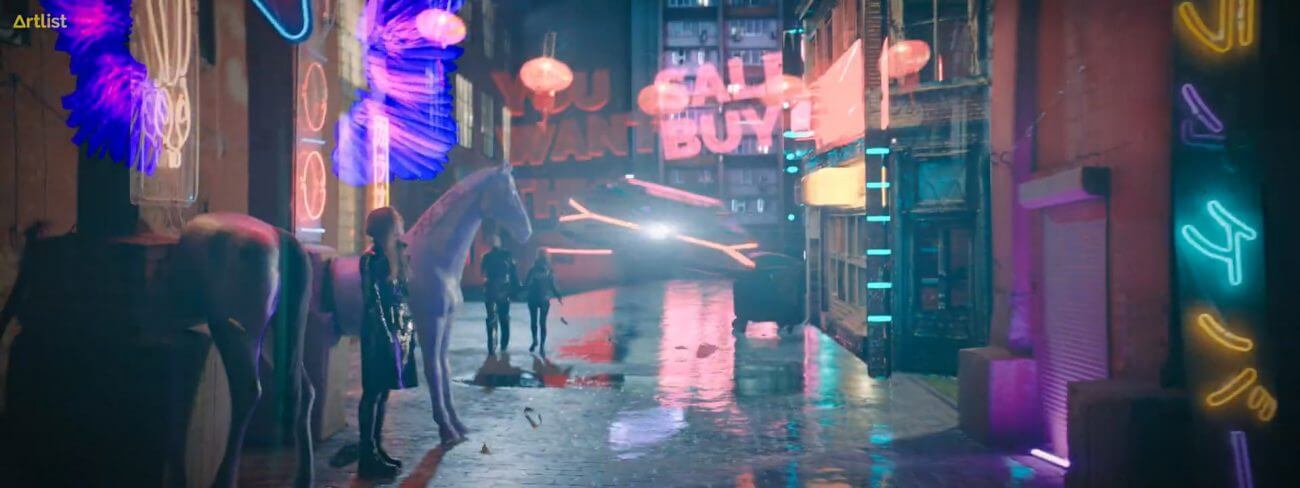
Use as many references in your treatment, but know that the end result will not always match the treatment. It will give you a general direction in terms of style and mood. For example, the treatment visuals for the audio, “We eat, drink and breathe for this,” feature a green screen of a big Hollywood production, and in the next sentence, “we fight for our vision,” there is a creative fashion shoot. What we ended up doing is mix both concepts into a scene that shows a Blade Runner style set that gives off both a big-budget and a unique-creative-vision vibe.
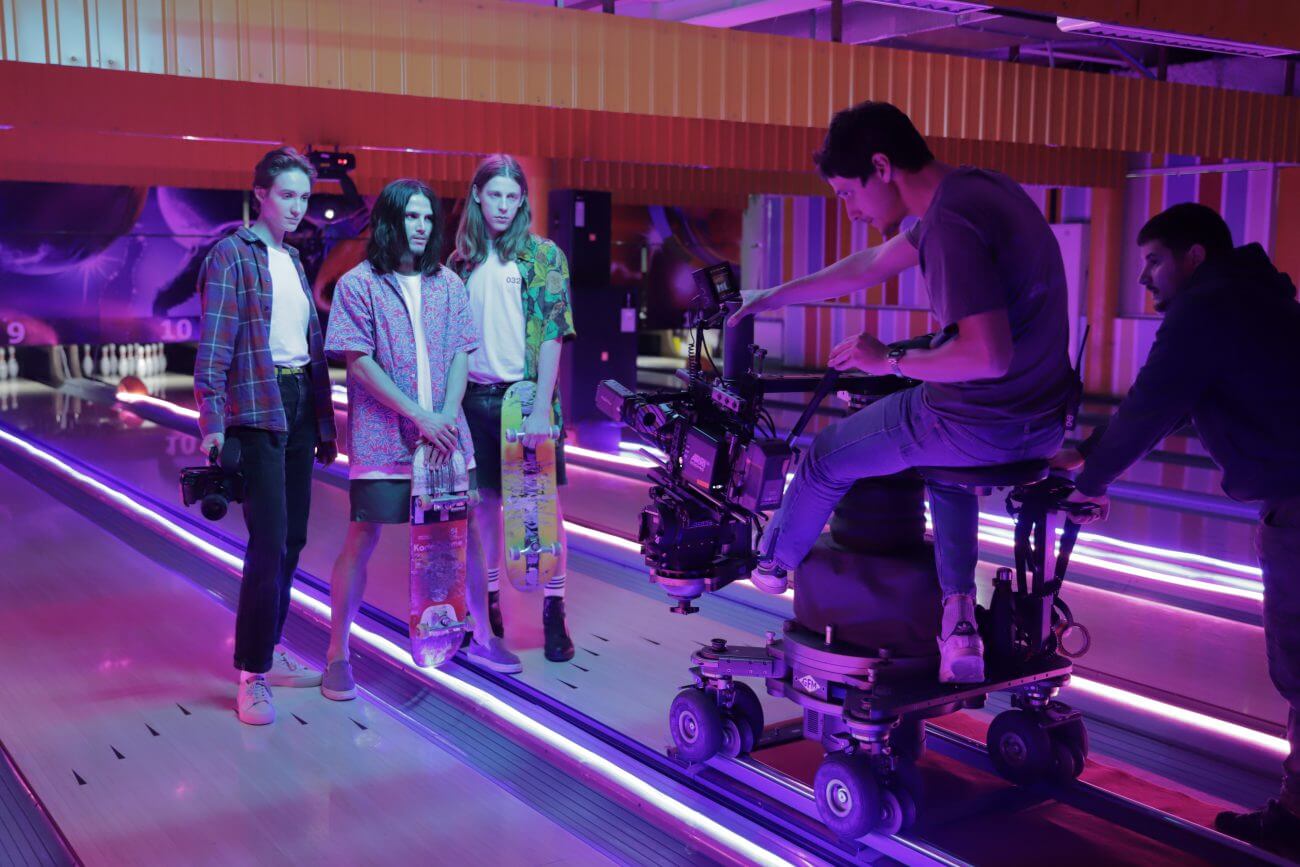
On the other hand, the scene where the guerilla filming crew shoots in a bowling alley ended up pretty close to what we wrote in the treatment.
The final script slide features a video of a drifting car, which is what happens in the climax of the ad.
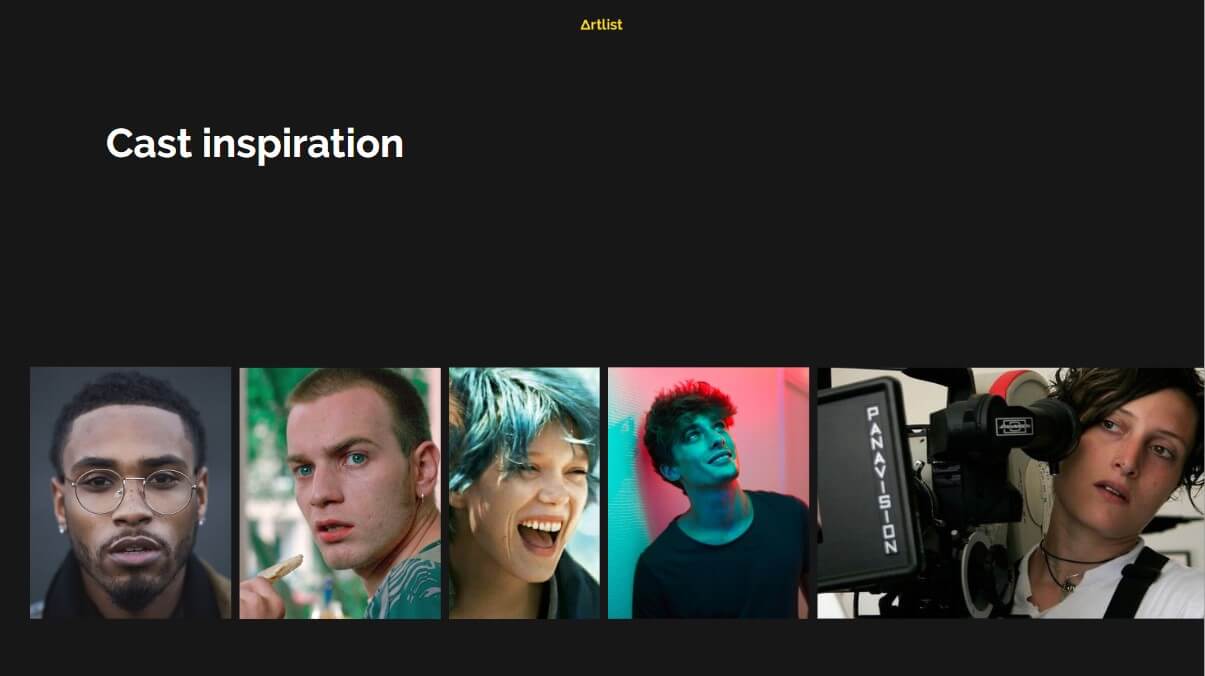
The treatment also includes references for casting. Obviously, we didn’t end up casting Ewan McGregor or Léa Seydoux, but it did give us an idea of who we want our actors to be.
In the final slide of the treatment, we put our animatic storyboard. Not every video has to feature an animatic storyboard; sometimes, a sketched one will do. We usually find Animatics very helpful, and you can see the similarities between the storyboard and the final result.
Pre-Production
We had four days of pre-production and two shooting days. On the first day of the pre-production, we met with the crew to lay out what was going to happen.
On the second day, we went location scouting together with the executive producer, the director, location manager, art director and director of photography. To know how to create a commercial, you need to realize which crew members are essential for the initial location scouting. The art director needs to understand what space he has to work with on each scene, the DP is there to get a better understanding of what camera angles he can use, where he can place them and the available light. The director and the producer obviously need to be there to make the final decision on any issue.
On the third day of pre-production, we went to all the locations we chose and brought along our assistant director, lighting chief and the rest of the technical crew. These guys needed to understand the logistics behind every scene and where to place the lights in each location. On the fourth and final day of pre-production, we met with the costume designer and cast for fittings and to get to know the actors better before we started shooting.
First Shooting Day
The Bowling Alley
When shooting begins, you feel that this is the moment where your vision turns into reality.
We started with the master shot of the skaters skating through the bowling alley. For the lighting setup, we used two different colors of Astera lights on the ceiling. This is how we got color contrast and beautiful reflections on the bowling balls in the foreground. To stylize the frame and get more depth, we laid colorful LED lights across the lanes.
To film this scene and most of the ad, we used the Alexa Mini with an anamorphic Cooke lens. To get that nice tracking shot across the bowling alley, we placed it on a dolly doorway. We shined a cell phone flashlight directly into the lens to get beautiful anamorphic lens flare. For the second setup of the scene, our DP went handheld and freestyled some organic shots.
And for the third set up, we pushed in with the dolly doorway to get that fashion-style power shot.
The Countryside House
Our second location was a countryside house, which we used for two scenes to meet our tight schedule – the editor falling asleep and the VFX artist changing versions. For the lighting set up of the VFX artist scene, we used a combination of an Astera light and the light from the MSI screen as the key light. To stylize the shot, we used practical lights from the art department and to give more character depth to our VFX artist, we added some sci-fi themed props. The camera sitting on a dana dolly gave a smooth dolly-out movement, and we put tracking markers on the computer screen so we could change it in post-production to whatever we wanted.
The scene of the falling asleep editor was pretty complicated to create, and we had to work with professional stuntmen to pull it off. While we were shooting the VFX artist scene, the stuntmen were working with the actor and guided him through the stunt.
We also had some practical tricks done for post-production. To get the floating effect of the computer and screen, we had two crew members dressed in black, holding them in midair and moving them slightly. The black suits helped us mask them out in post-production.
We knew we wanted to composite a city in the editor’s window, so we blacked it out. It was easier than using a green screen because the scene took place at nighttime, and trying to set up a green screen would have been more time-consuming and could have caused problems like light bouncing off it or reflections.
To give the shot a dreamy look, we rigged a water tank above our actor and shined a light beam through it, giving us some interesting textures. To make this effect more visible, we hazed up the room.
Second Shooting Day
The Drift Car
In this scene, we used a professional car drifter.
We separated the drifting car scene into two different setups. For the first one, we had the crew rig up a camera onto a car and a dolly doorway set up on rails for the dolly-in movement. As a rule, if you’re using a fully rigged RED anamorphic camera with a Cooke lens as a prop, you can be sure that you’re shooting a high-end commercial.
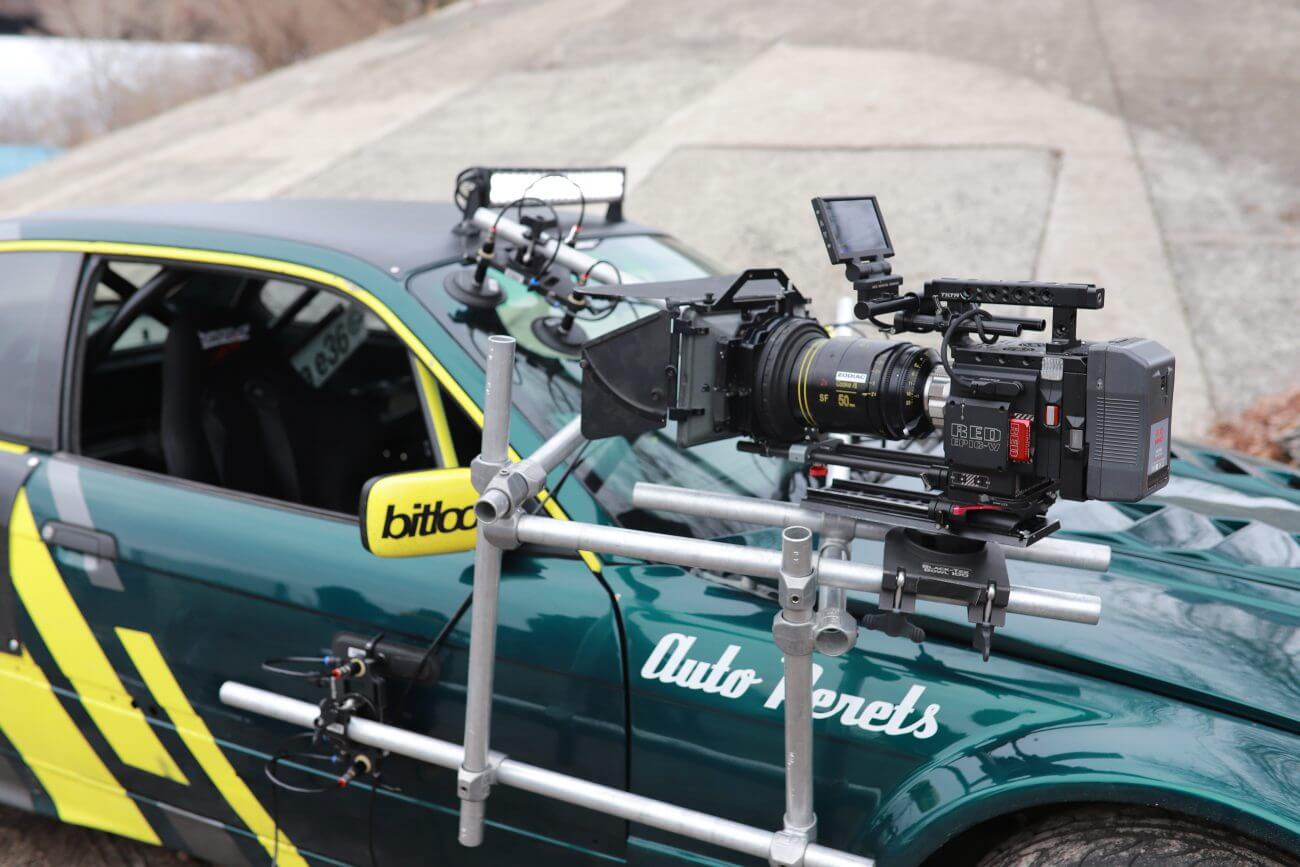
For the second setup, which was the car drifting, we had three angles. The POV shot we filmed with a Blackmagic Pocket rigged on the vehicle. For the top shot, we had a DJI Inspire 2 drone, and for the main angle, we used the Alexa Mini behind protective glass.
A drifting car can cause stones to fly all over the place, so it’s important to be safe, and you definitely don’t want to break that gear. To add an extra edge to the scene, we lit up some yellow smoke bombs.
The Opening Shot
In the setup of the MSI product shots, we placed the computer and screen on a spinning platform with a reflective black surface. We set up a black cloth around it to block out the background and prevent light from bouncing off the walls.
We had the Arri Skypanel with a big diffuser set on a daylight temperature as top light and an Astera light set on Tungsten as the moving edge light.
In the same location, we filmed the first shot of the commercial, where the actor is walking toward the computer. We rigged Astera lights along the hallway and programmed them to light one after the other to reveal the scene and draw the viewer’s eyes toward the MSI computer at the end of the hall. For depth, we wet the floor and used a smoke machine. This helped us get interesting reflections and diffuse the lights.
All the tracking shots were filmed with a camera on a dolly, and for the frontal dolly shot, we had a crew member walking with a LED light to maintain a continuous key light on the actor.
The Futuristic Scene
The Hollywood set was the last scene we shot, and the art department and costume design played a significant role there. To help transform this location into a futuristic Tokyo scene, we brought in different neon signs, china balls and one weird-looking horse statue. Our actor was dressed in a reflective black dress and had colorful sunglasses, and we brought in a wet-down truck to stylize the shot with reflections.
We had two setups in this scene. The first was the crew filming the shot and the second was the shot itself with the compositing process that connects it to the VFX artist scene. As for the lighting setup, we used the Arri Skypanel to simulate moonlight and spread different colored Astera lights around the location. To add more depth, we had a 2K Fresnel light inside the building shining through the window in the background.
This was the final scene, and wrapping up the shoot of our first high-end commercial was extremely satisfying.
That’s a Wrap
Hope this helped you get a sense of how to create a high-end commercial. Remember that it’s important to use as many references as possible in your pre-production treatment and prepare a detailed shooting plan that includes a storyboard, a shooting script and a script breakdown. Until the next production, stay creative!