Highlights
Table of Contents
Explore article topics
Once you know how to take advantage of Resolve’s most basic video color correction abilities, the software offers a whole new world of insanely powerful tools that will let you take your color skills to the next level.
Among those tools, the ones you will likely find yourself using most often will be those designed for secondary color correction. So what does that phrase even mean? Basically, secondary correction is colorwork that is targeted to a specific part of your image. Using a variety of masks and some tracking, you can tell Resolve to apply corrections to a specific hue, brightness value, or physical area in your image. That way you can make very specific adjustments without affecting the rest of your image. Here’s an excellent and in-depth tutorial from Channing Lowe (who uses the hilarious YouTube channel name chinfat). This tutorial is part of 6 video series all about how to get started with DaVinci Resolve, so if you’re completely new to the software, you might want to go back and check out the other videos first. Anyhow, here’s Channing with a great crash course in secondary color correction.
As you can see, secondary corrections in Resolve are fairly simple, and there’s an incredible amount of flexibility and precision available in these tools. The basic process Channing’s using for pretty much all of these corrections is this:
- Create a new serial node.
- Use either a shape mask or the eyedropper tool to select the area of the image you want to work on.
- Refine your mask as precisely as you can (and throw in a little feathering for good measure).
- Make the necessary corrections.
- Use Resolve’s tracker if the shot has the movement that you need to follow.
Get unlimited high-quality music for your videos
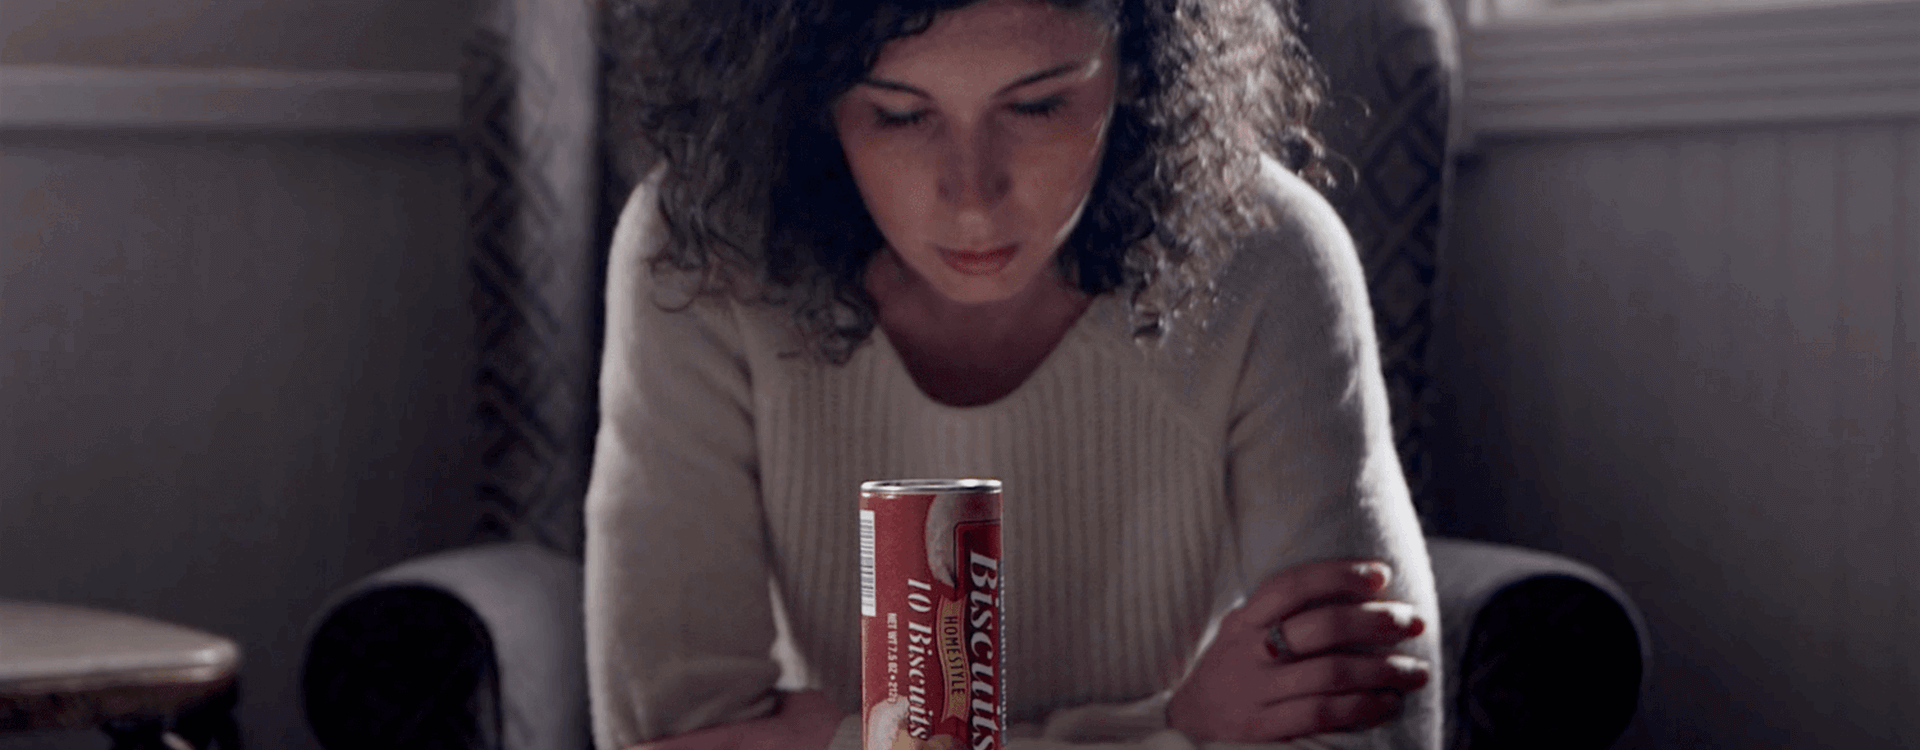
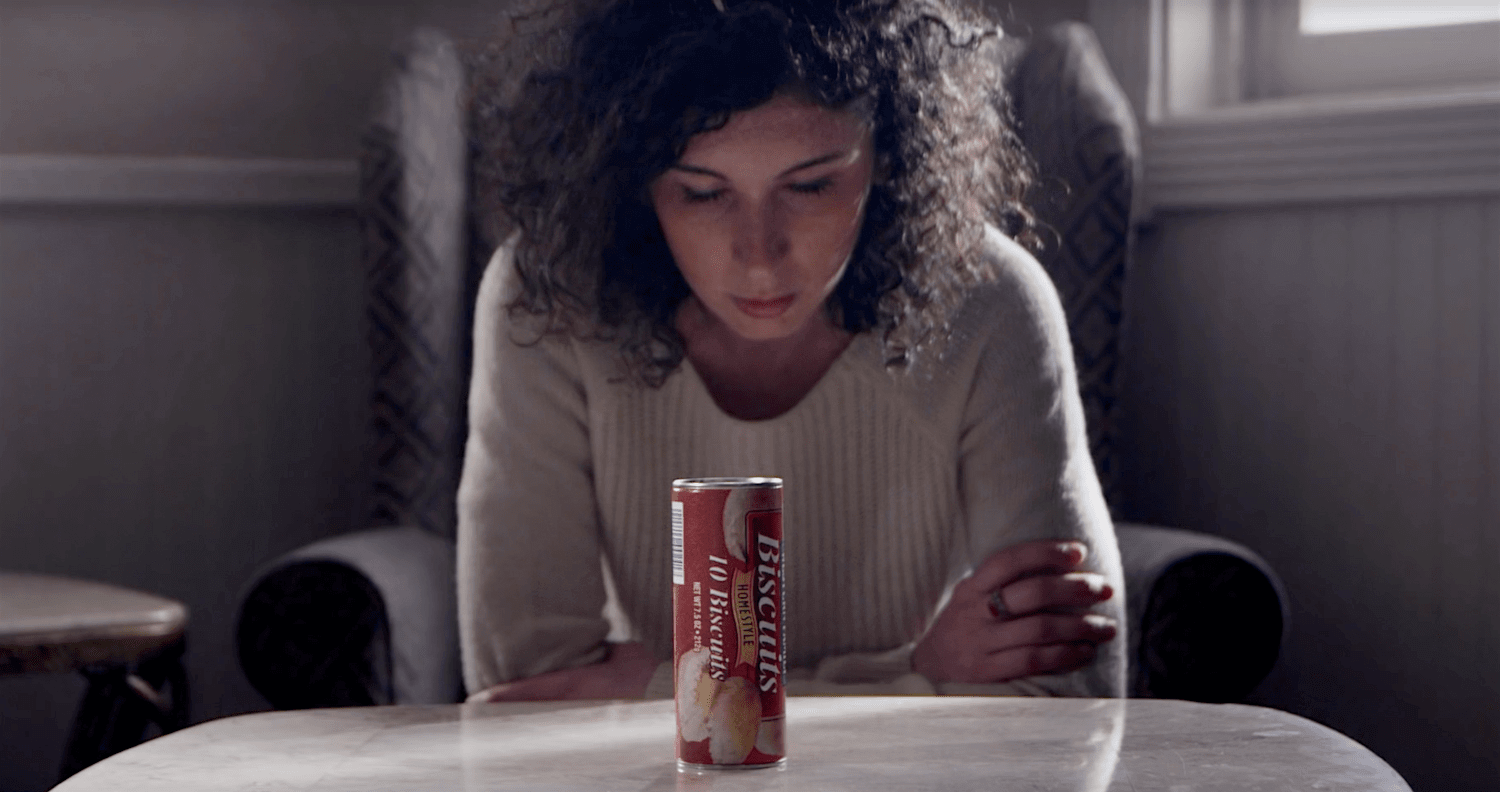
That’s really it, and while it may seem like an involved process, once you’ve done it a couple of times, it really does become second nature. So now let’s talk a little bit about why secondary color correction like this is a useful tool for visual storytelling. Basically, secondary color correction serves a couple of purposes. First, it allows you to fix parts of the image that might distract the audience from more important visual elements. So in the shot from the tutorial above, that biscuit can was far too saturated, and it pulled attention away from the actress’s face. By using Resolve’s eyedropper, then cleaning up the mask, Channing was able to pull saturation out of the can while keeping the rest of the image untouched. However, secondaries can be used for more than just correcting mistakes. Since visual storytelling is all about guiding the audience’s eyes to where they need to be at any given time, it follows that you’d want to use secondaries to influence where the audience is looking. The real power here comes from being able to emphasize visual elements that are important to your story. In the case of this video, pretty much all of the shots that Channing works on have a mask around the actress (which tracks when necessary). Then he darkens the areas around her so that our eyes are automatically guided towards her face. It’s a subtle way to influence the visual story, but when combined with intentional cinematography, good production design, and good acting, it really helps the piece fire on all cylinders. What are your favorite uses and techniques for secondary color correction? Let us know down in the comments!
Share this article
Did you find this article useful?
Related Posts
- By Artlist
- 4 MIN READ
- By Josh Edwards
- 7 MIN READ
- By Josh Edwards
- 7 MIN READ
Latest Posts
- 17 Apr
- By Daniela Bowker
- 7 MIN READ
- 15 Apr
- By Rebecca Helfenbaum
- 4 MIN READ

