Learning something new used to involve taking a class or reading a book. Still, these days there are at least a dozen how-to videos (tutorials) on just about any subject you can think of, allowing you to learn new skills at the drop of a hat. Still, at times it can be hard to sort the wheat from the chaff. Not all instructional videos are created equal. Some are hard to follow, poorly filmed, have terrible audio, or provide incorrect information.
There are many things to consider when creating a how-to video from pre- to post-production and everything in between. Getting it right will result in a tutorial video that will resonate with your audience and deliver on the promise it makes. Your viewer should be able to do the task or master the skill demonstrated in your how-to video.
The 5 most common types of how-to videos
Wait, so what is a how-to/instructional/tutorial video? Well, it’s a style of video that demonstrates how to do something or teaches a skill or concept. There are many types of how-to videos.
1. Tutorials
Probably the most common form of instructional video. We have all watched a tutorial detailing the step-by-step process to achieve a ta
sk. They are commonly used to learn new software or software-based skills like editing photos in Lightroom or videos in DaVinci Resolve.
2. Training videos
You were probably required to do some online training at some point. Training videos are extensively used in online learning environments for businesses to ensure that employees have the skills to do the job. The videos often include animated explainer videos to teach or explain a concept or process, as well as an interactive quiz to check that learning outcomes have been achieved.
3. Online courses
Similar to training videos, online courses consist of a series of instructional videos that work together to teach a larger subject. The courses are often sold by creatives on sites like Udemy and cover a wide range of subjects from photography through to DIY carpentry and everything in-between.
4. Animated explainers
Explainer videos are used to quickly explain a concept or process using simple animations. Businesses frequently use these videos to explain how they operate or what services they offer. The videos are usually short, no longer than a couple of minutes.
5. Live streaming and screen recordings
Going live is quick and easy these days. Creators can quickly go live and demonstrate how to do something in response to a question. It can include screen sharing or screen recording to show how an app works as well. Such videos are responsive, low cost and easy to produce.
Several methods can be used to make instructional videos, including filming them with a camera, screen recording or animation.
12 Dos and don’ts for creating a how-to video
Like making a film, creating instructional videos, producing training videos, filming a tutorial or animating an explainer video all involve the 3 essential phases: pre-production, production and post-production. Each stage builds on the preceding. Here are some dos and don’ts for each phase.
Pre-production
Before you even think of rolling a camera, recording your screen, or making an animation, you need to plan your how-to video properly. Pre-production includes everything you do before you press record or start animating. The more effort you put into the planning stage, the better the end result.
1. Do your research
Providing inaccurate information in a how-to video is not good for your viewers and could be disastrous to your reputation. So make sure you know your subject well and can provide accurate information in your tutorial video. If not, then research it thoroughly before you even start planning the video.
2. Write a script or outline

Making it up as you go is a recipe for waffling and misinformation, don’t do it. Work from a script or at least a solid outline. It will benefit the rest of your planning as well. If you have a script, a simple teleprompter on your phone or tablet can make recording an instructional video a lot easier. If you don’t have a teleprompter, practice reading your script until you are comfortable with it before recording your narration or filming yourself.
3. Know your audience
When you’re writing a script or outline, you need to think about the intended audience. Do they know a lot about the subject already, or are they complete noobs? This sort of information will help you plan the level of detail of your content. If you oversimply it for experienced viewers, they will get bored and leave while going too fast and leaving out details will make it hard for beginners to follow.
4. Don’t forget to storyboard
A storyboard assists with planning the visual aspects of the video by letting you visualize what it will look like. Even a quick stickman pencil drawing can help you determine what shots you will need, how to frame those shots, which lenses to use, locations where to shoot and your lighting needs.
5. Content is king
Give your audience what they need and what they want. Don’t add filler content; get straight to the point and ensure there is no fluff. Respect your audience’s time. The more value and valuable information you provide, the more engaged your viewers will be.
Production
There are 3 essential things you need to consider when you start to make a tutorial video, no matter which method you use. These are coverage, lighting and audio.
6. A picture is worth 1,000 words
Regardless of what your tutorial is about, the benefits video provides are lost if your viewers can’t follow what you are demonstrating. It’s not so much about stunning cinematography but about making sure you have enough coverage and b-roll to illustrate each step of the process in your how-to video.
Don’t show a wide-angle shot when you show small details like tightening a tiny screw; close-ups are great for these. B-roll can show context and illustrate concepts. Use a variety of shots and camera angles to demonstrate each step in detail. Even with screen recordings, you can zoom in on specific details, animate mouse clicks, etc.
7. Don’t leave viewers in the dark
Lighting is often the difference between professional and amateur productions. If you film yourself backlit with a bright window in the back, you and your viewers would be in the dark. Even with animations, you need to ensure they are clean and clear. If your audience can’t clearly see what you are doing, they will lose interest and leave. Even a simple single-light setup is better than nothing. Outdoor locations can benefit from reflectors and a bit of planning on how you position yourself to get the best light.
8. Clean audio is essential
While average visuals are often tolerated, our reaction to poor audio is instant, click and go somewhere else. If we can’t hear and understand what is going on in a video, it is nearly unwatchable. It’s not just clarity but overall quality. If it doesn’t sound good, it is unpleasant to watch. The only way around that is using subtitles. Lapel mics are a great way to record decent audio in various environments while avoiding too much reverb or background noise. Wireless lapel options aren’t that expensive either, so it is a worthwhile investment.
Post Production
‘That’s a wrap’ is the phrase used when principal filming is done, but it’s not nearly the end. The video or animation you have created plus your narration, royalty-free music and graphics need to be brought together in post-production. Most of us just call it video editing.
9. Fix it in post
If you didn’t film, record or draw it and can’t redo it, don’t just live with it. You can fix a good amount of problems in post-production with your editing software. For example, if your narration didn’t come out clear enough, embed some subtitles to make it clear. If you didn’t film it, add some stock footage or make it interesting with some sound effects from Artlist. Graphics and text can provide clarity where your footage isn’t clear. If you filmed in 4K or above, you can always crop in to show more detail.
10. Don’t go too fast or too slow
Pace your video according to the content and the audience. Some of this is locked in during the planning stages with the script or outline, but editing allows you to finalize it. If you go too fast on complex details, your audience will be lost while lumbering on when it’s easy, and you will lose their attention.
11. Work on your audio
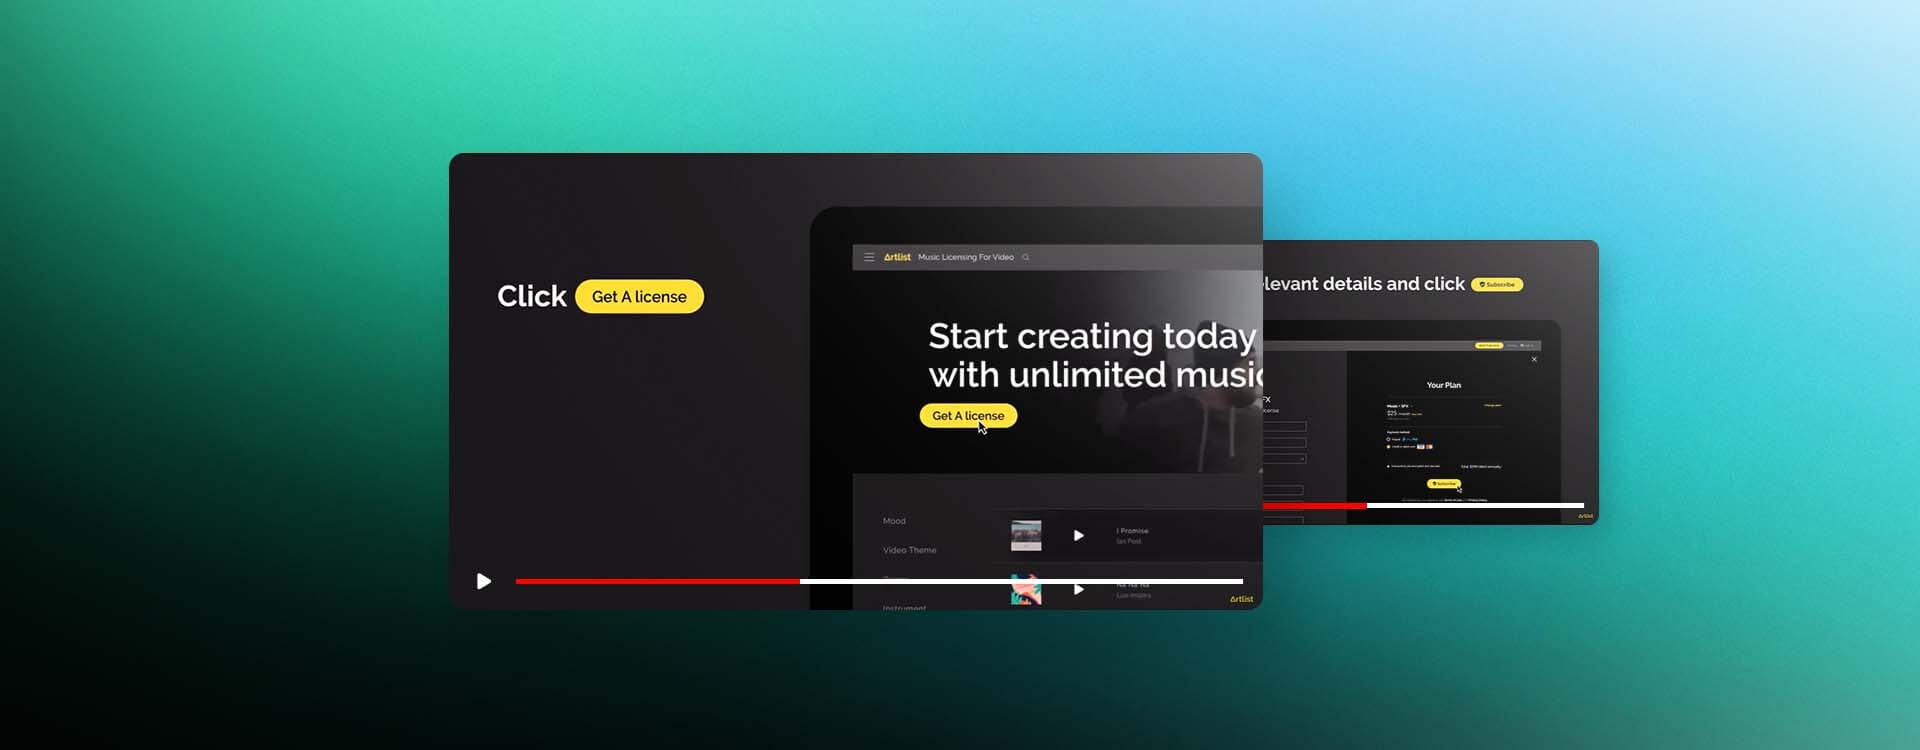
A bit of noise reduction, some EQ and maybe a compressor can go a long way to improve poorly recorded audio or sweeten great audio. It’s not just your voice that counts. The overall audio matters, and some pleasant background music can change the mood and help cover up some background noise. Make sure you choose the right track that fits with the content like this great royalty-free music collection at Artlist.
12. Add chapters
If the platform you’re using allows it, give your audience a choice by adding chapters to your video. Chapters help your audience easily find and watch or re-watch certain parts of your instructional video. Your audience will appreciate it.
Final thoughts
There are many aspects to consider when creating a how-to video, and learning how to make instructional videos will take time and practice. So make sure you put enough effort into each of the 3 phases of production, and you are bound to be successful.
Instructional videos like training videos are often used in corporate settings, so check out our post about corporate video production to learn more about it.