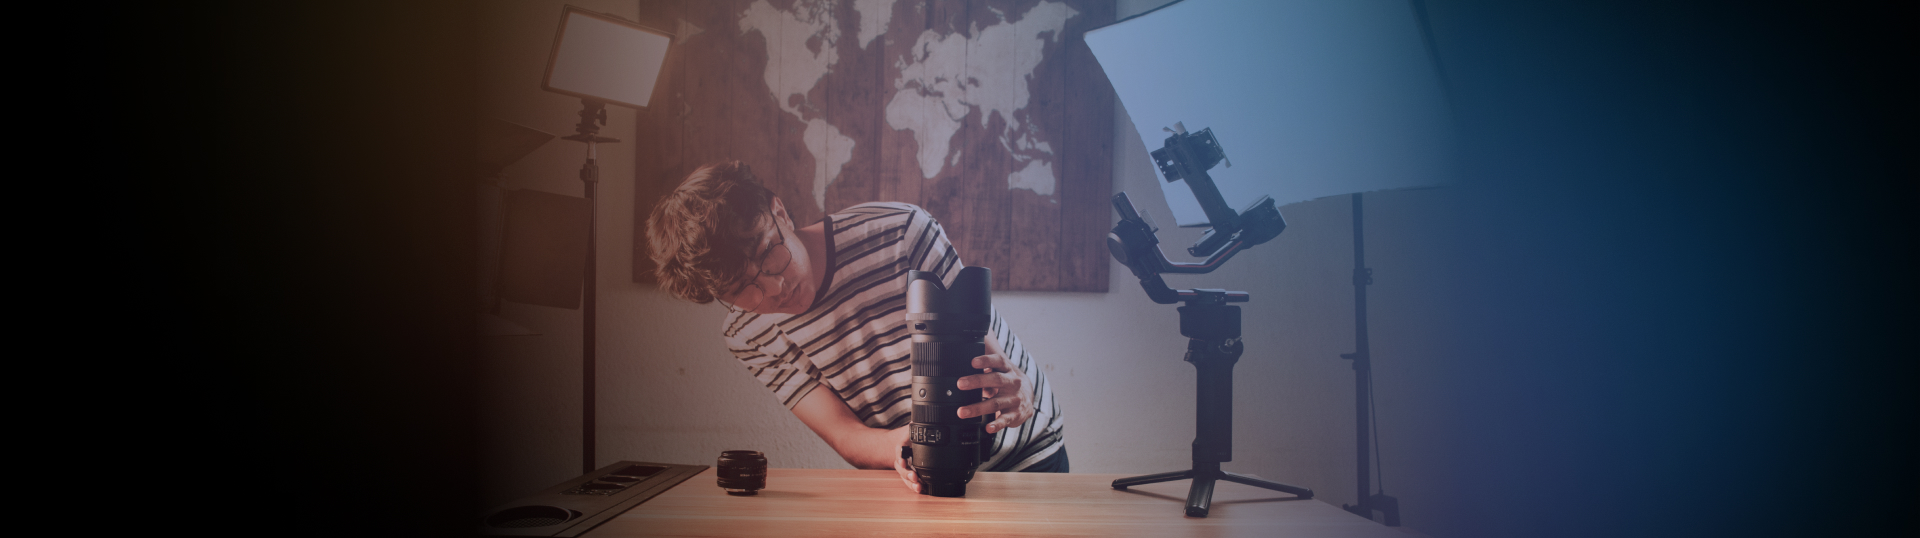
If you’re thinking about becoming a YouTube video creator or want to take your filming to the next level without spending thousands of dollars, you’ve come to the right place. A professional filming kit can cost a lot, from camera equipment to lights and microphones.
Fortunately, as technology has improved, more people have access to professional standard cameras, all within their smart devices. And with a few cost-effective add-ons, you can get set up to create high-quality YouTube videos for under $100. Read on to learn how, or check out visual examples of these tips in this video by Herman Huang:
Shot stabilization
While shaky hand-held shots can be used in your video project, they are best utilized for found-footage horror films and run-and-gun filmmaking. When it comes to talking heads, interviews, or even simple vlogs, a shaky camera can be off-putting to your audience, so our first recommendation is the humble tripod.
Tripods offer the most stability for your shots, but selfie sticks and monopods are fantastic options for shot stabilization, especially if you use your smart device. If you’re shooting using a DSLR or heavier camera, you’ll need to pay close attention to the weight load your tripod can take, but for a smartphone, you can pick up a pretty good selfie stick with legs for around $10.
Along with a stable shot, another big advantage of a tripod/selfie stick is that you can adjust the height of your camera to get the best possible framing. It’s best to aim for the camera to sit at eye height with your on-screen talent; this will help the viewers feel they are right next to you, involved in the conversation/story.
Lighting
Lighting can make or break your shot; it doesn’t matter how good your camera is or how professional your framing looks; if it’s too dark/bright, your viewers won’t be able to see what’s happening. Professional videographers use a system called 3-point lighting to guide how they set up their shots. This super simple theory works with 3 different sources of Light; Key Light, Fill Light, and Back Light.
Key Light/Front Light
The Key Light is used in front of your subject to light their face and should be positioned at a 45-degree angle to your subject. With no Key Light, it could be challenging to see your subject’s face. Softboxes are a fantastic option for your key lighting, as they offer a softer, more diffused look, removing harsh shadows on your face.
Fill Light
The Fill Light is used to fill the area of your subject; this is generally a softer light than the Key Light and should help fill the space. With no Fill Light, the subject will look like they’re in a spotlight.
One of the best things about fill lighting is that you can often create it for free using a natural light source. Positioning your shoot near windows or doorways can often provide enough ambient lighting to fill your shot. You can use white walls, reflectors, or even sheets of white foam card to bounce light around your space, filling in any unwanted shadowy areas.
When using natural light in your shots, it’s super important to remember how quickly the lighting can change and to adjust your camera settings and other lamps accordingly.
Back Light
Just as the name suggests, backlighting should light your subject from behind. You should always ensure a good amount of space between your subject and the background; the Back Light helps define this space. With no Back Light, you risk your subject blending with the background.
LED lights are one of the most cost-effective solutions for your backlighting, with two small lamps with tripods costing around $25. A big advantage to LED lamps is they often come with dimmers allowing you to fine-tune how much light is in a scene.
There’s one other type of lighting you can use to create an atmosphere in your shots; practical light. Practical lighting refers to any light sources you see in the shot, such as a computer monitor or desk lamp. While these shouldn’t be used to light your scene, they can help create an excellent mise-en-scene while fulfilling a valuable role; check out our complete guide to practical lighting.
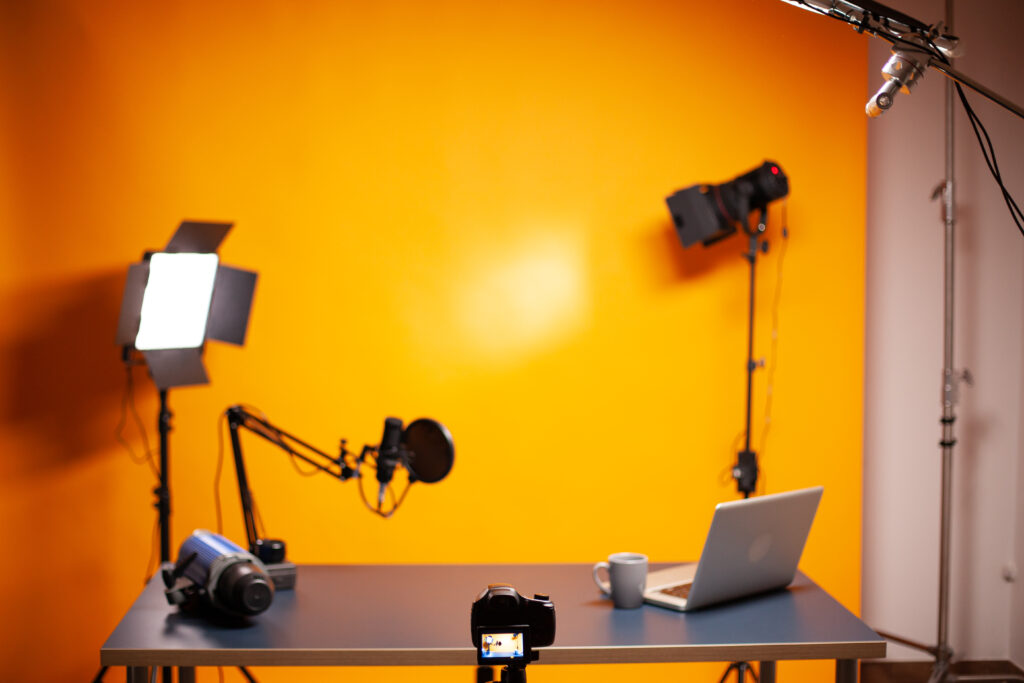
Motion Array stock photos. Podcasting and vlogging home studio setup
Audio
If the content is good enough, an audience can often watch past bad lighting or wobbly cameras. Bad audio is another matter; if the viewer can’t hear what is being said, or the recording is so bad it becomes painful to listen to, they will turn off.
There are many reasons why the audio might be ‘bad’, including feedback from equipment, background noise, and presenter crackles and pops. When you hear bad audio quality in a YouTube video, the creator likely relied on the ‘onboard microphone (the mic that comes with the camera), which records multi-directional audio all at the same volume.
Using a separate microphone, you can bring the recording device closer to the speaker while cutting out many background and atmospheric noises. We recommend a wireless lavalier microphone, which costs around $25. The small clip-on mic can easily be hidden on your collar, while the receiver plugs straight into your smart device, allowing you to move around freely without getting tangled in wires. If you find yourself needing to learn more about the various types of microphones available, check out this handy guide.
Another audio element that can add a professional touch to your videos is choosing the correct music. Music licensing can be confusing, and using the wrong track can result in your content being demonetized or taken down entirely. Artlist has super easy licensing and a massive library of tracks produced by professional musicians, so no matter the subject of your content, you’re sure to find something to suit your needs.
A cost-effective way to better quality videos
While you may want to change and adapt your filming gear as you build your audience, there’s no doubt that these cost-effective solutions can dramatically improve the quality of your YouTube videos. Your filming equipment is an investment, and as your ambitions grow, you might need new kit solutions, so why not check out our YouTube equipment checklist: essential gear for beginners in 2023.