Highlights
Table of Contents
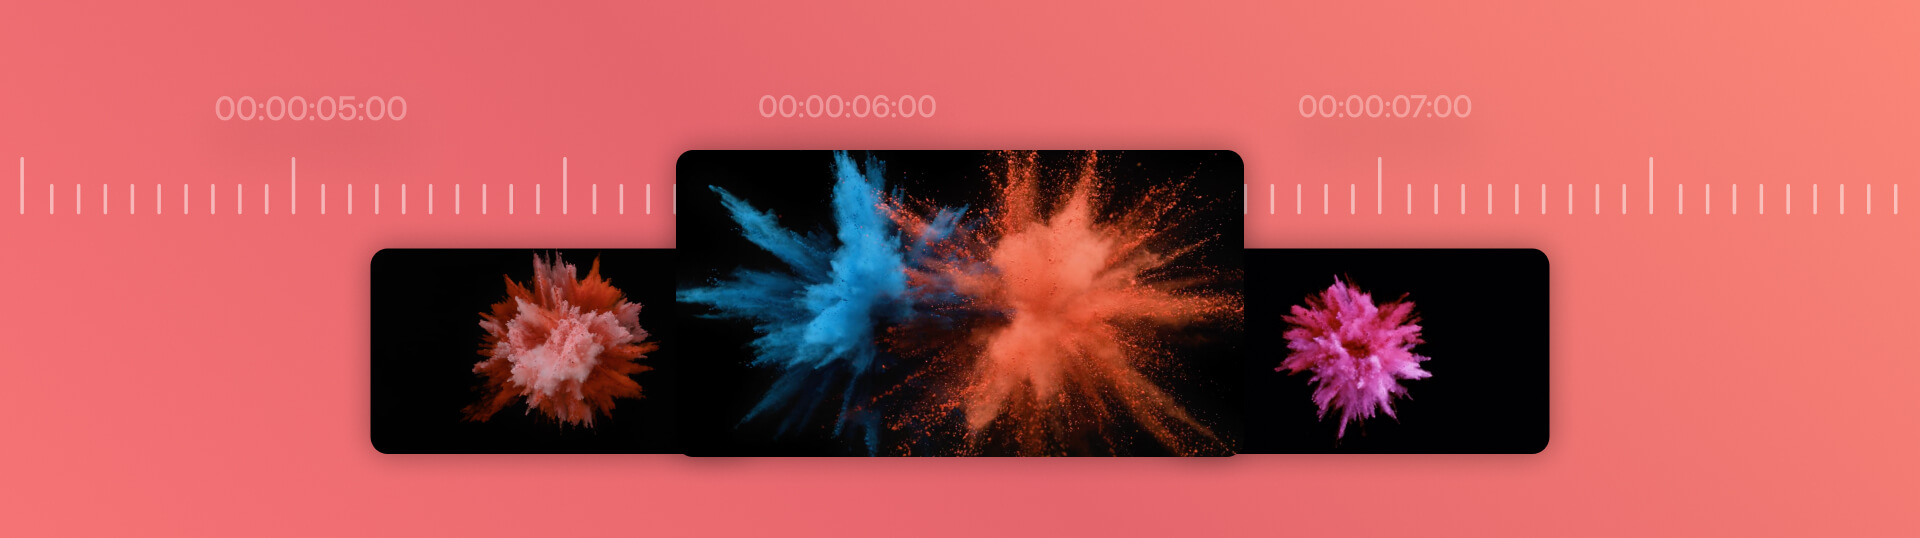
Explore article topics
We’ve all seen slow-motion video clips in everything from feature films to advertising. Slow motion video is beautiful, fascinating and, surprisingly, not too challenging to create. In this tutorial, we’ll show you 3 different ways to produce slow-motion video in Final Cut Pro. But first, let’s look at what slow motion is and how it works.
What is slow motion, and how does it work?
Slow-motion shots can do and convey a range of things to an audience. For example, in sports coverage, slo-mo highlights a high-speed action you might otherwise miss. In contrast, TV and movies use slow-motion shots to heighten the tension or emotion in a scene.
Creating slow-motion shots is as simple as slowing them down, but for the best quality, you need to understand a little about what is going on when the editing takes place.
Video is shot using frames; hundreds of still images are played back at a speed that appears to be moving, usually 24-29 Frames per second. When a clip is slowed, the frames are stretched over a more extended time; if you slow/stretch the clip too far, our brain will begin to recognize the individual images making up the clip, and the movement will become delayed and jittery.
How to film slow motion footage
Retiming tools work on any video clips in Final Cut Pro, but the result will depend on several factors. And it all comes back to how the footage was shot. If you don’t want the jittery effect of over-slowed footage, you’ll need to look at how to shoot in slow motion.
Film in a higher frame rate
Film is usually set at around 24fps, and as an audience, we are used to this visual style. However, the best way of filming footage for slow-motion shots is to film at a higher frame rate; this will give you extra frames to stretch out.
Many cameras allow you to record in 50, 60, or even 100fps, and the more frames in your footage, the slower you’ll be able to make it without losing quality. Specialist slow-motion cameras can have frame rate settings in the millions, but this is reserved for super slo-mo, such as a bullet fired from a gun.
Create a high-quality shot
Similarly to the frame rate, a higher resolution can give Final Cut more information to create your slow-motion clips. Shooting in 4K at a higher frame rate will drastically improve the quality of your finished shot; many professional drones will shoot at 100fps in 4K for this exact purpose.
Use a Tripod or Gimbal
When filming, camera movements will result in a focus shift; things might become blurry, even just for a few frames. When you slow this footage down, the out-of-focus actions are extended, making them more evident to your audience. Using a tripod, gimbal, or Steadicam solution for your filming can drastically reduce camera movement creating a smooth, high-quality slow-motion shot.
Use Stock Footage
Stock footage is a brilliant option for your slow-motion clips, and you might be surprised at the range of footage available. Artlist has a stunning collection of slow-motion shots, from nature shots and landscapes to food cooking on a grill and droplets hitting water. All clips are shot in the highest quality with both slow motion and super slow motion options.
How to edit slow-motion footage
Final Cut Pro has several slow-motion tools you can use on your clips, depending on the result you want to achieve.
Retime presets
Final Cut Pro Retime menu gives you all the timing tools you need, including increasing the speed and reversing your clips. First, let’s look at the preset speed values.
- Import and drag your clip to the timeline and trim the ends to your desired length.
- Open the Retime menu by clicking on the Speed Meter icon beneath the viewer window; you can also hit Command + R on your keyboard.
- You will have 2 options; Fast and Slow. Select the Slow menu to see the options.
- In the Slow menu, several percentage values indicate how much you can slow the footage.
Custom slow-motion settings
The preset speeds are fantastic for quickly adjusting a clip. Still, you’ll need the Final Cut Pro Custom slow-motion settings if you want more precision.
- Select the clip you wish to slow and hit the Retime menu.
- From the list, choose Custom, or hit Control + Option + R on your keyboard.
- You can choose new settings for your clip from the Custom Speed window. There are 2 options; you can adjust the speed based on the percentage slider or manually type in a new duration for the clip. The speed of your footage will change to match the new duration.
- You can also reverse the clip from the Retime menu, allowing you to slow and speed up your footage forward and backward.
Top Tip: Once the retime effect is added to the clip, you can drag the ends of the Retime Line on the footage to adjust the speed.
Blade Speed
The Blade Speed tool is a fantastic option for creating speed ramps and glitch effects. If you want a clip to vary in speed throughout, you might think the easiest way is to slice your footage and add different retime effects to each part of the clip. While this method does work, the Blade Speed tool does this for you without creating cuts in your footage.
- Drag your playhead to the point you want the first speed change to take place.
- Open the Retime menu, choose Blade Speed, or hit Shift + B on your keyboard.
- Move the playhead to the second speed-change point and hit Blade Speed again. Do this as often as you need to to create the various speed segments in your footage.
- At the top of the clip in your sequence, click on the Speed bar; select Custom from the list.
- Enter your new speed settings and close the menu.
- Go through each Blade Speed section you have created, adjusting the speed of the section through the Retime menu.
Using frame blending to improve the quality of your FCP slow-motion shots
If you’ve already shot your clips in 24fps but still want to slow them down, you can try the Final Cut Pro Frame Blending and Optical Flow tools.
Frame Blending is a process whereby FCP creates a mini dissolve between your stretched Frames, blending them to create a smoother transition. Optical Flow is similar, but rather than blending frames, it makes new Frames to fill the gaps, using information from those on either side.
Neither solution is perfect and will never be a replacement for shooting your clips at a higher rate. Still, they can help improve the quality of your slow-motion clips.
- Use your preferred Retime method from the options above, and edit your clip.
- Select the clip and open the Retime menu.
- Look through the list and choose the Video Quality option.
- You can select either Optical Flow or Frame Blending; try both to see which works best for your shot.
Wrap-up
High-quality slow-motion shots are super impressive and fun to create and watch. However, adding slow motion to your videos needs to be purposeful, so make sure you’re using your slo-mo clips to help tell your story, heighten emotion or emphasize action. If you’re looking for more helpful tutorials about editing, check out our helpful Final Cut Pro tips and this complete guide to Post-production workflow.
Chris Suffield is a London-based writer, editor, and voice-over artist at Jellyfielder Studios; he also writes entertainment news for Box Office Buz and enjoys making things from stock footage.
Share this article
Did you find this article useful?
Related Posts
- By Daniela Bowker
- 8 MIN READ
- By Alice Austin
- 5 MIN READ
Latest Posts
- 25 Apr
- By Josh Edwards
- 4 MIN READ